Libreelec is a Linux distribution optimized to run Kodi. I installed it on an Orange Pi 3 LTS which is connected to my TV. I then installed the Jellyfin plugin and can play all my media from Jellyfin on the TV.
To boost performance, I installed the distribution on the internal flash eMMC storage instead of keeping it on the SD card.
This blog post covers everything I did to set this up.

Install Libreelec on an SD card
Go to libreelec.tv > Downloads > Manual Downloads section > Allwinner > Allwinner H6 > Orange Pi 3 LTS
Of course, that’s if you have an Orange Pi 3 LTS. Otherwise, pick the correct download. To burn on SD card, we will follow the Archlinux wiki.
Put the SD card in your computer.
Use
lsblkto identify the path to your SD card.In the following example, the path is
/dev/sda.
$ lsblk
NAME        MAJ:MIN RM   SIZE RO TYPE MOUNTPOINTS
sda           8:0    1  29.1G  0 disk
└─sda1        8:1    1  29.1G  0 part
nvme0n1     259:0    0 931.5G  0 disk
├─nvme0n1p1 259:1    0 923.6G  0 part /nix/store
│                                     /
├─nvme0n1p2 259:2    0   7.5G  0 part [SWAP]
└─nvme0n1p3 259:3    0   487M  0 part /boot
Burn Libreelec on the SD card.
Watch out, this will erase anything on the target path. In the following snippet, replace
/dev/sdXwith the path you got from thelsblkoutput.
$ gunzip --to-stdout \
    LibreELEC-H6.arm-11.0.3-orangepi-3-lts.img.gz \
  | sudo dd bs=4M conv=fsync oflag=direct \
            status=progress of=/dev/sdX

30+1 records in
30+1 records out
128064485 bytes (128 MB, 122 MiB) copied, 10.7377 s, 11.9 MB/s
Verify the partition layout looks like the following.
Don’t worry if the second partition does not cover the whole of the SD card, Libreelec will resize the partition on first boot.
$ sudo fdisk -l /dev/sda
Disk /dev/sda: 29.13 GiB, 31281119232 bytes, 61095936 sectors
Disk model: USB DISK
Units: sectors of 1 * 512 = 512 bytes
Sector size (logical/physical): 512 bytes / 512 bytes
I/O size (minimum/optimal): 512 bytes / 512 bytes
Disklabel type: dos
Disk identifier: 0x9a55c0c3

Device     Boot   Start     End Sectors  Size Id Type
/dev/sda1  *       8192 1056767 1048576  512M  c W95 FAT32 (LBA)
/dev/sda2       1056768 1122303   65536   32M 83 Linux
First boot
Put the SD card in the Orange PI - or any other compatible device you have.
Connect the HDMI to your TV and connect a keyboard. The SD card will only be needed for the first boot, the keyboard for the first and second. You could do without a keyboard by using a remote control but that will be probably hard to type with.

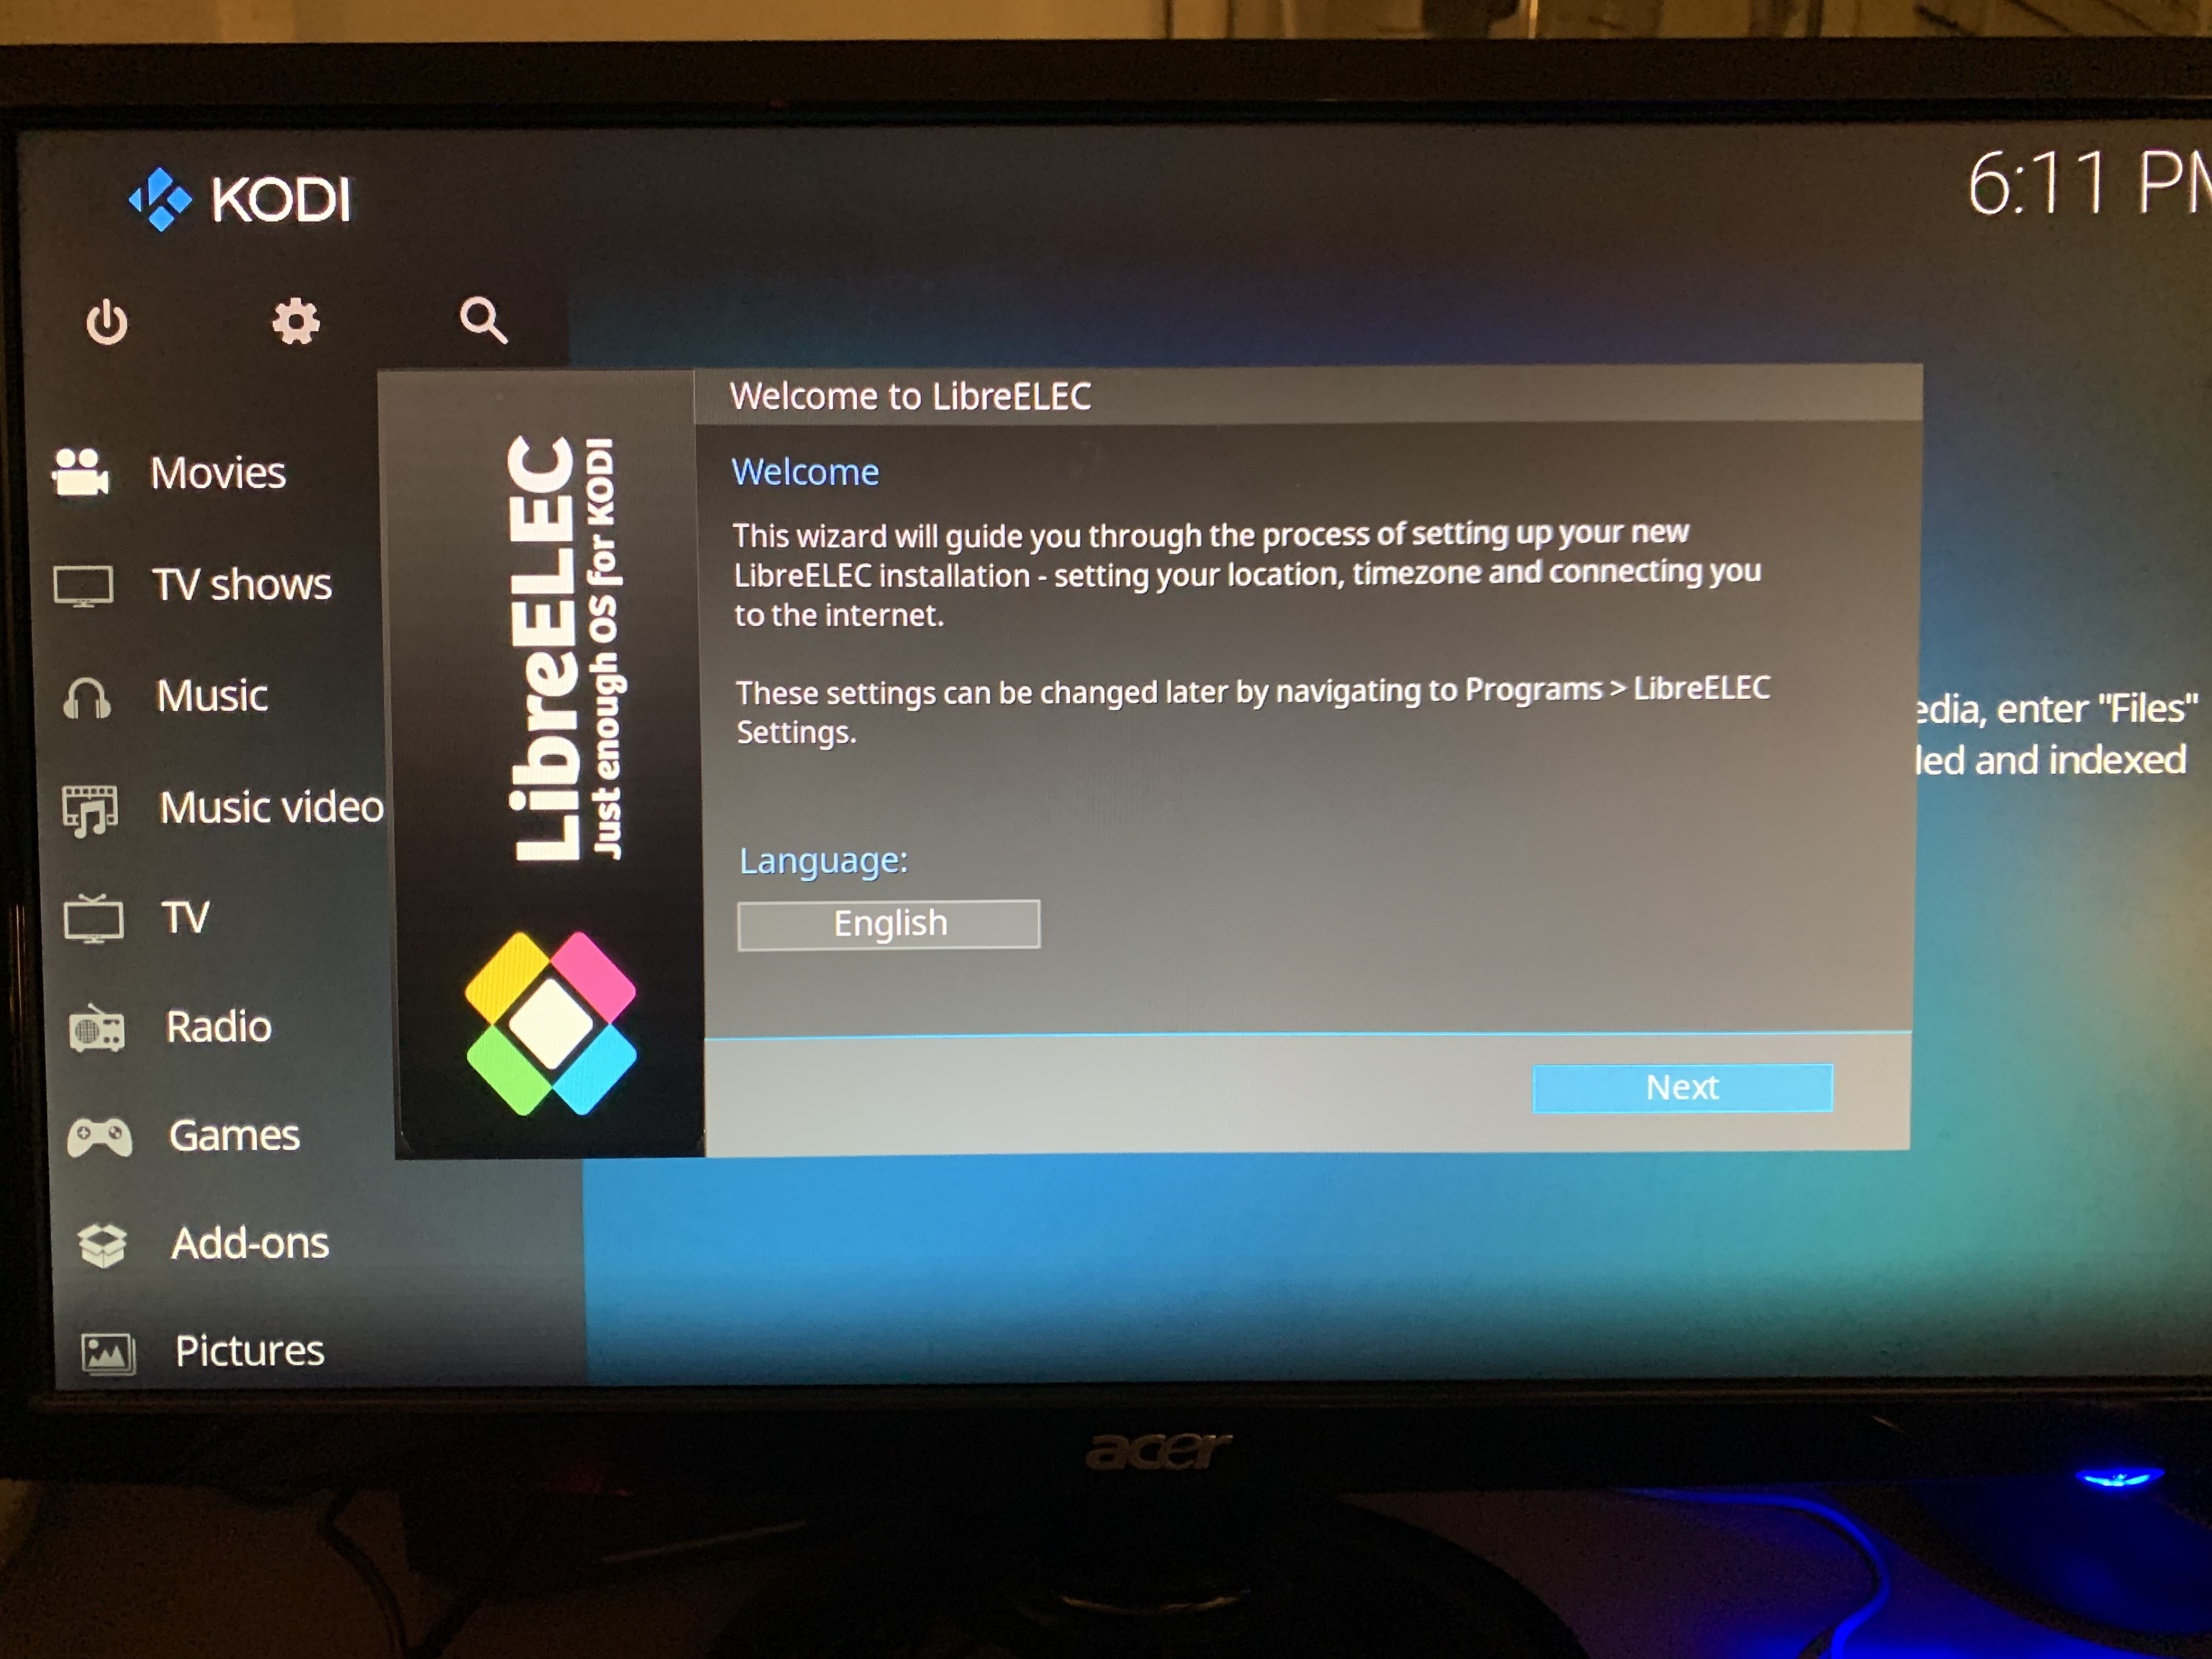
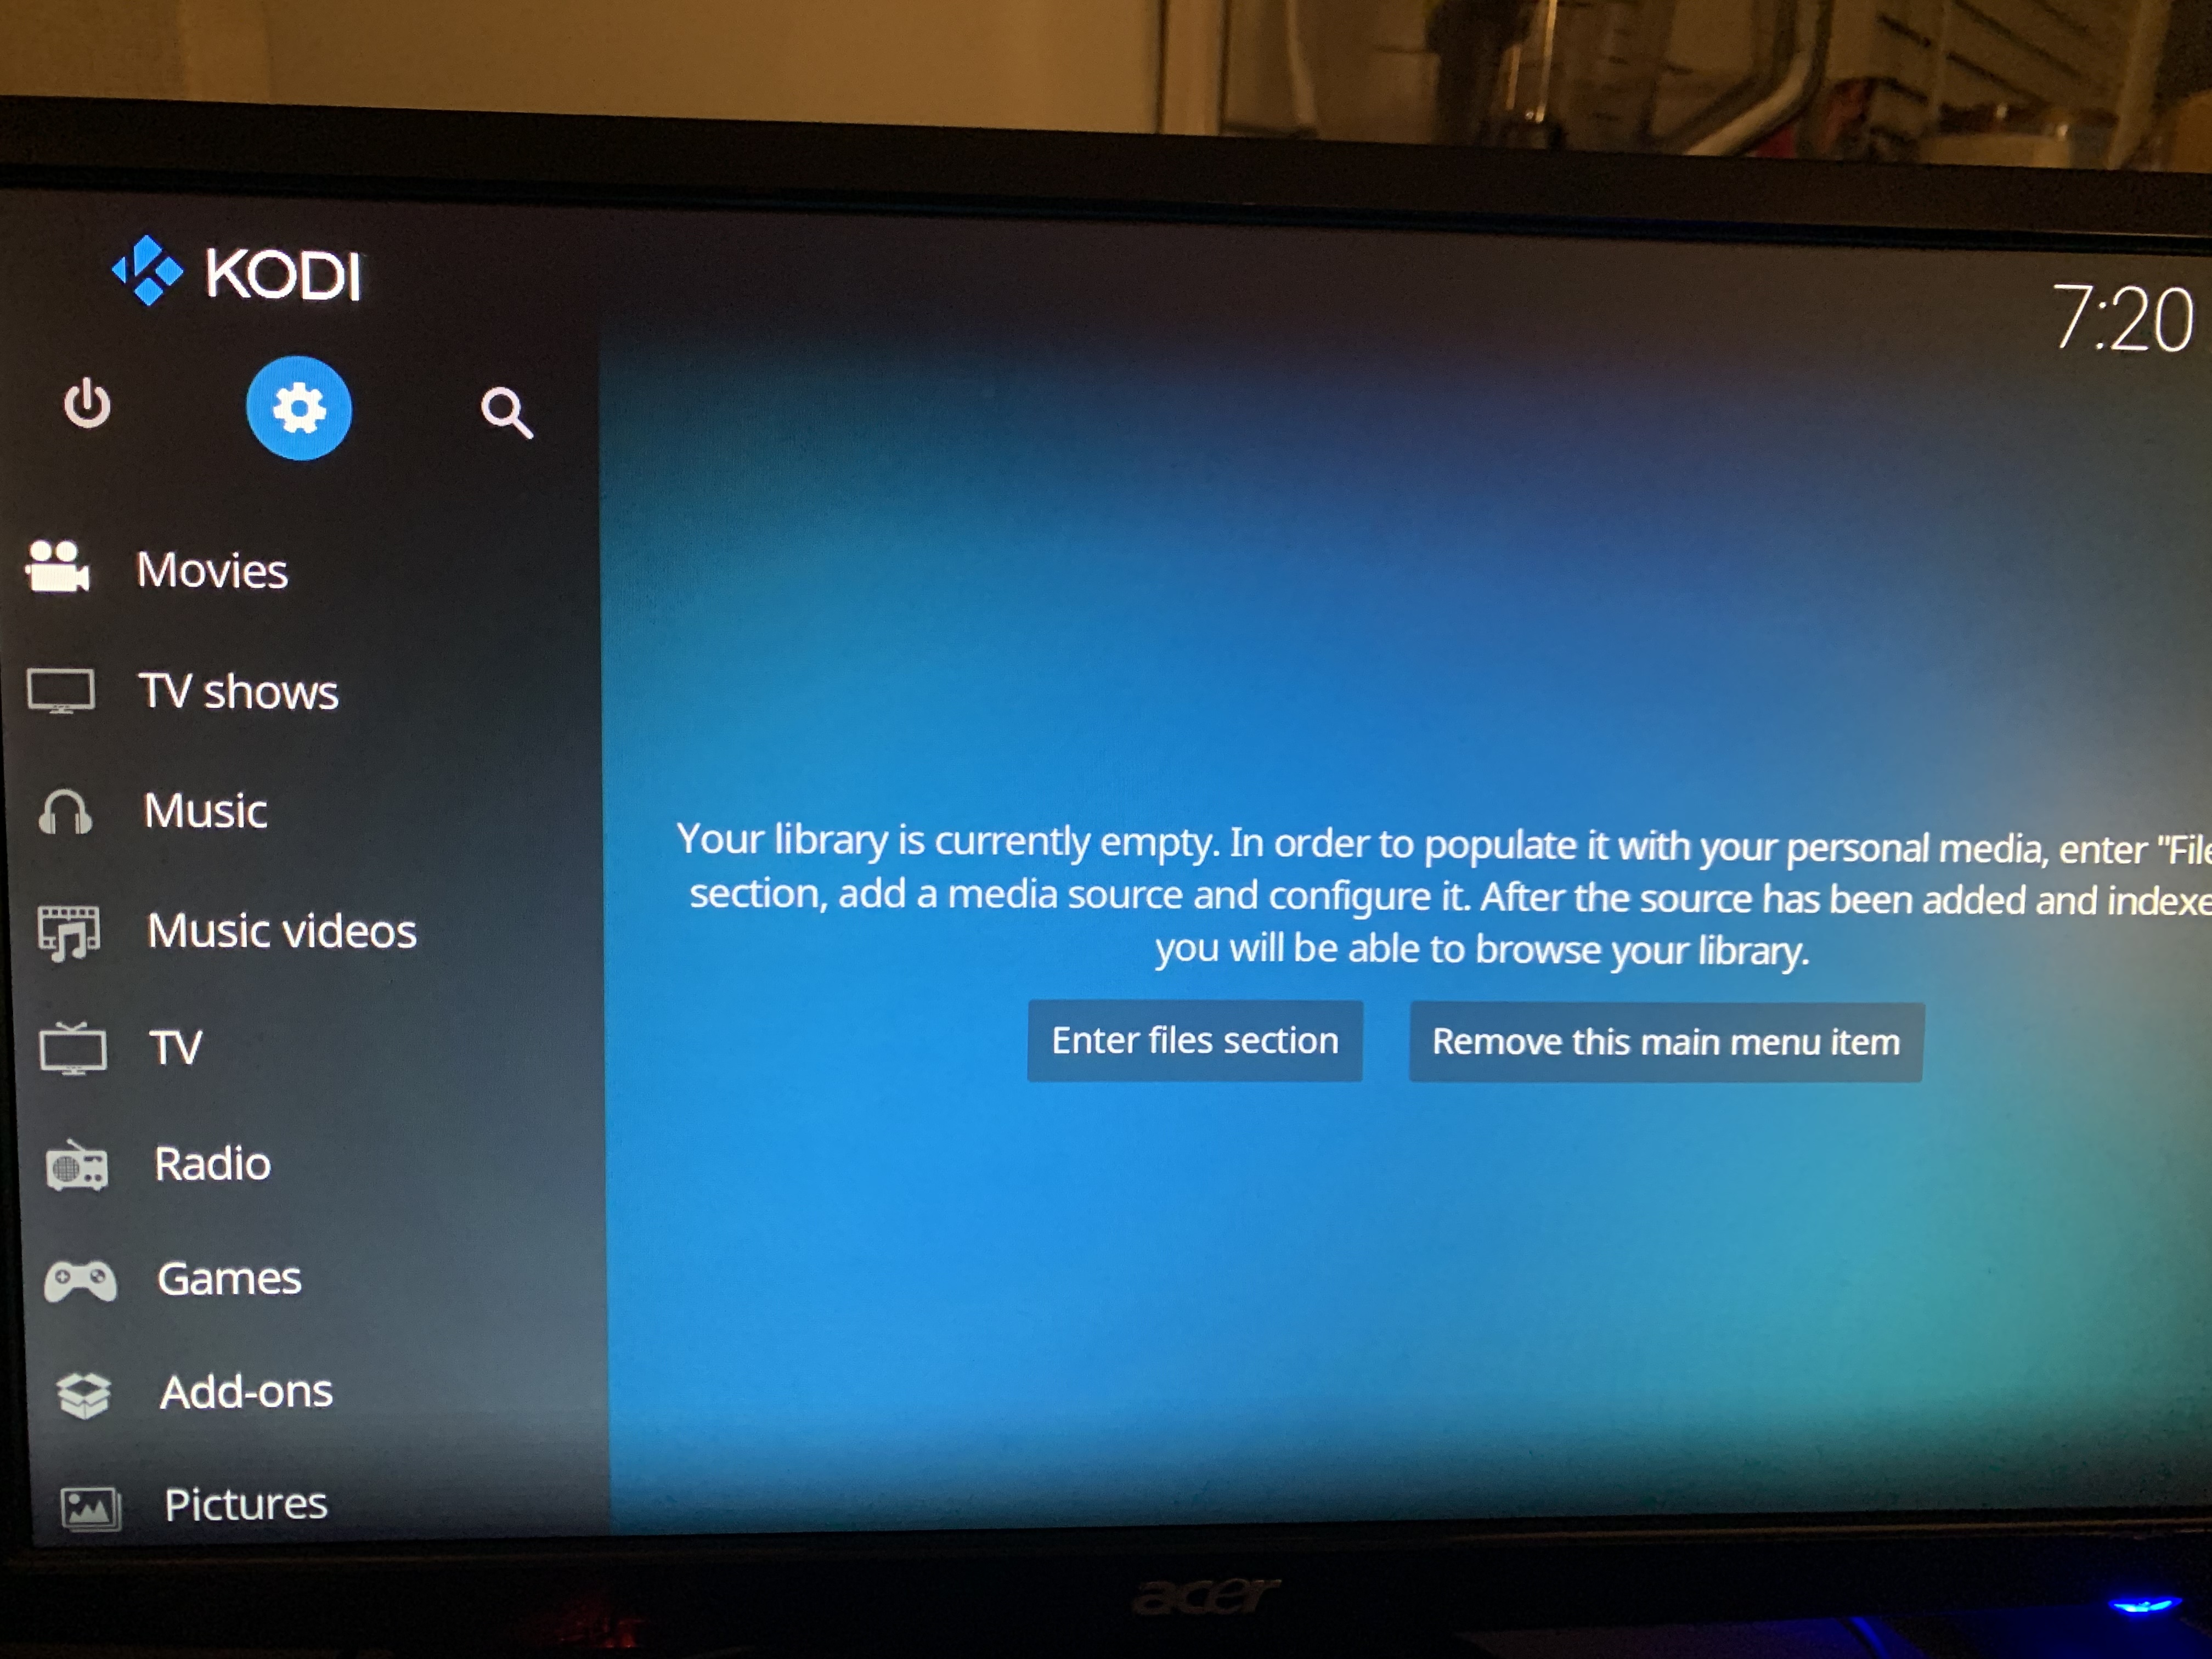
You will then boot into the Jellyfin UI and the installation wizard will popup automatically.
Next page will allow you to choose a hostname. I chose “tvlivingroom”. Do not use special characters nor whitespaces as those are not accepted. The wizard is poorly done here because if you enter a not accepted character, no error message will be shown but you will be shown again the hostname selection screen.
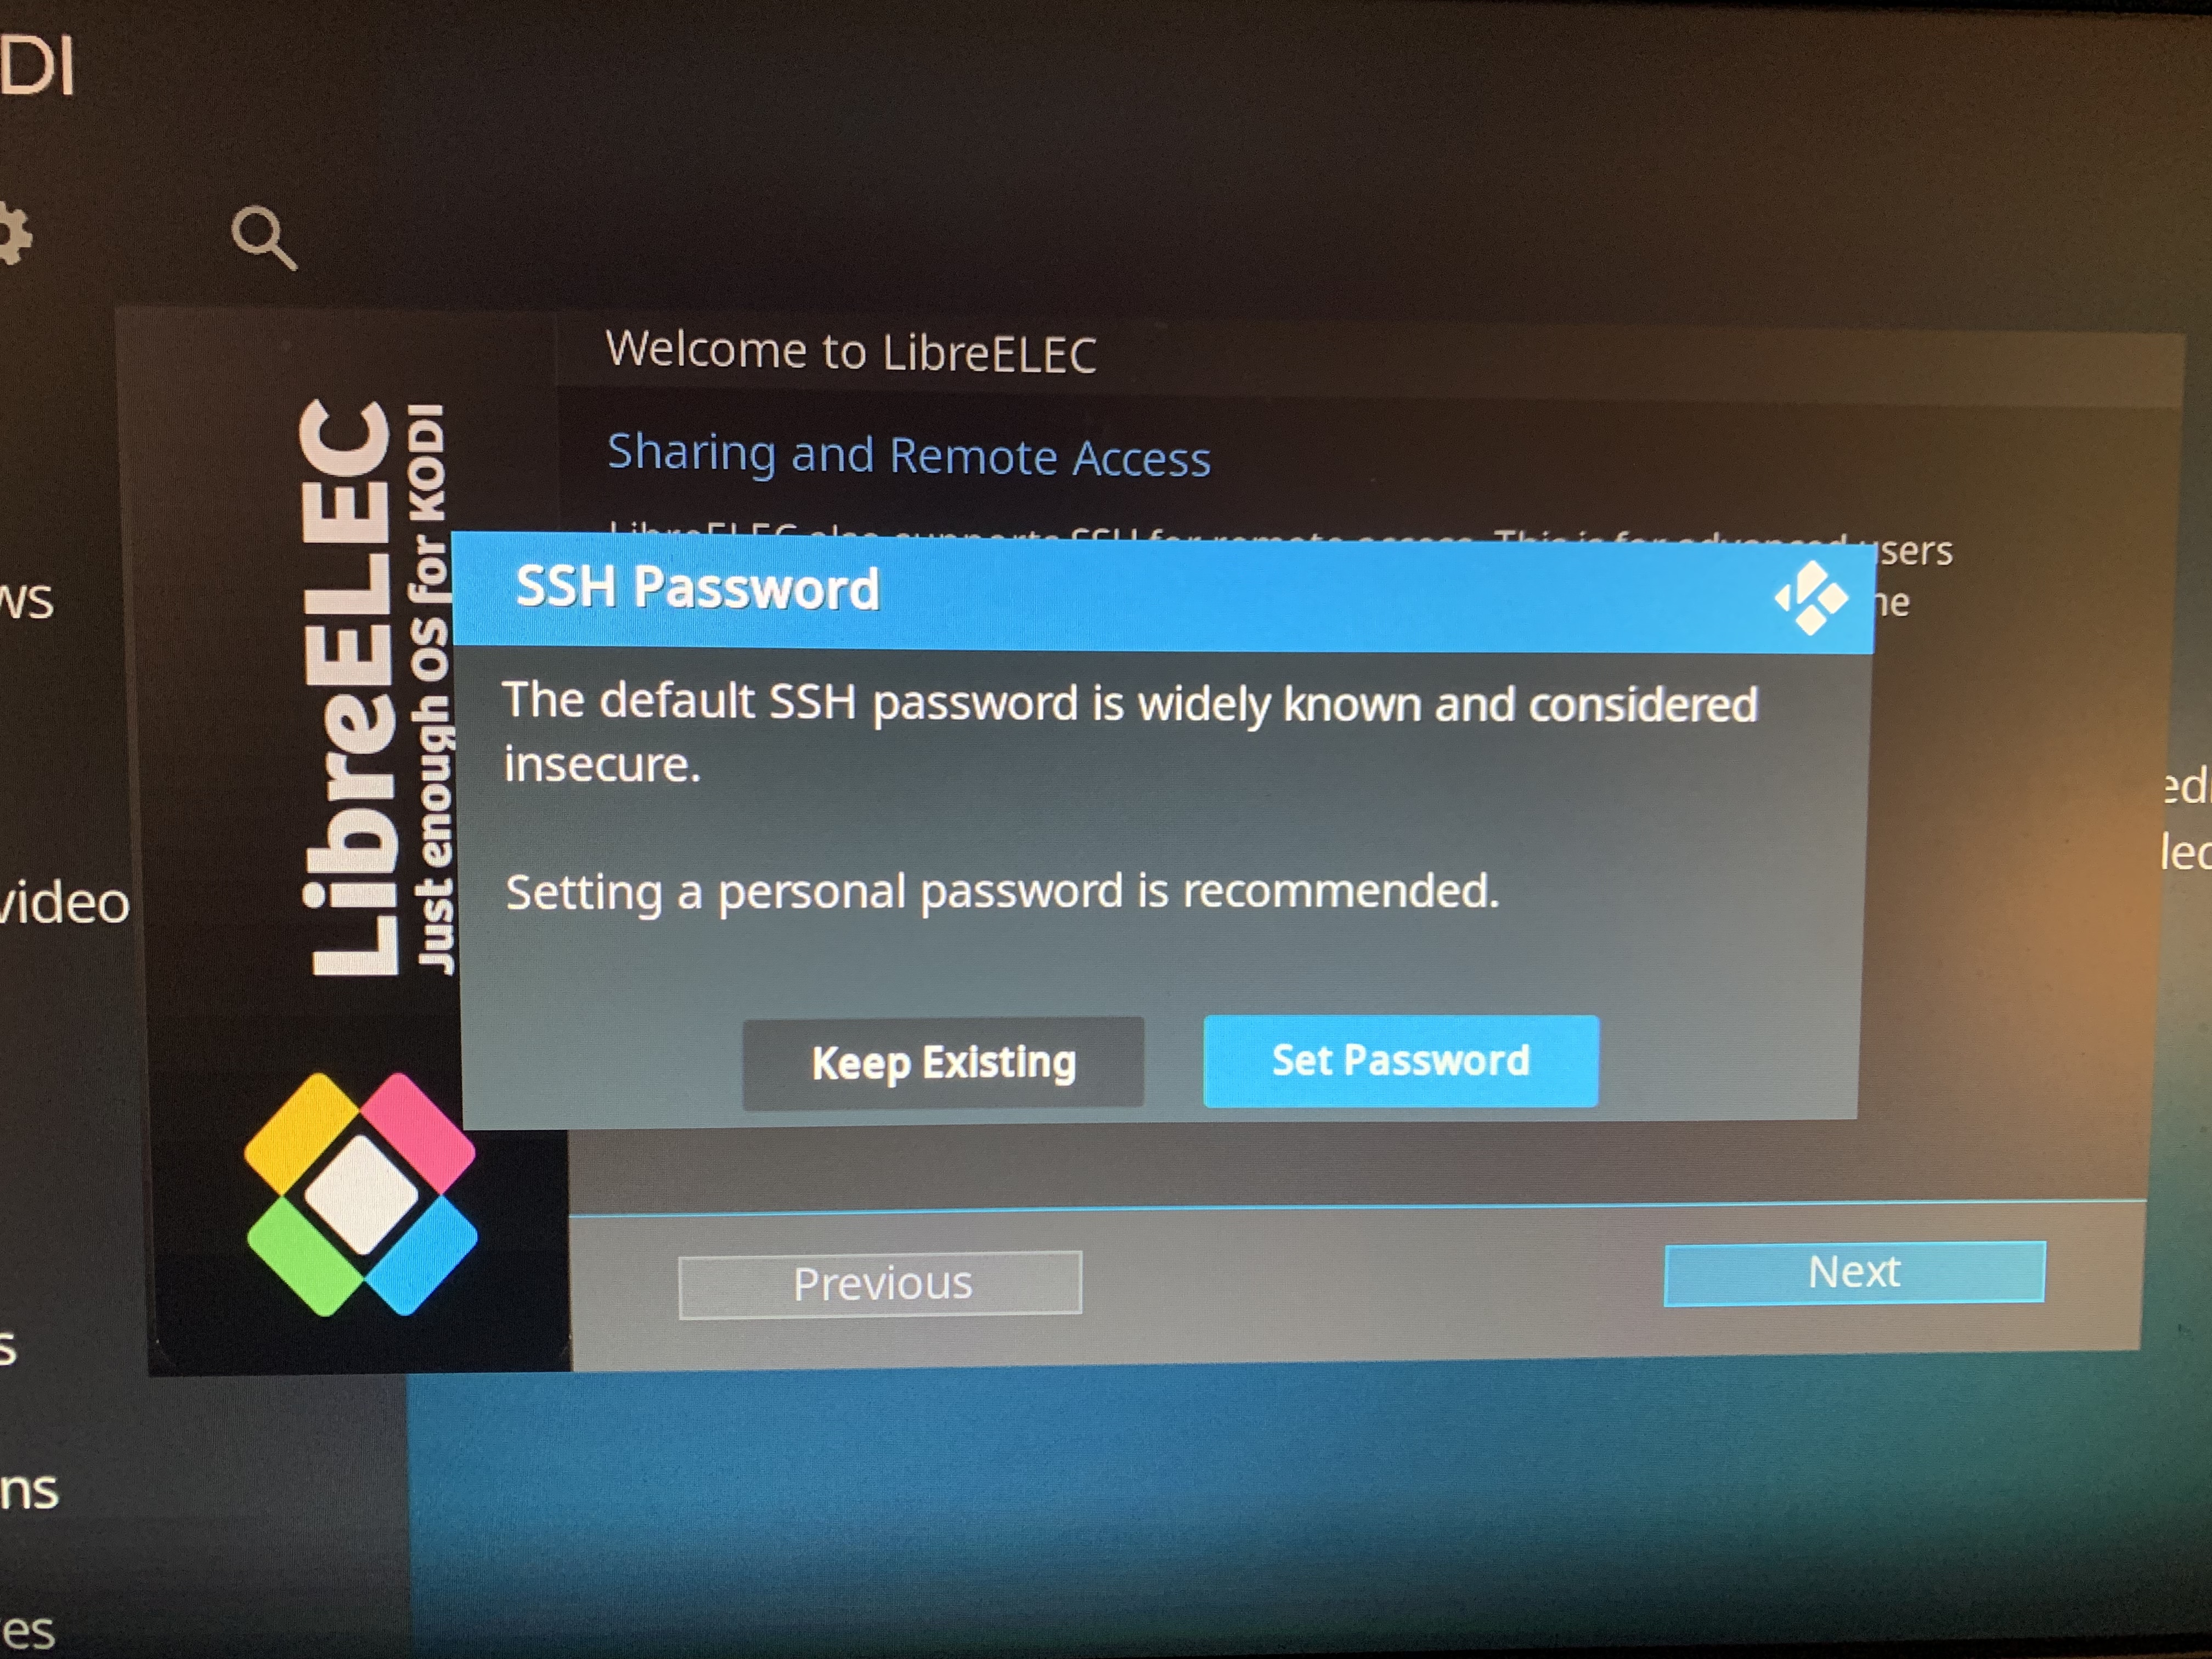
You will need to wait about 10 seconds for the popup to appear to let you change the password. Later on, we will configure only connect with a SSH key and not password.
That should be then end of the wizard.
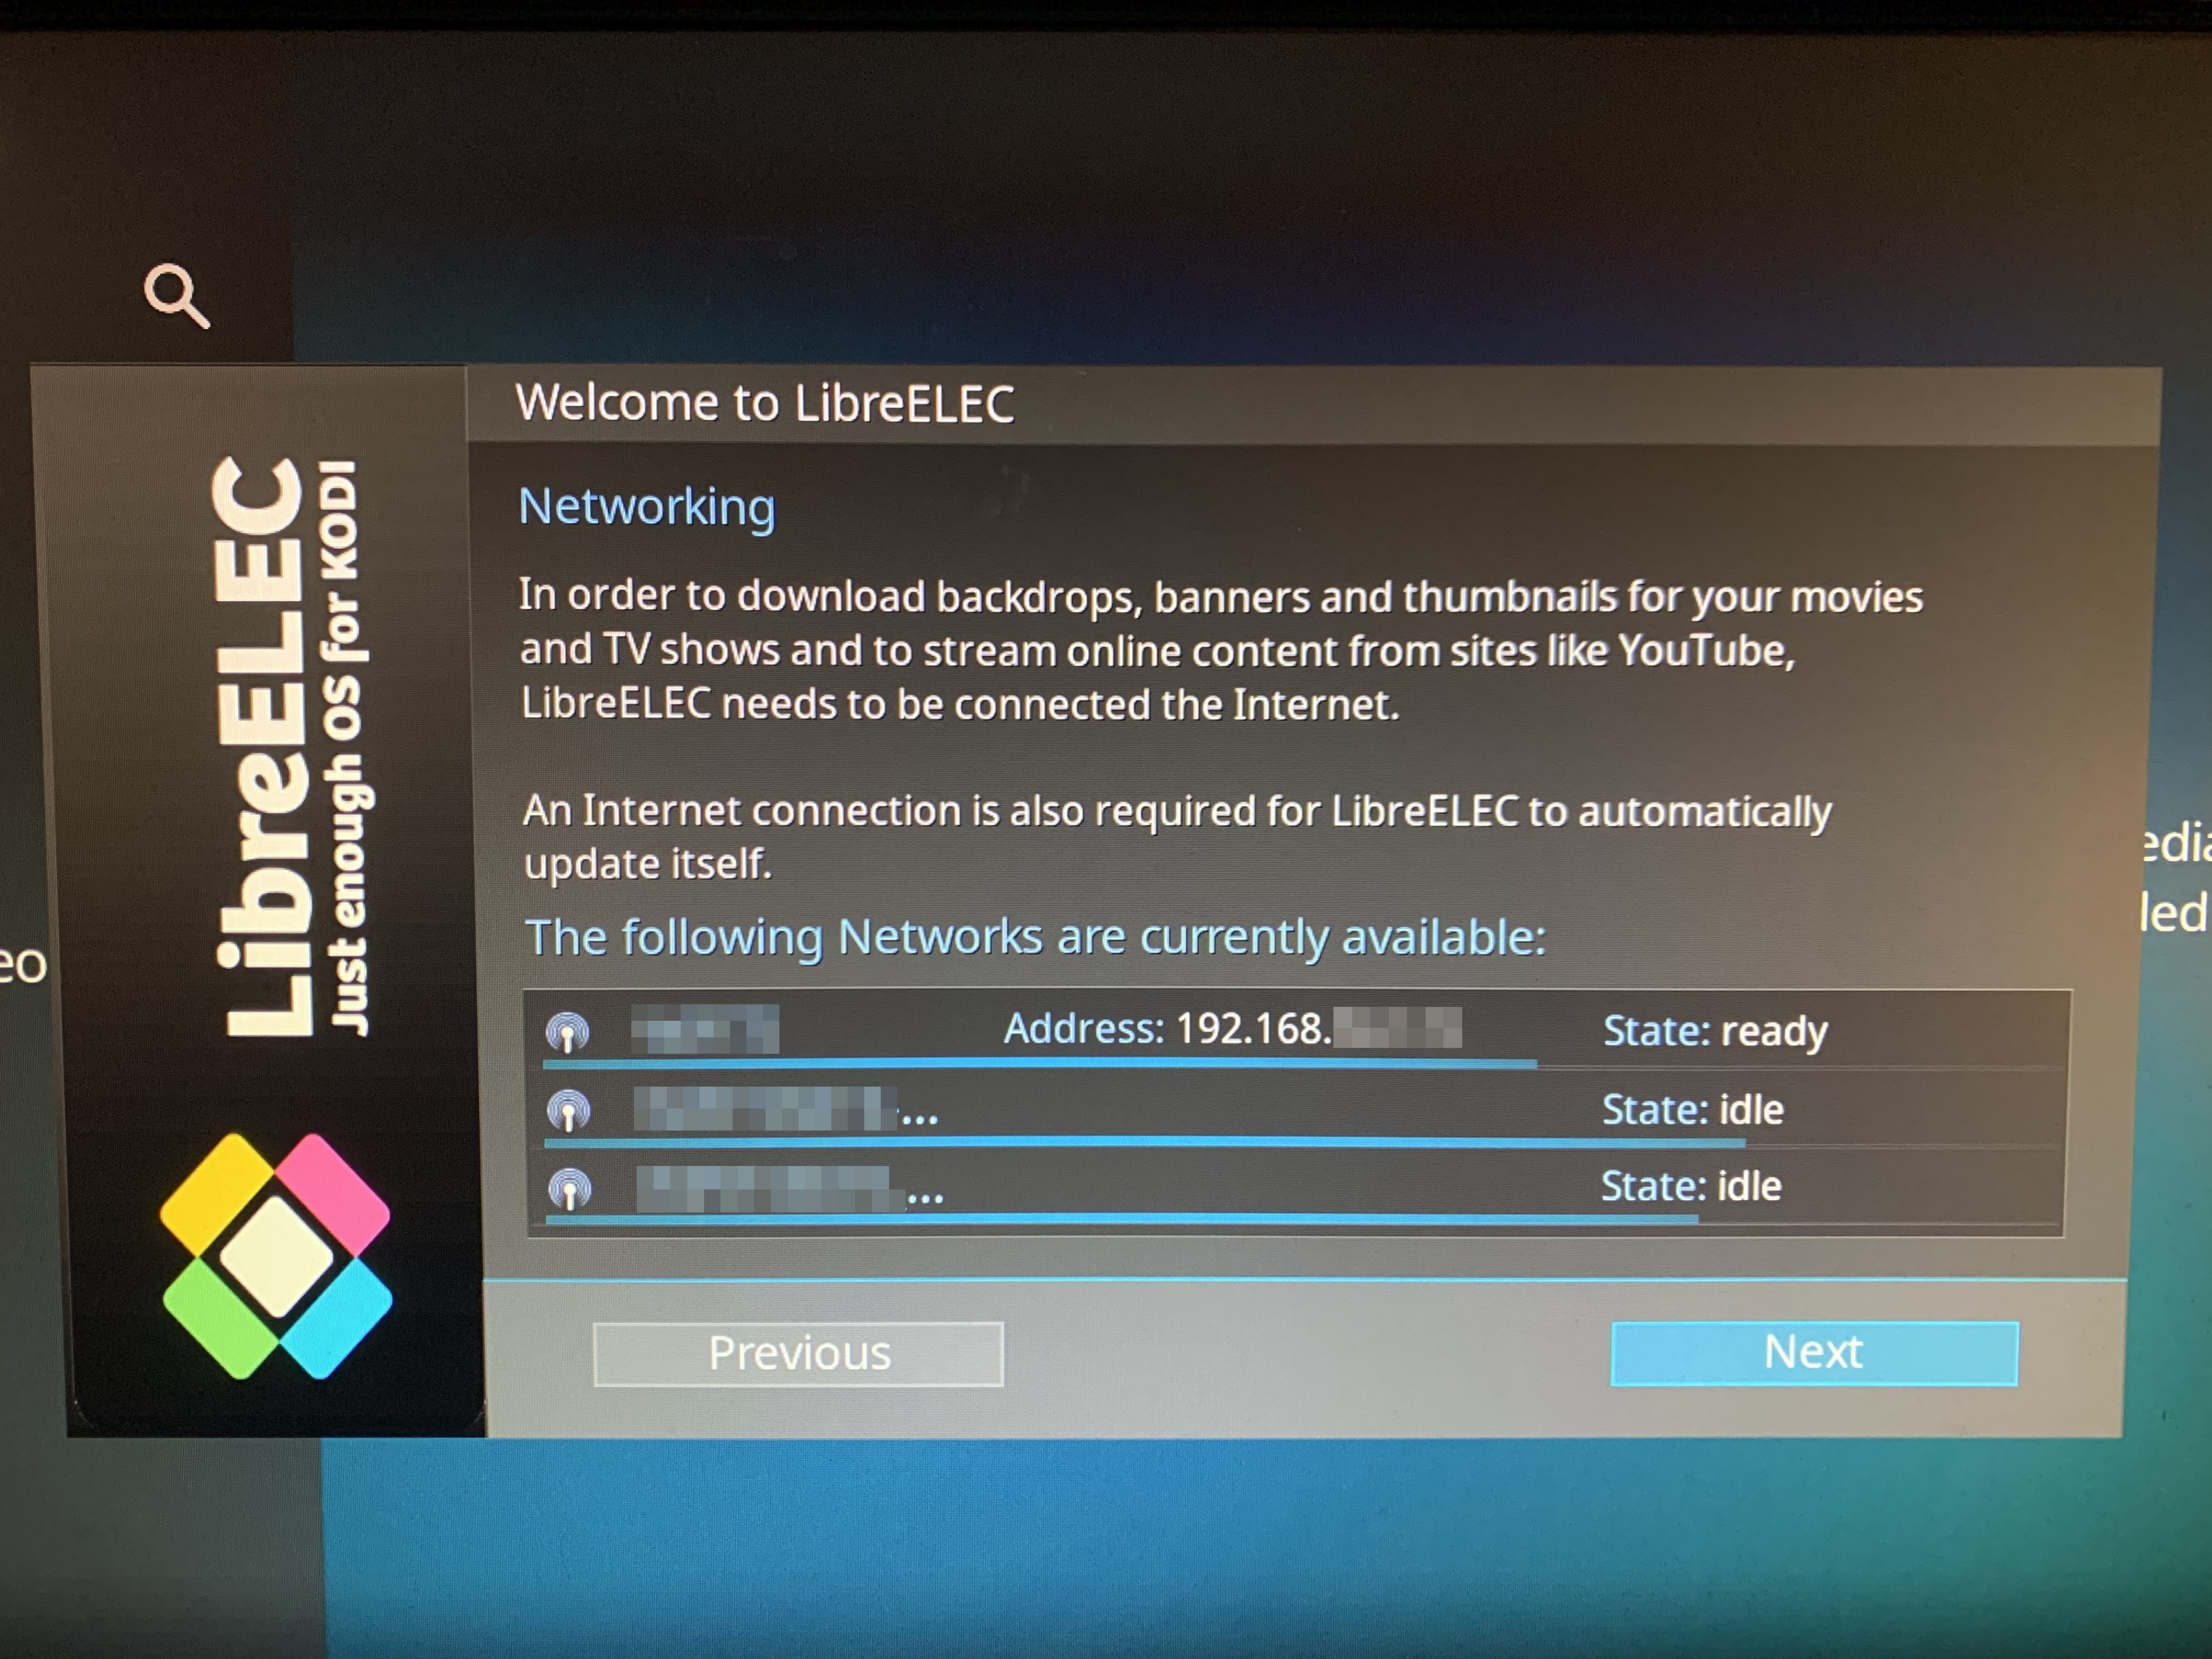
Now, we need to connect through SSH but to do that, we need to find the IP of this device. To do that, go to the settings page by clicking on the gear.
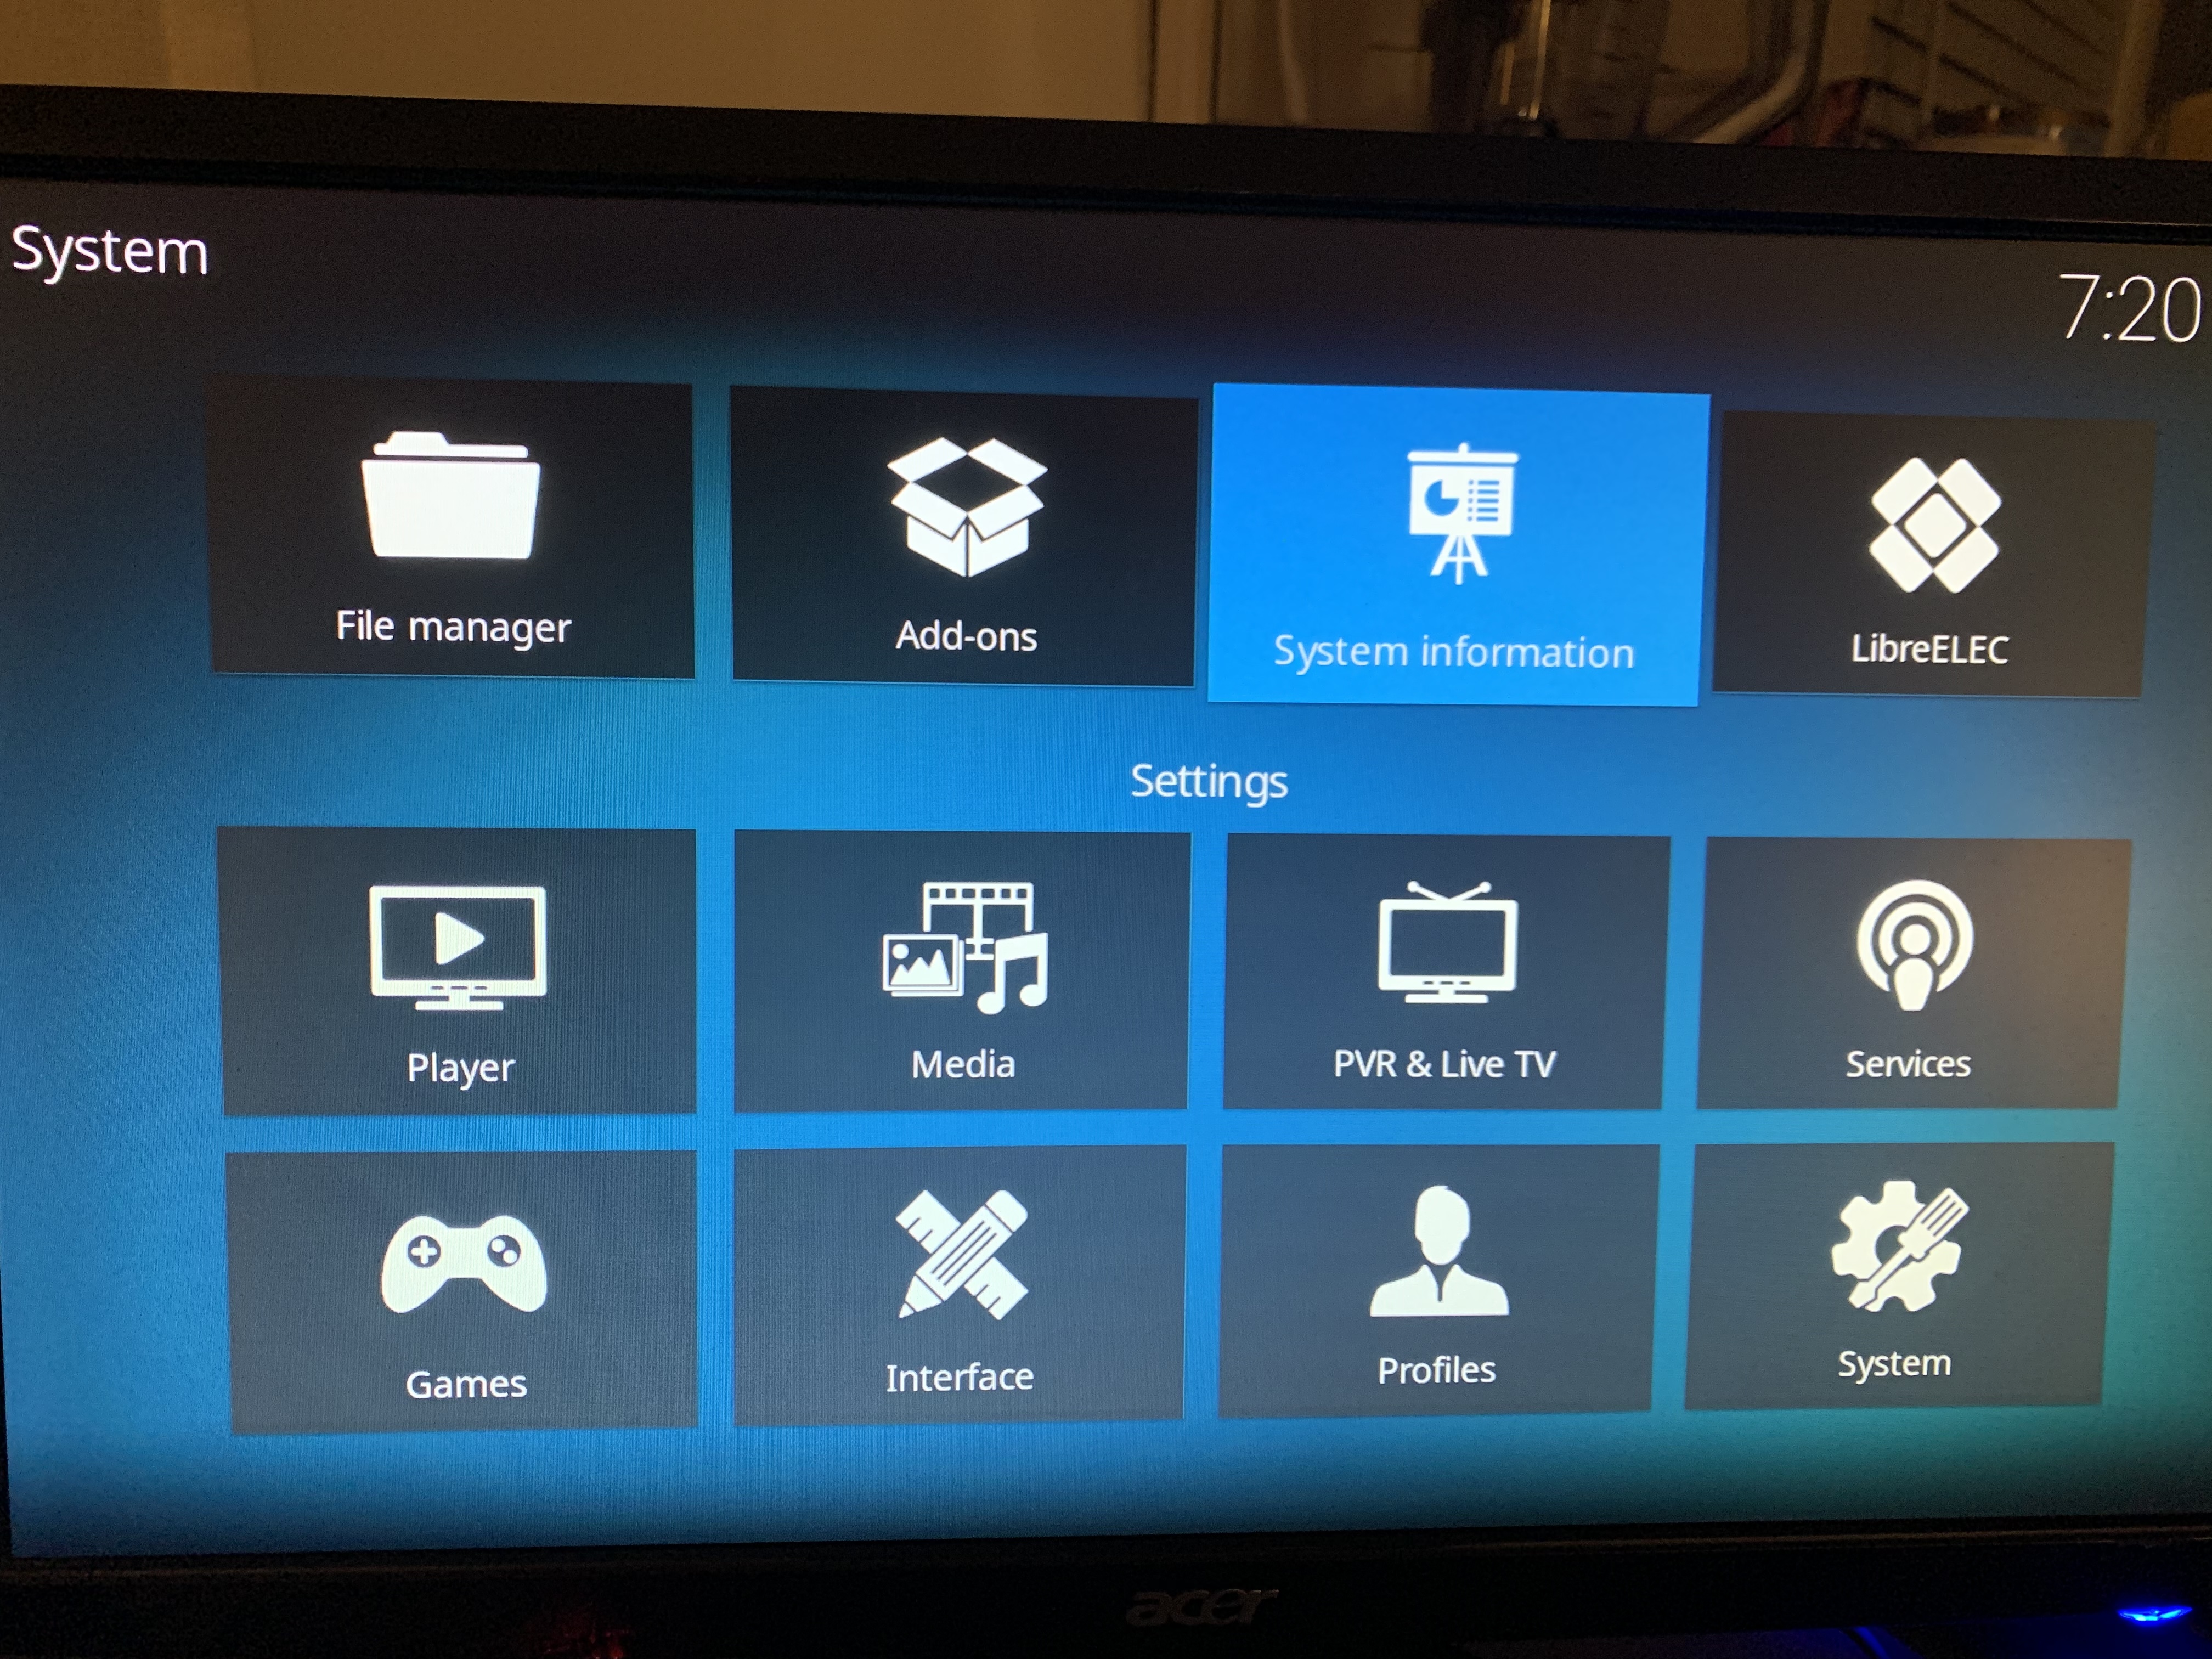
Then on the settings page, go to the System Information page.
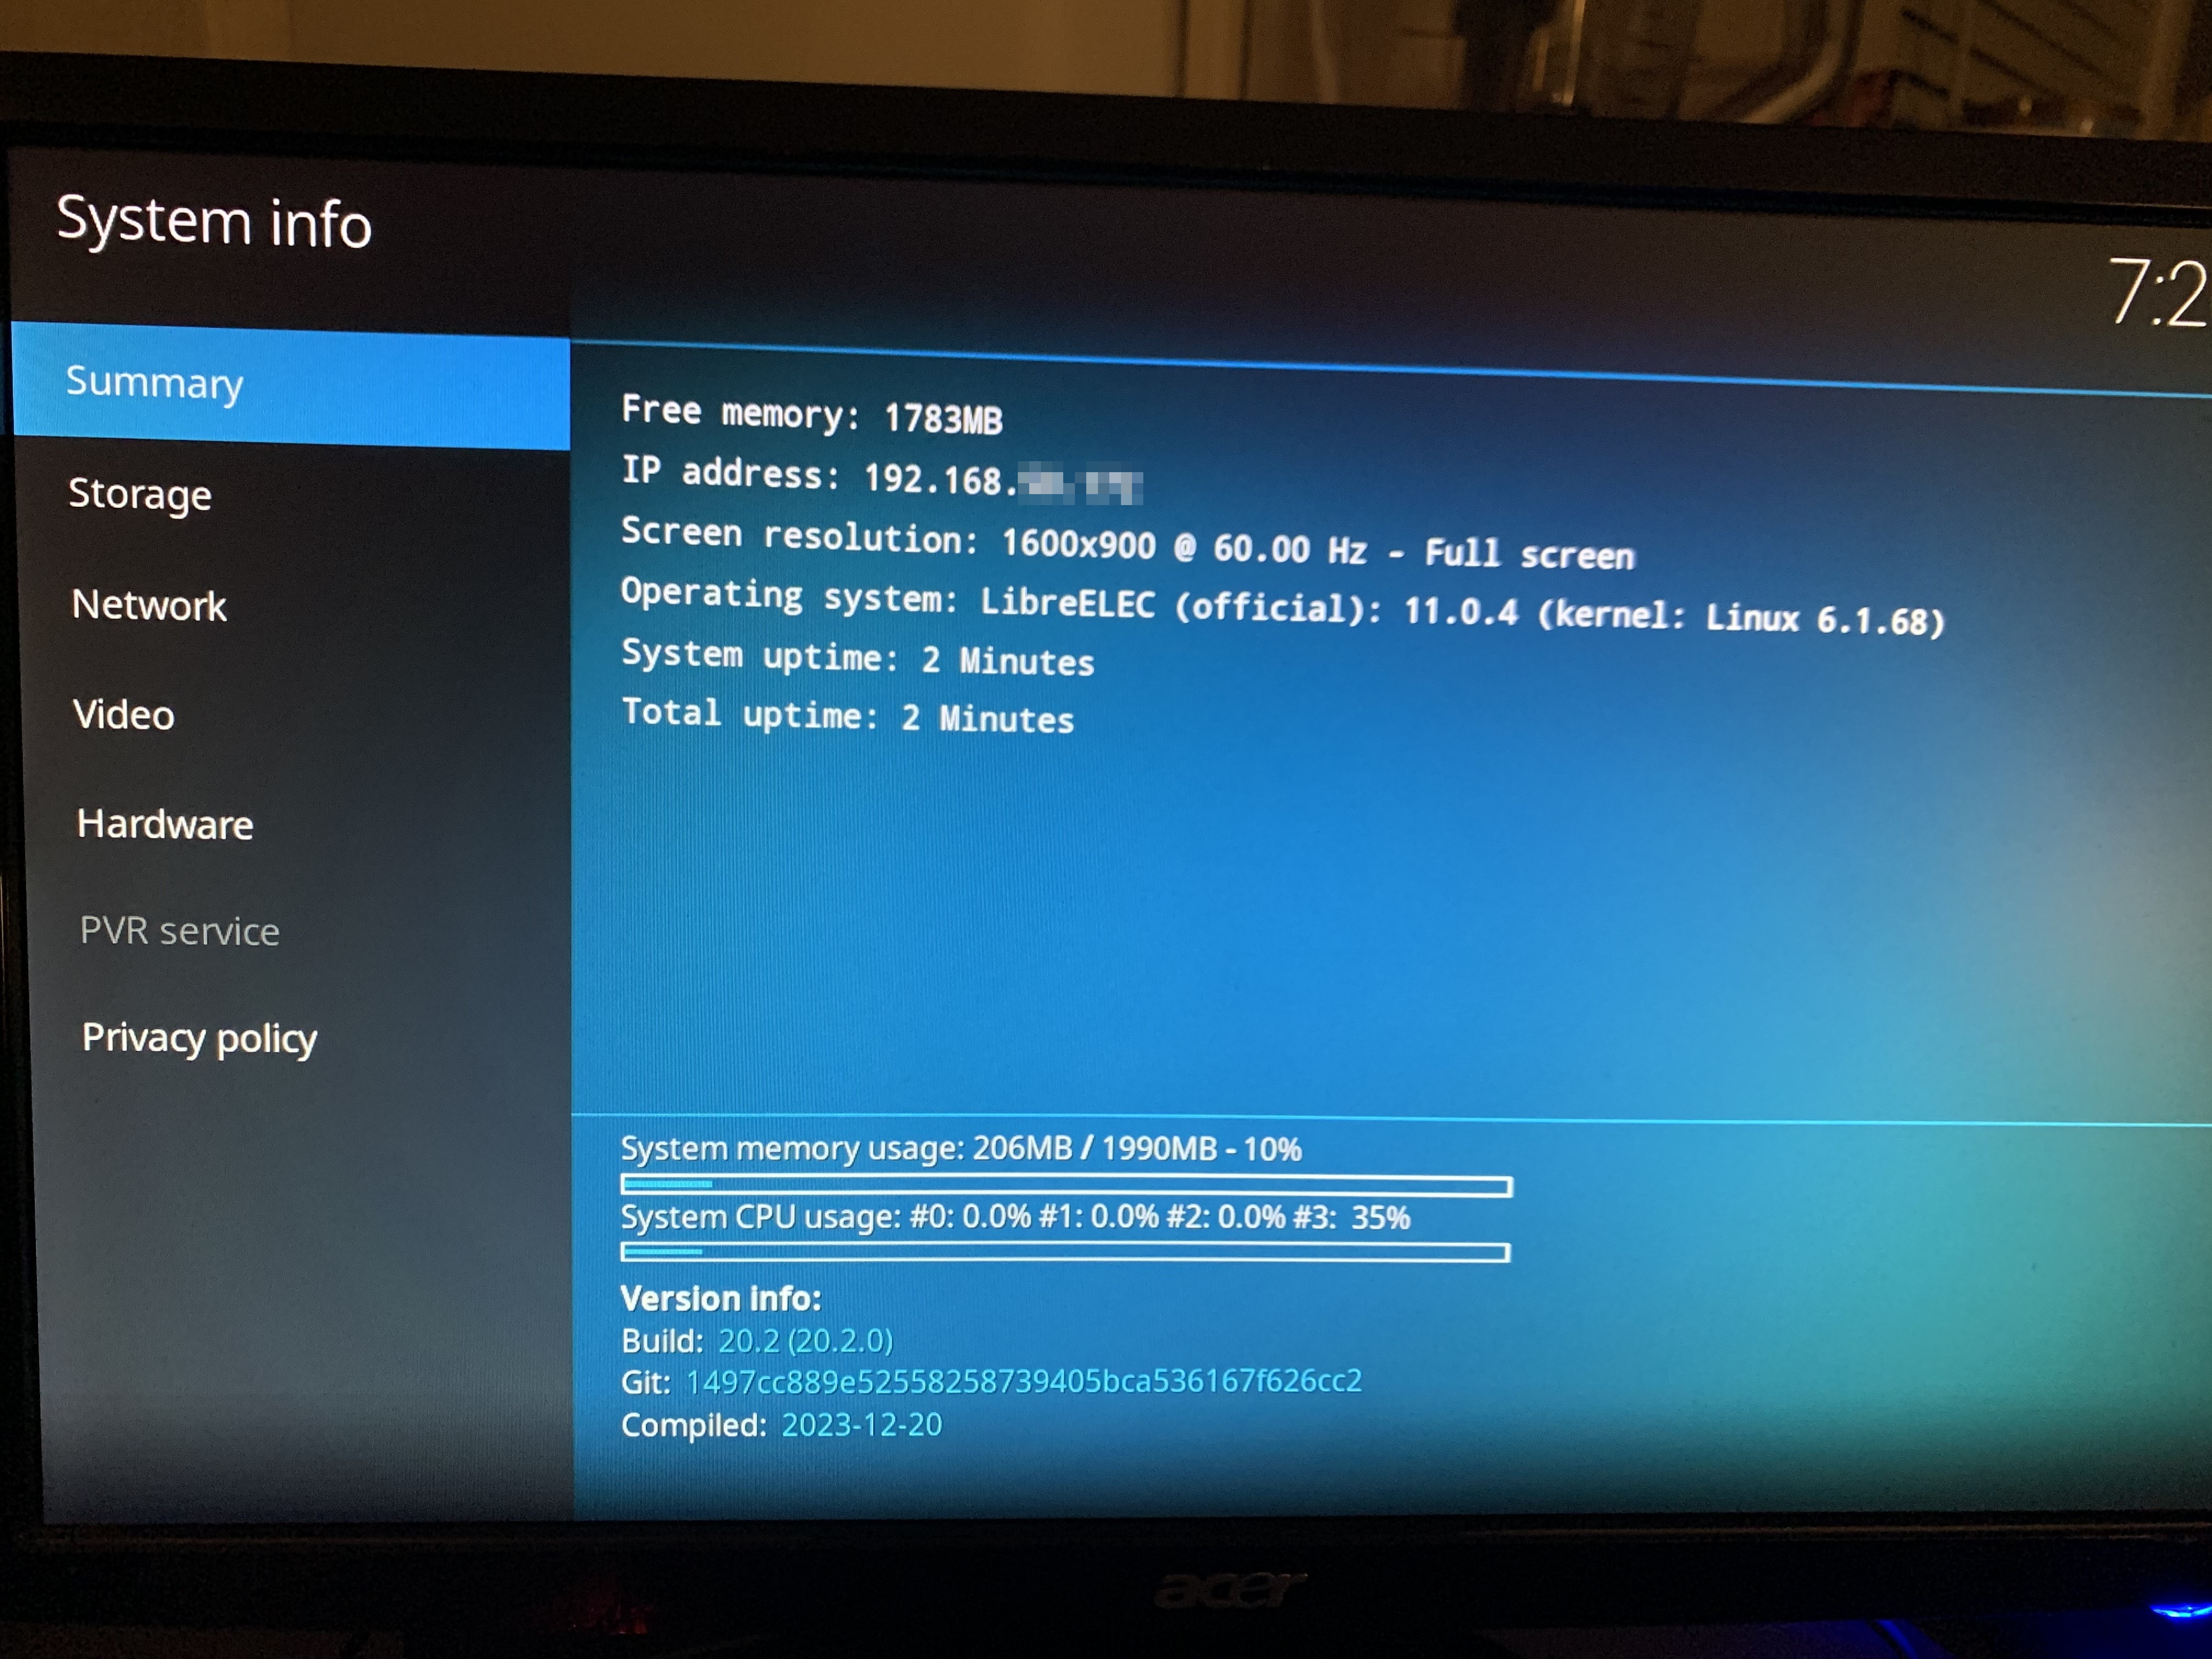
Finally, you will see the IP address of the device. In the following examples, we’ll take 192.168.1.10.
Now, connect through SSH using that IP. If you kept the default password above, use libreelec as
the password. Otherwise, use the one you entered.
$ ssh root@192.168.1.10 -o IdentitiesOnly=yes
root@192.168.1.10's password:
##############################################
#                 LibreELEC                  #
#            https://libreelec.tv            #
##############################################

LibreELEC (official): 11.0.4 (H6.arm)
tvlivingroom:~ #
We will install Libreelec on the eMMC memory. You can skip this step but I recommend going through it as it drastically improves the performance of the UI.
tvlivingroom:~ # install2emmc

===============================
Installing LibreELEC to eMMC
===============================

eMMC found at /dev/mmcblk1


WARNING: ALL DATA ON eMMC WILL BE ERASED! Continue (y/N)?  y
Erasing eMMC ...
Creating partitions
Creating filesystems
Installing bootloader
Copying system files
Adjusting partition UUIDs
Done
Now, shutdown the device.
tvlivingroom:~ # shutdown -hP nowSecond boot
Remove SD card then start the device by pressing the button a couple seconds.
Now, the not fun part is you will need to redo the whole wizard setup. Go back to the previous section if you need a refresher but skip the part where you install to the eMMC memory. Continue from here when that’s done.
SSH access
Okay, on your laptop, generate an ssh key. I use an SSH agent to remember the passphrase of my SSH keys so I do use a passphrase. If you don’t want to use a passphrase, just leave it empty when you get prompted.
- Generate a random passphrase
$ openssl rand -hex 32
XYZ...- Generate an SSH key.
$ ssh-keygen -t ed25519 -f ~/.ssh/tvlivingroom
Generating public/private ed25519 key pair.
Enter passphrase (empty for no passphrase):
Enter same passphrase again:
[...]- Add the key to the agent.
$ ssh-add ~/.ssh/tvlivingroom- Copy the key to the device.
$ ssh-copy-id -i ~/.ssh/tvlivingroom.pub -o IdentitiesOnly=yes root@192.168.1.20- You could SSH to the device with the following command, but it’s quite long, so skip to the next step.
$ ssh -i ~/.ssh/tvlivingroom.pub root@192.168.1.10- Create a match block in
~/.ssh/config:
Host salon
  User root
  HostName 192.168.50.201
  IdentityFile /home/timi/.ssh/salon
Or, if you’re using Home Manager, this snippet would do the trick:
home-manager.users.me = {
  programs.ssh = {
    matchBlocks = {
      "tvlivingroom" = {
        user = "root";
        identityFile = "/home/me/.ssh/tvlivingroom";
        hostname = "192.168.1.10";
      };
    };
  };
};
Success, we can now connect with:
$ ssh tvlivingroomHarden device
Now, we can change the root password and restrict access to ssh key only.
I generate a new login/password combo with Bitwarden, then ssh on the Orange Pi and change the password with:
$ ssh tvlivingroom
tvlivingroom:~ # passwd
Changing password for root
New password:
Retype password:
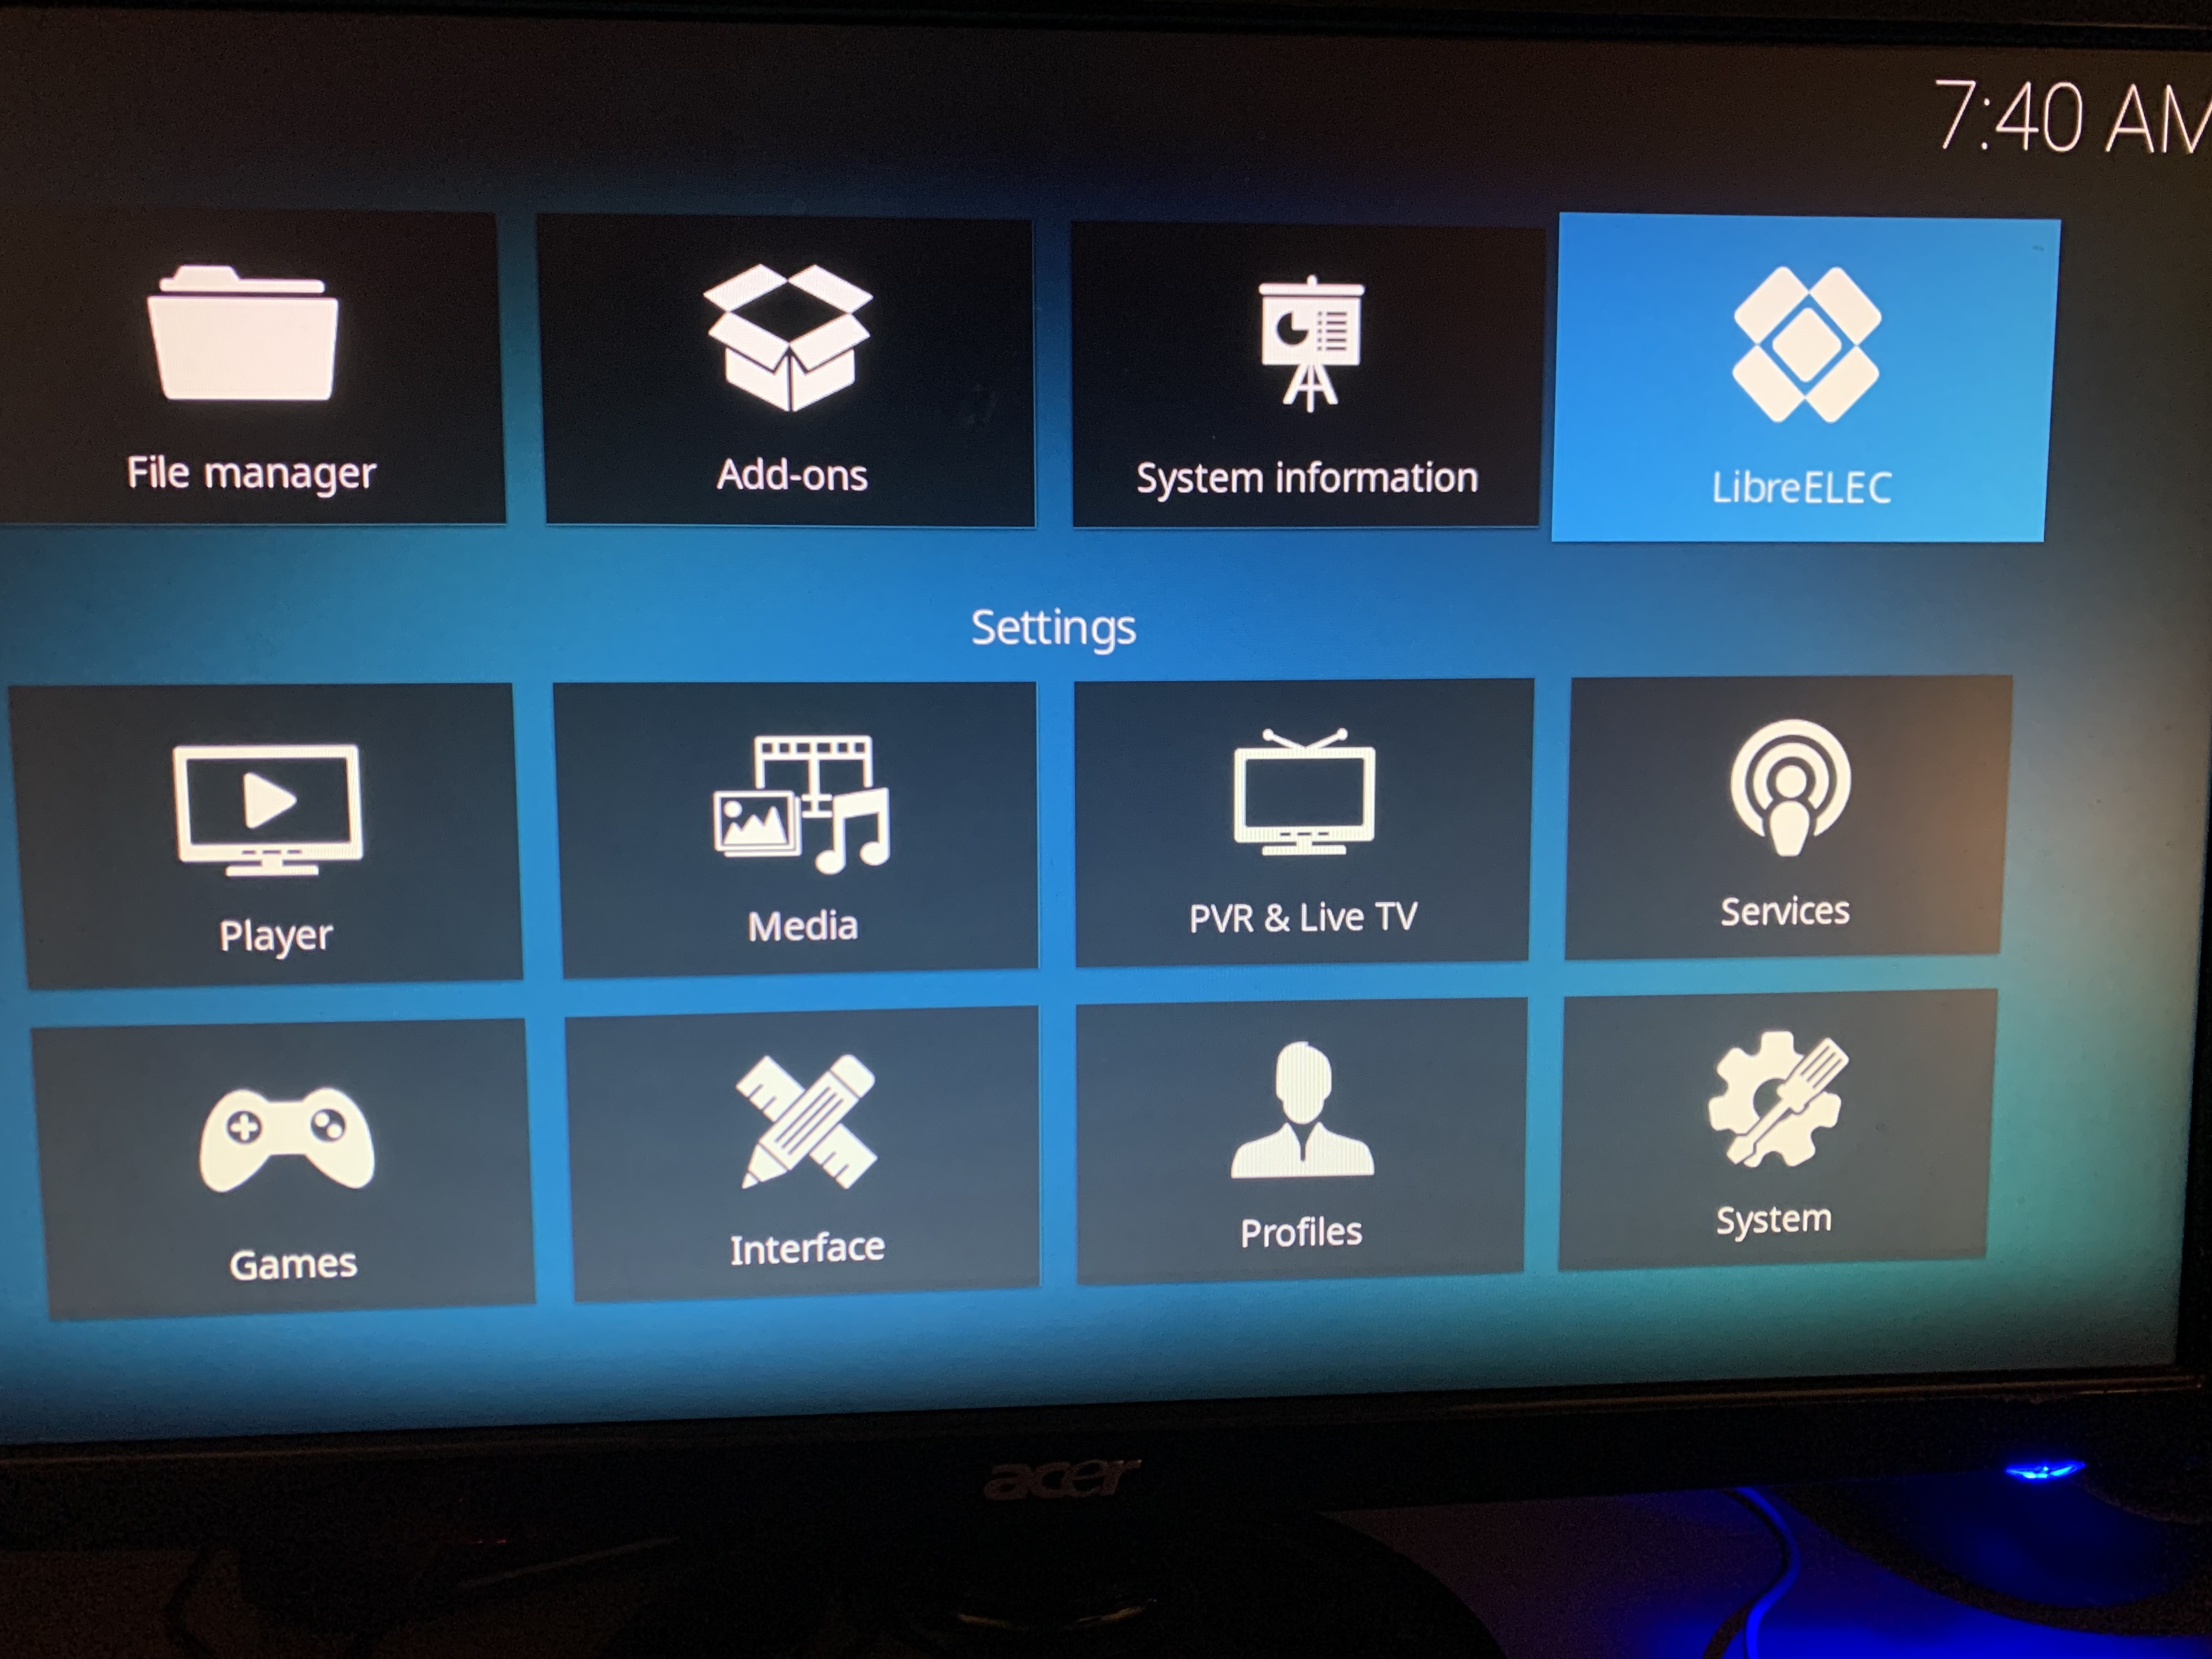
passwd: password for root changed by rootNow, we can remove password login through ssh by going through the UI:
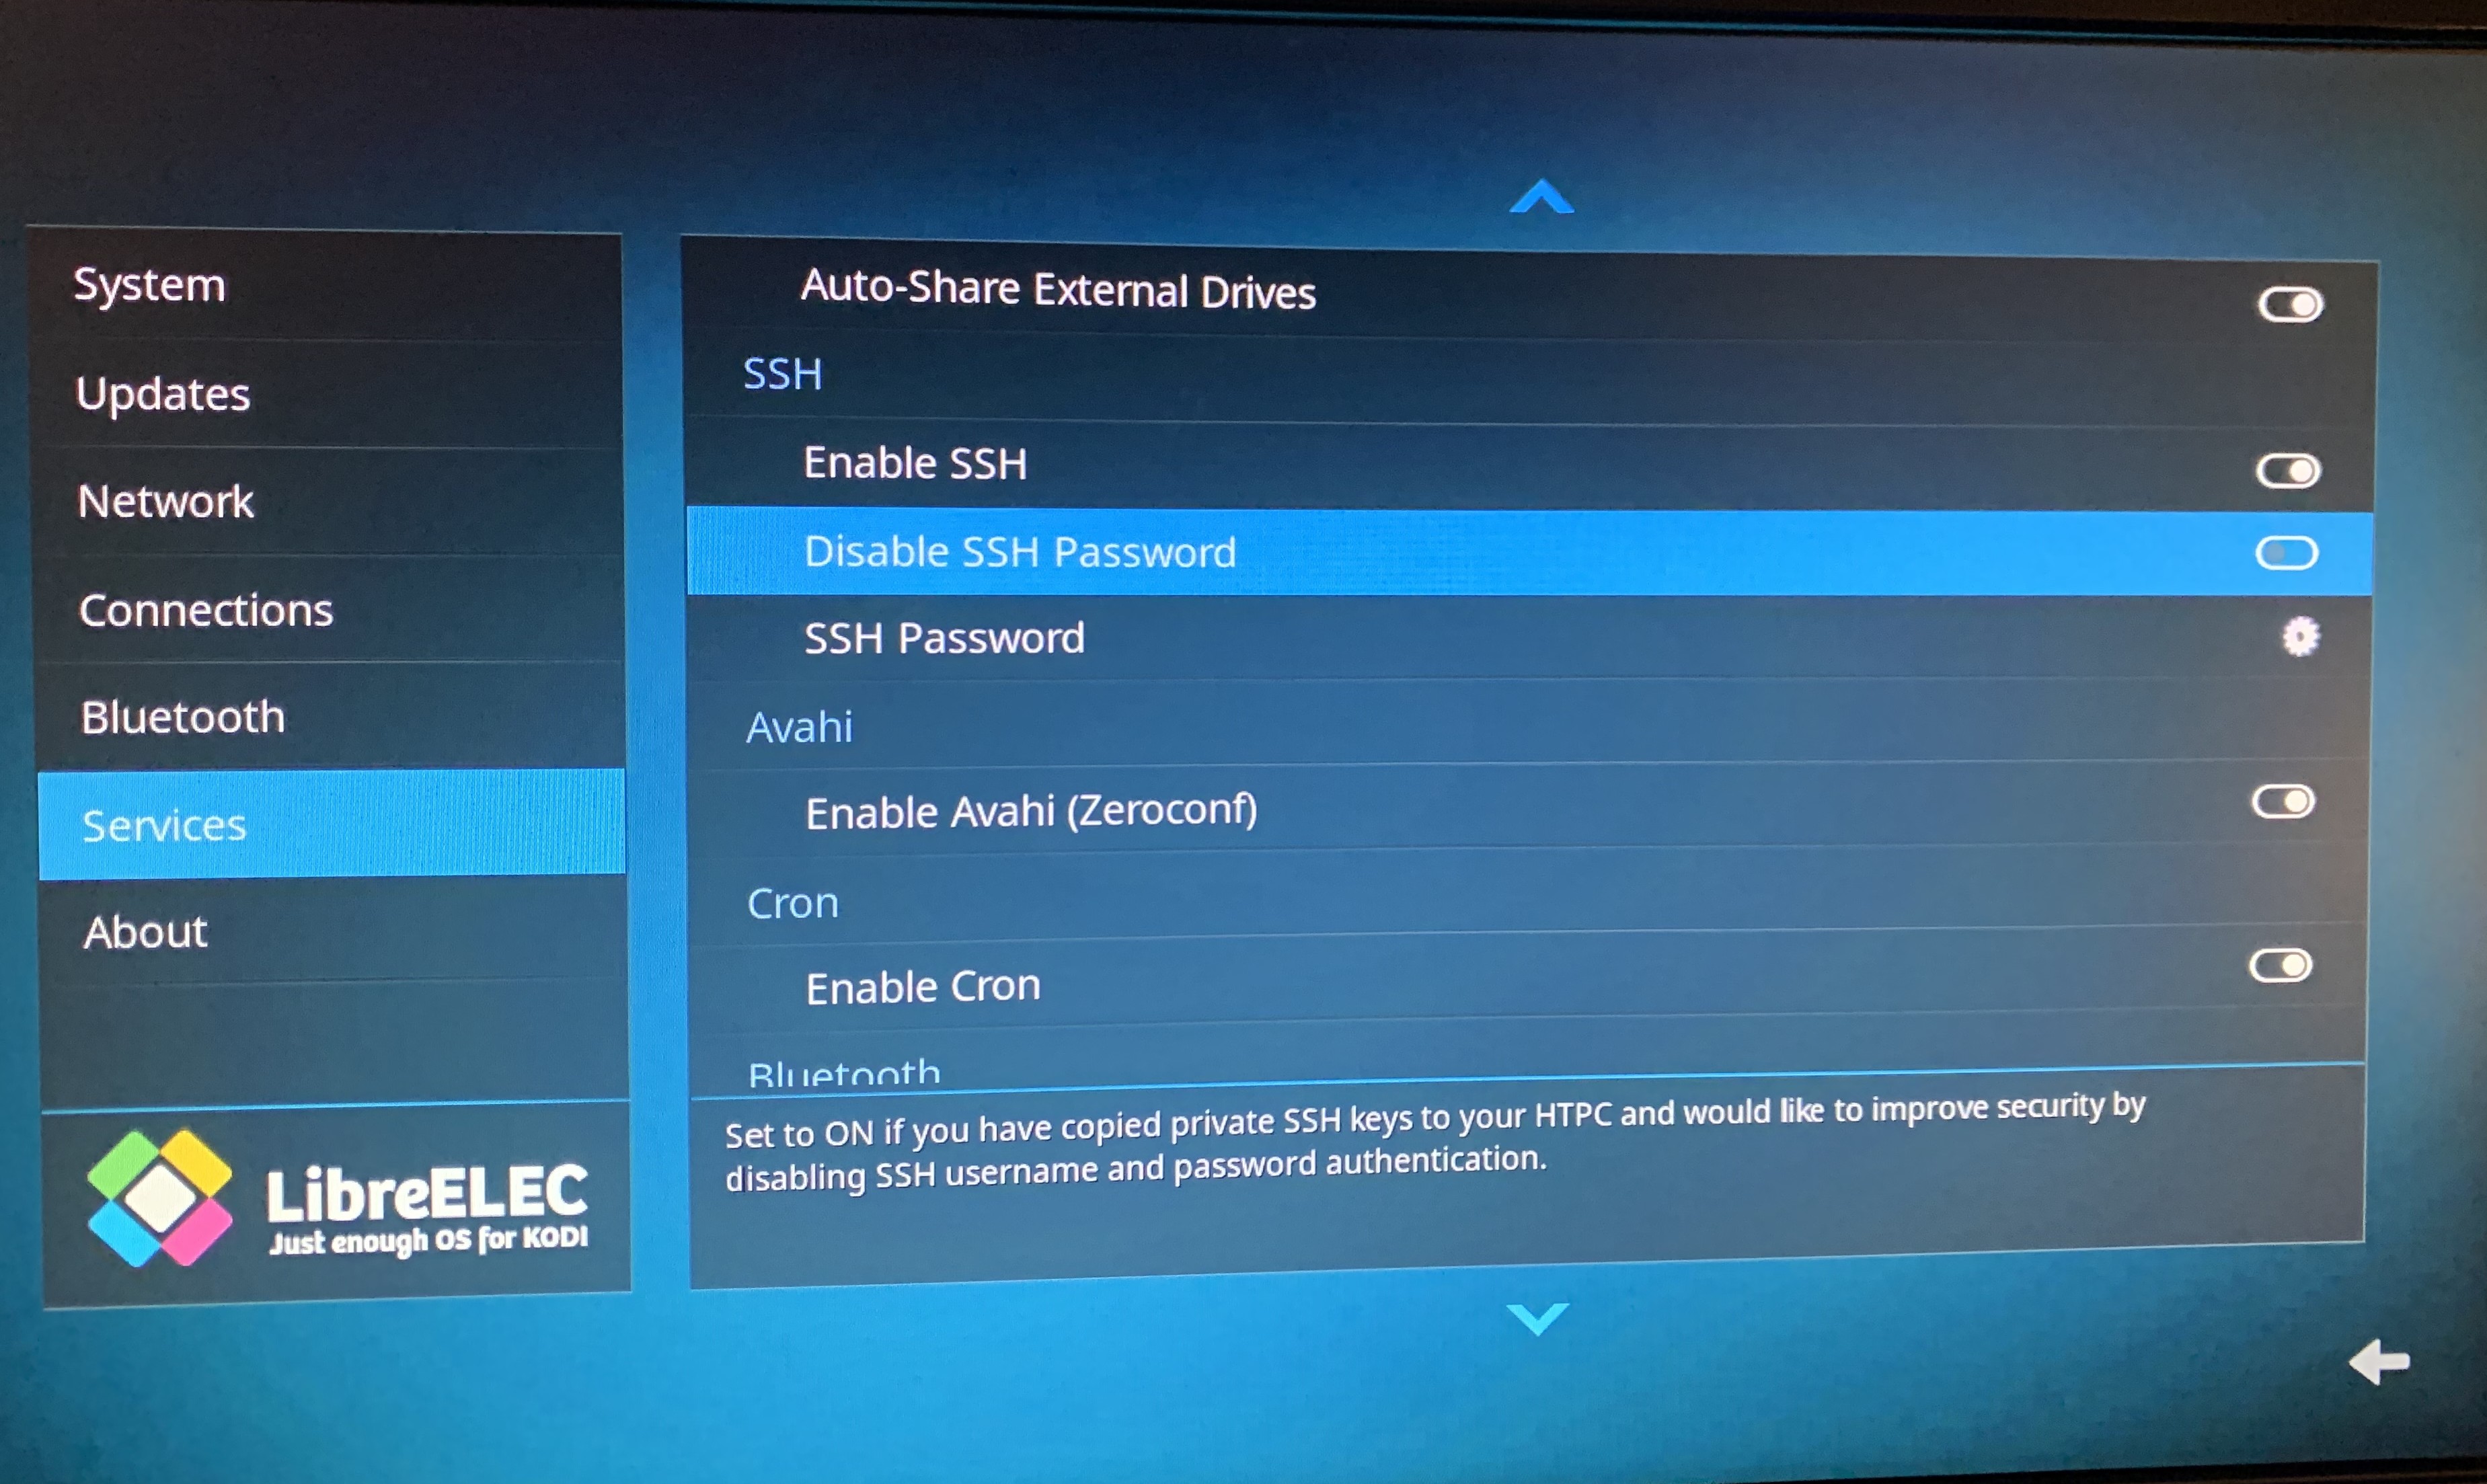
Setup Jellyfin on Kodi
Finally, let’s go to the fun part and connect to our Jellyfin server thanks to the jellyfin-kodi add-on.
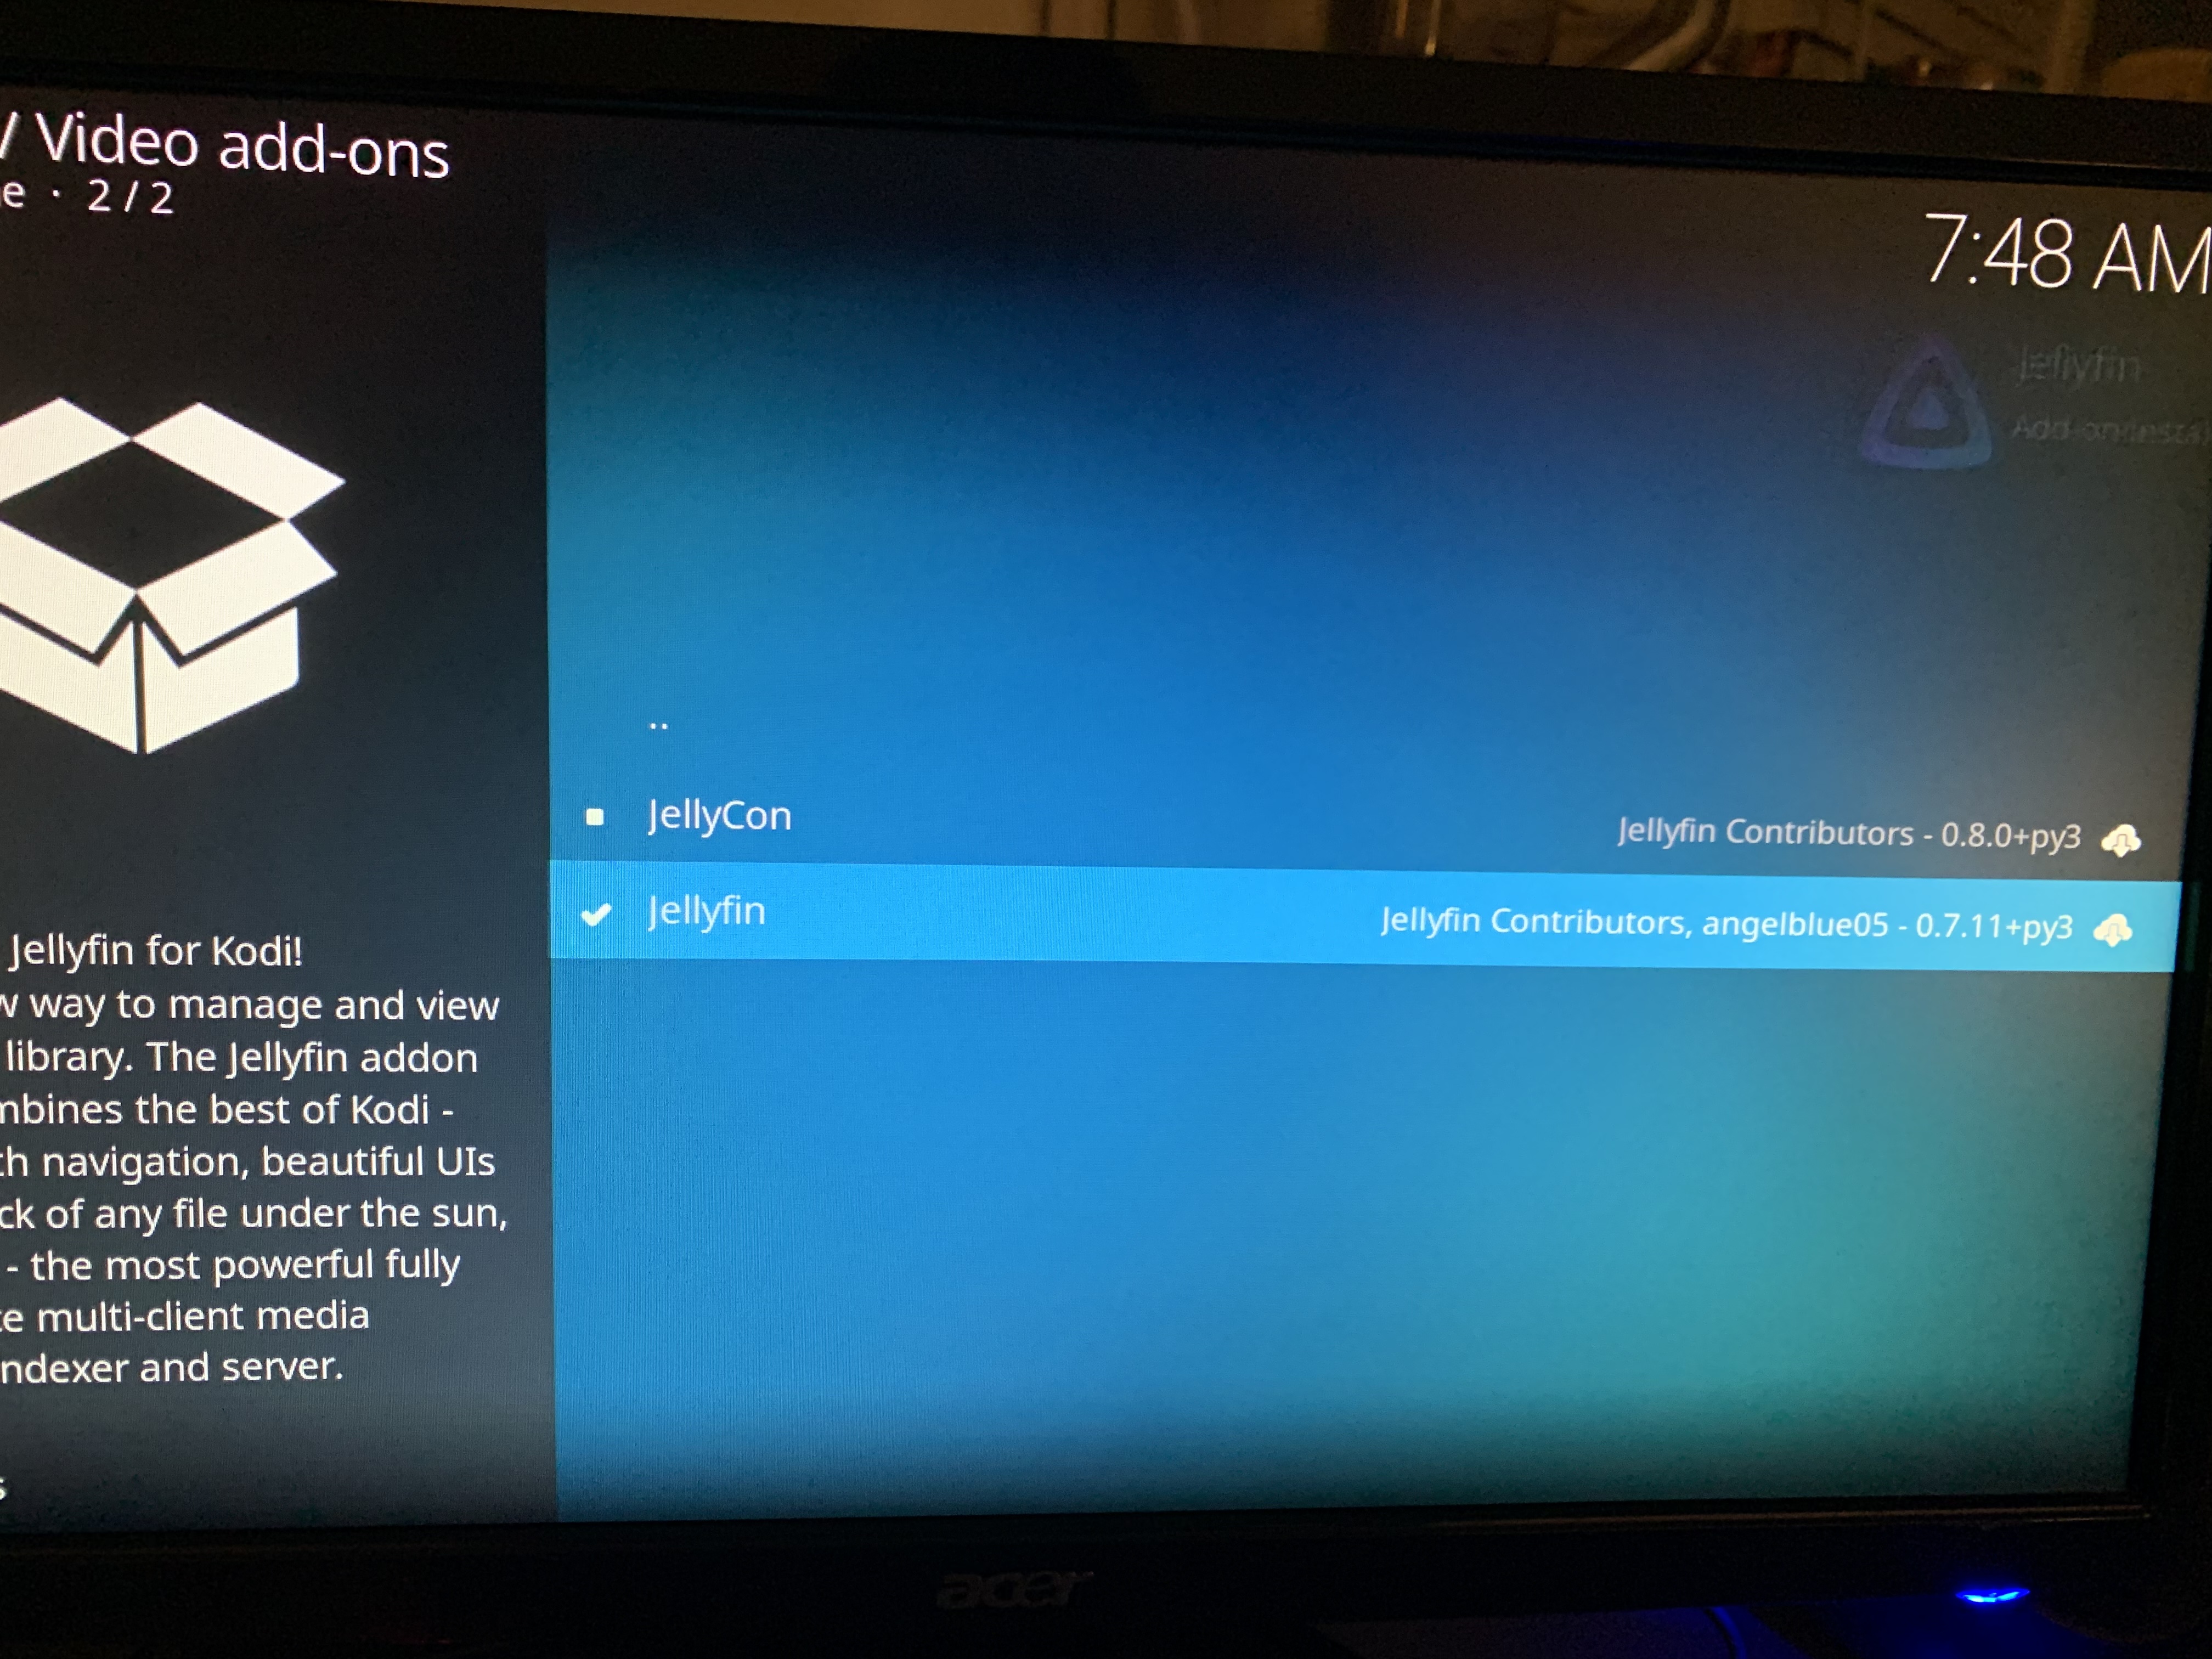
I copied the steps here from the official instructions, specifically the embedded devices intructions the the install Jellyfin for Kodi instructions and adding my screenshots. We will install the Jellyfin for Kodi add-on, not the JellyCon one as I find the former much better integrated in the UI.
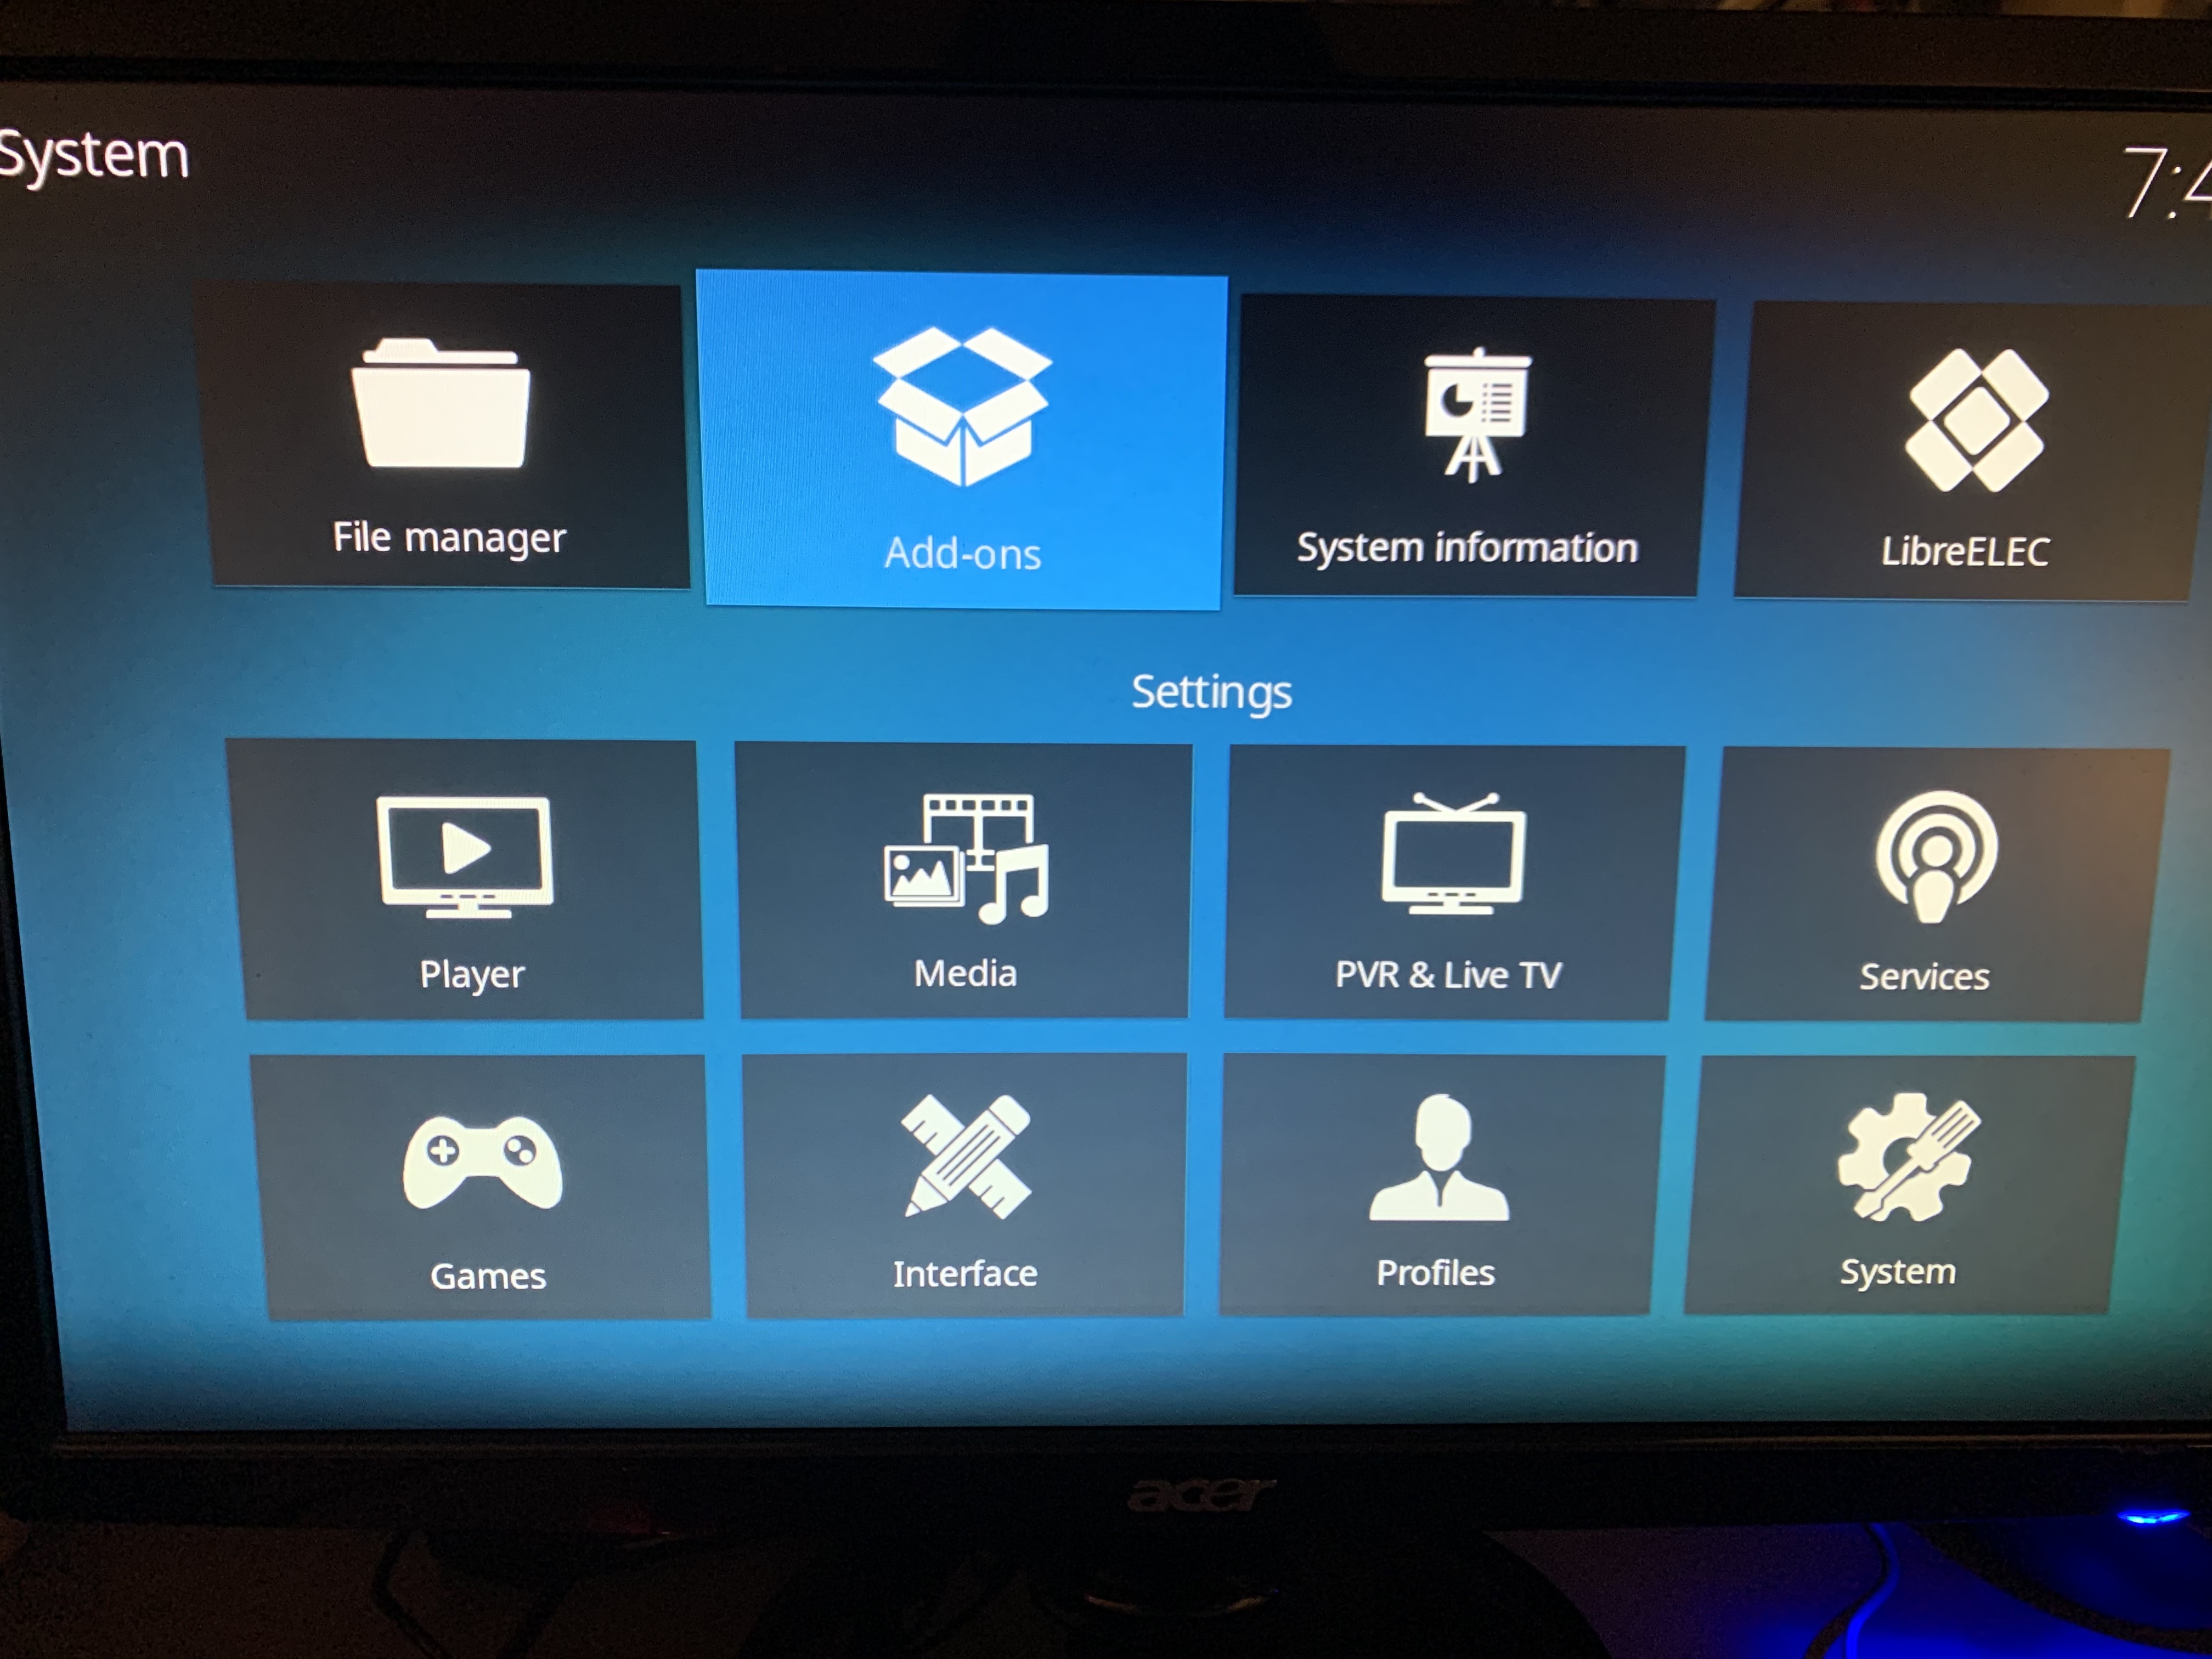
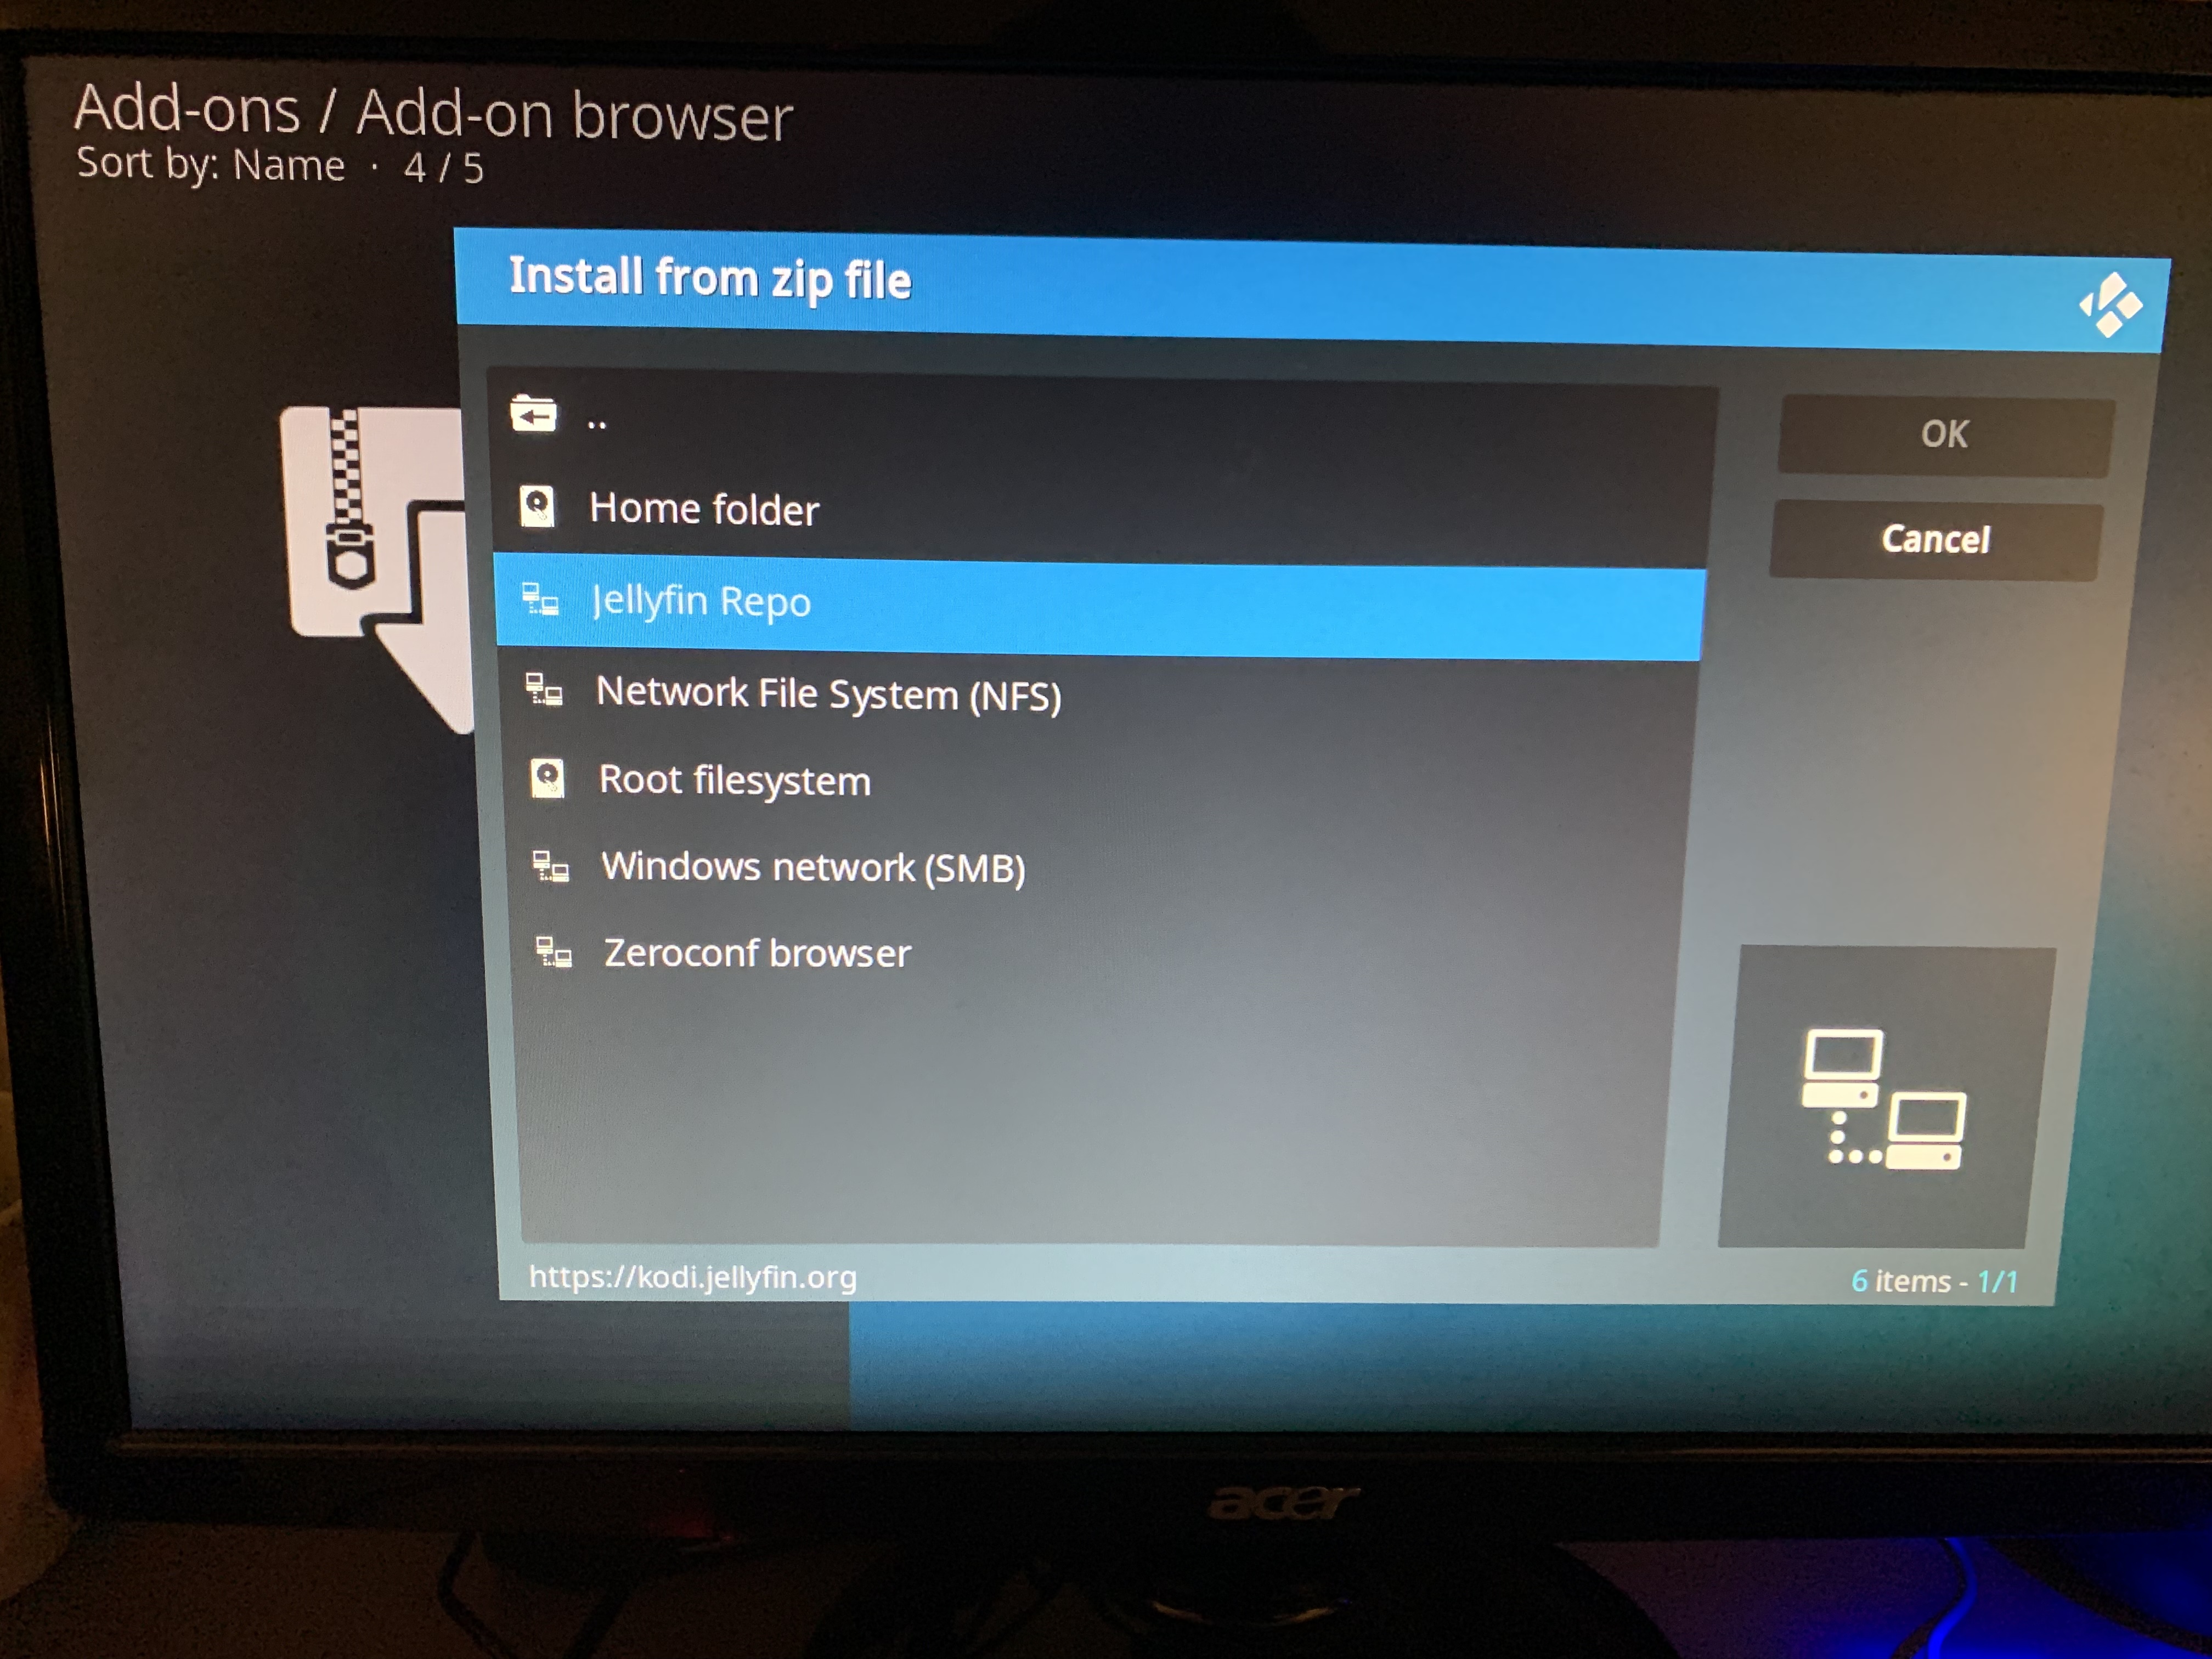
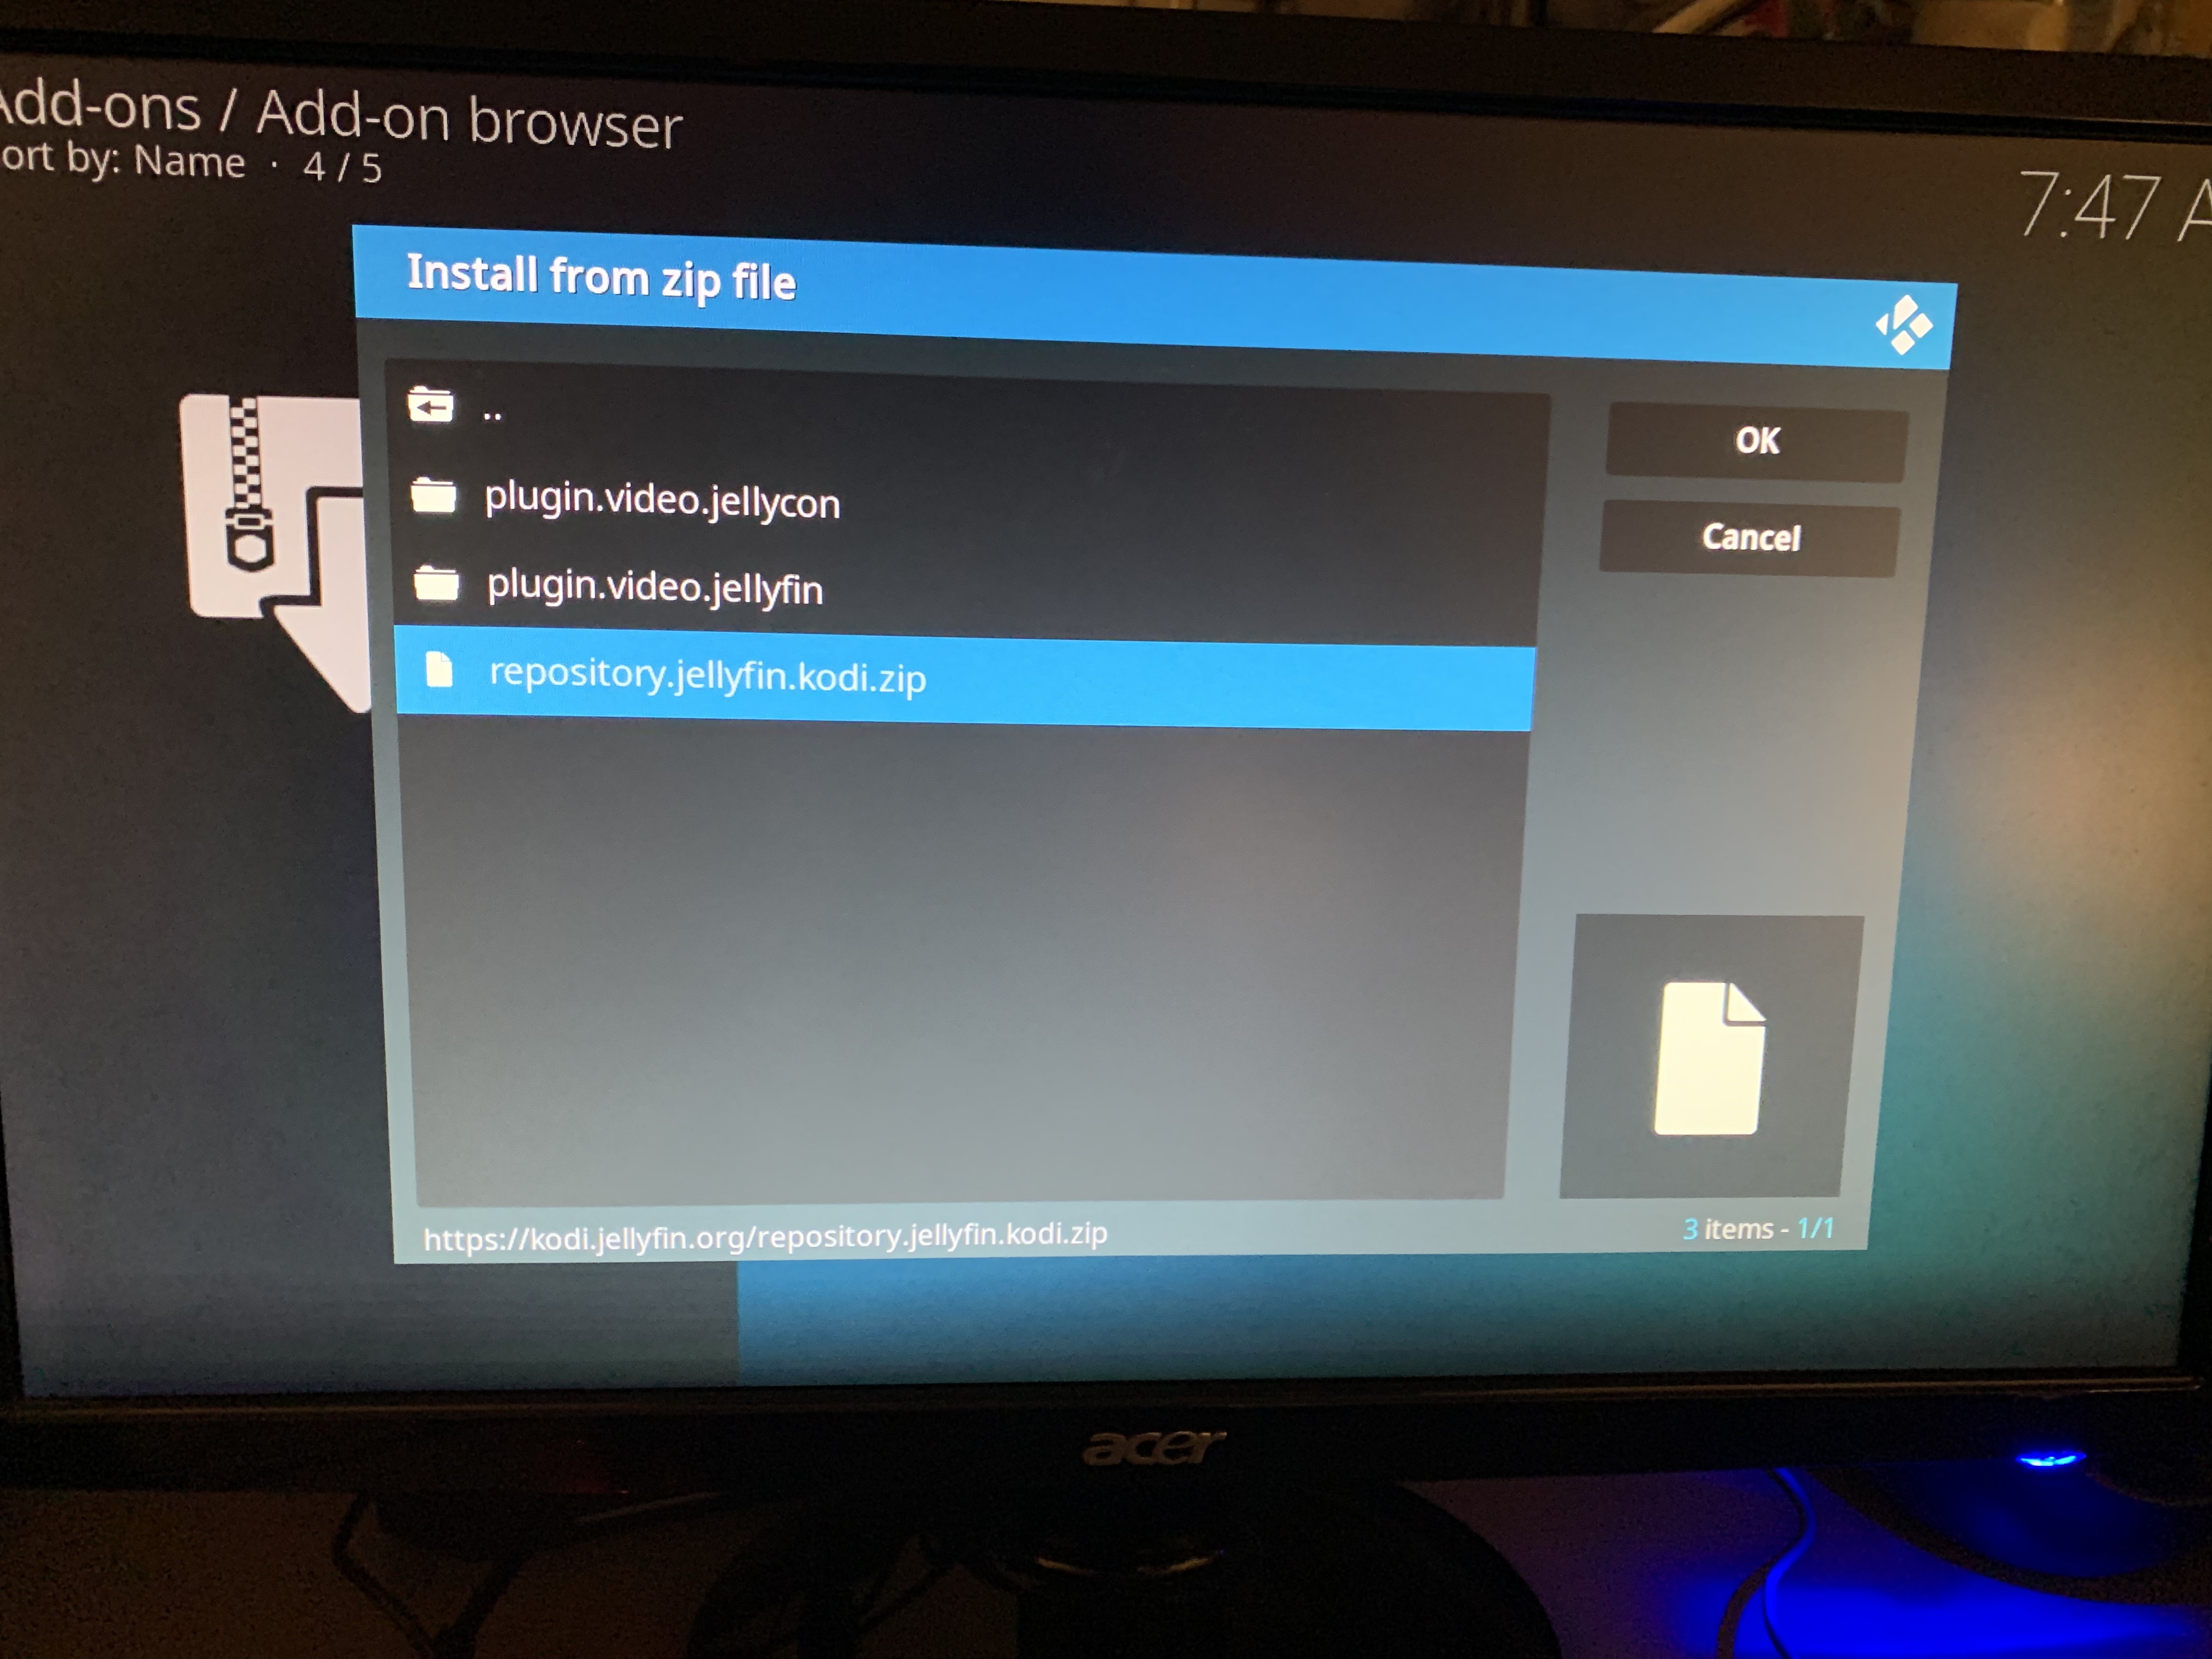
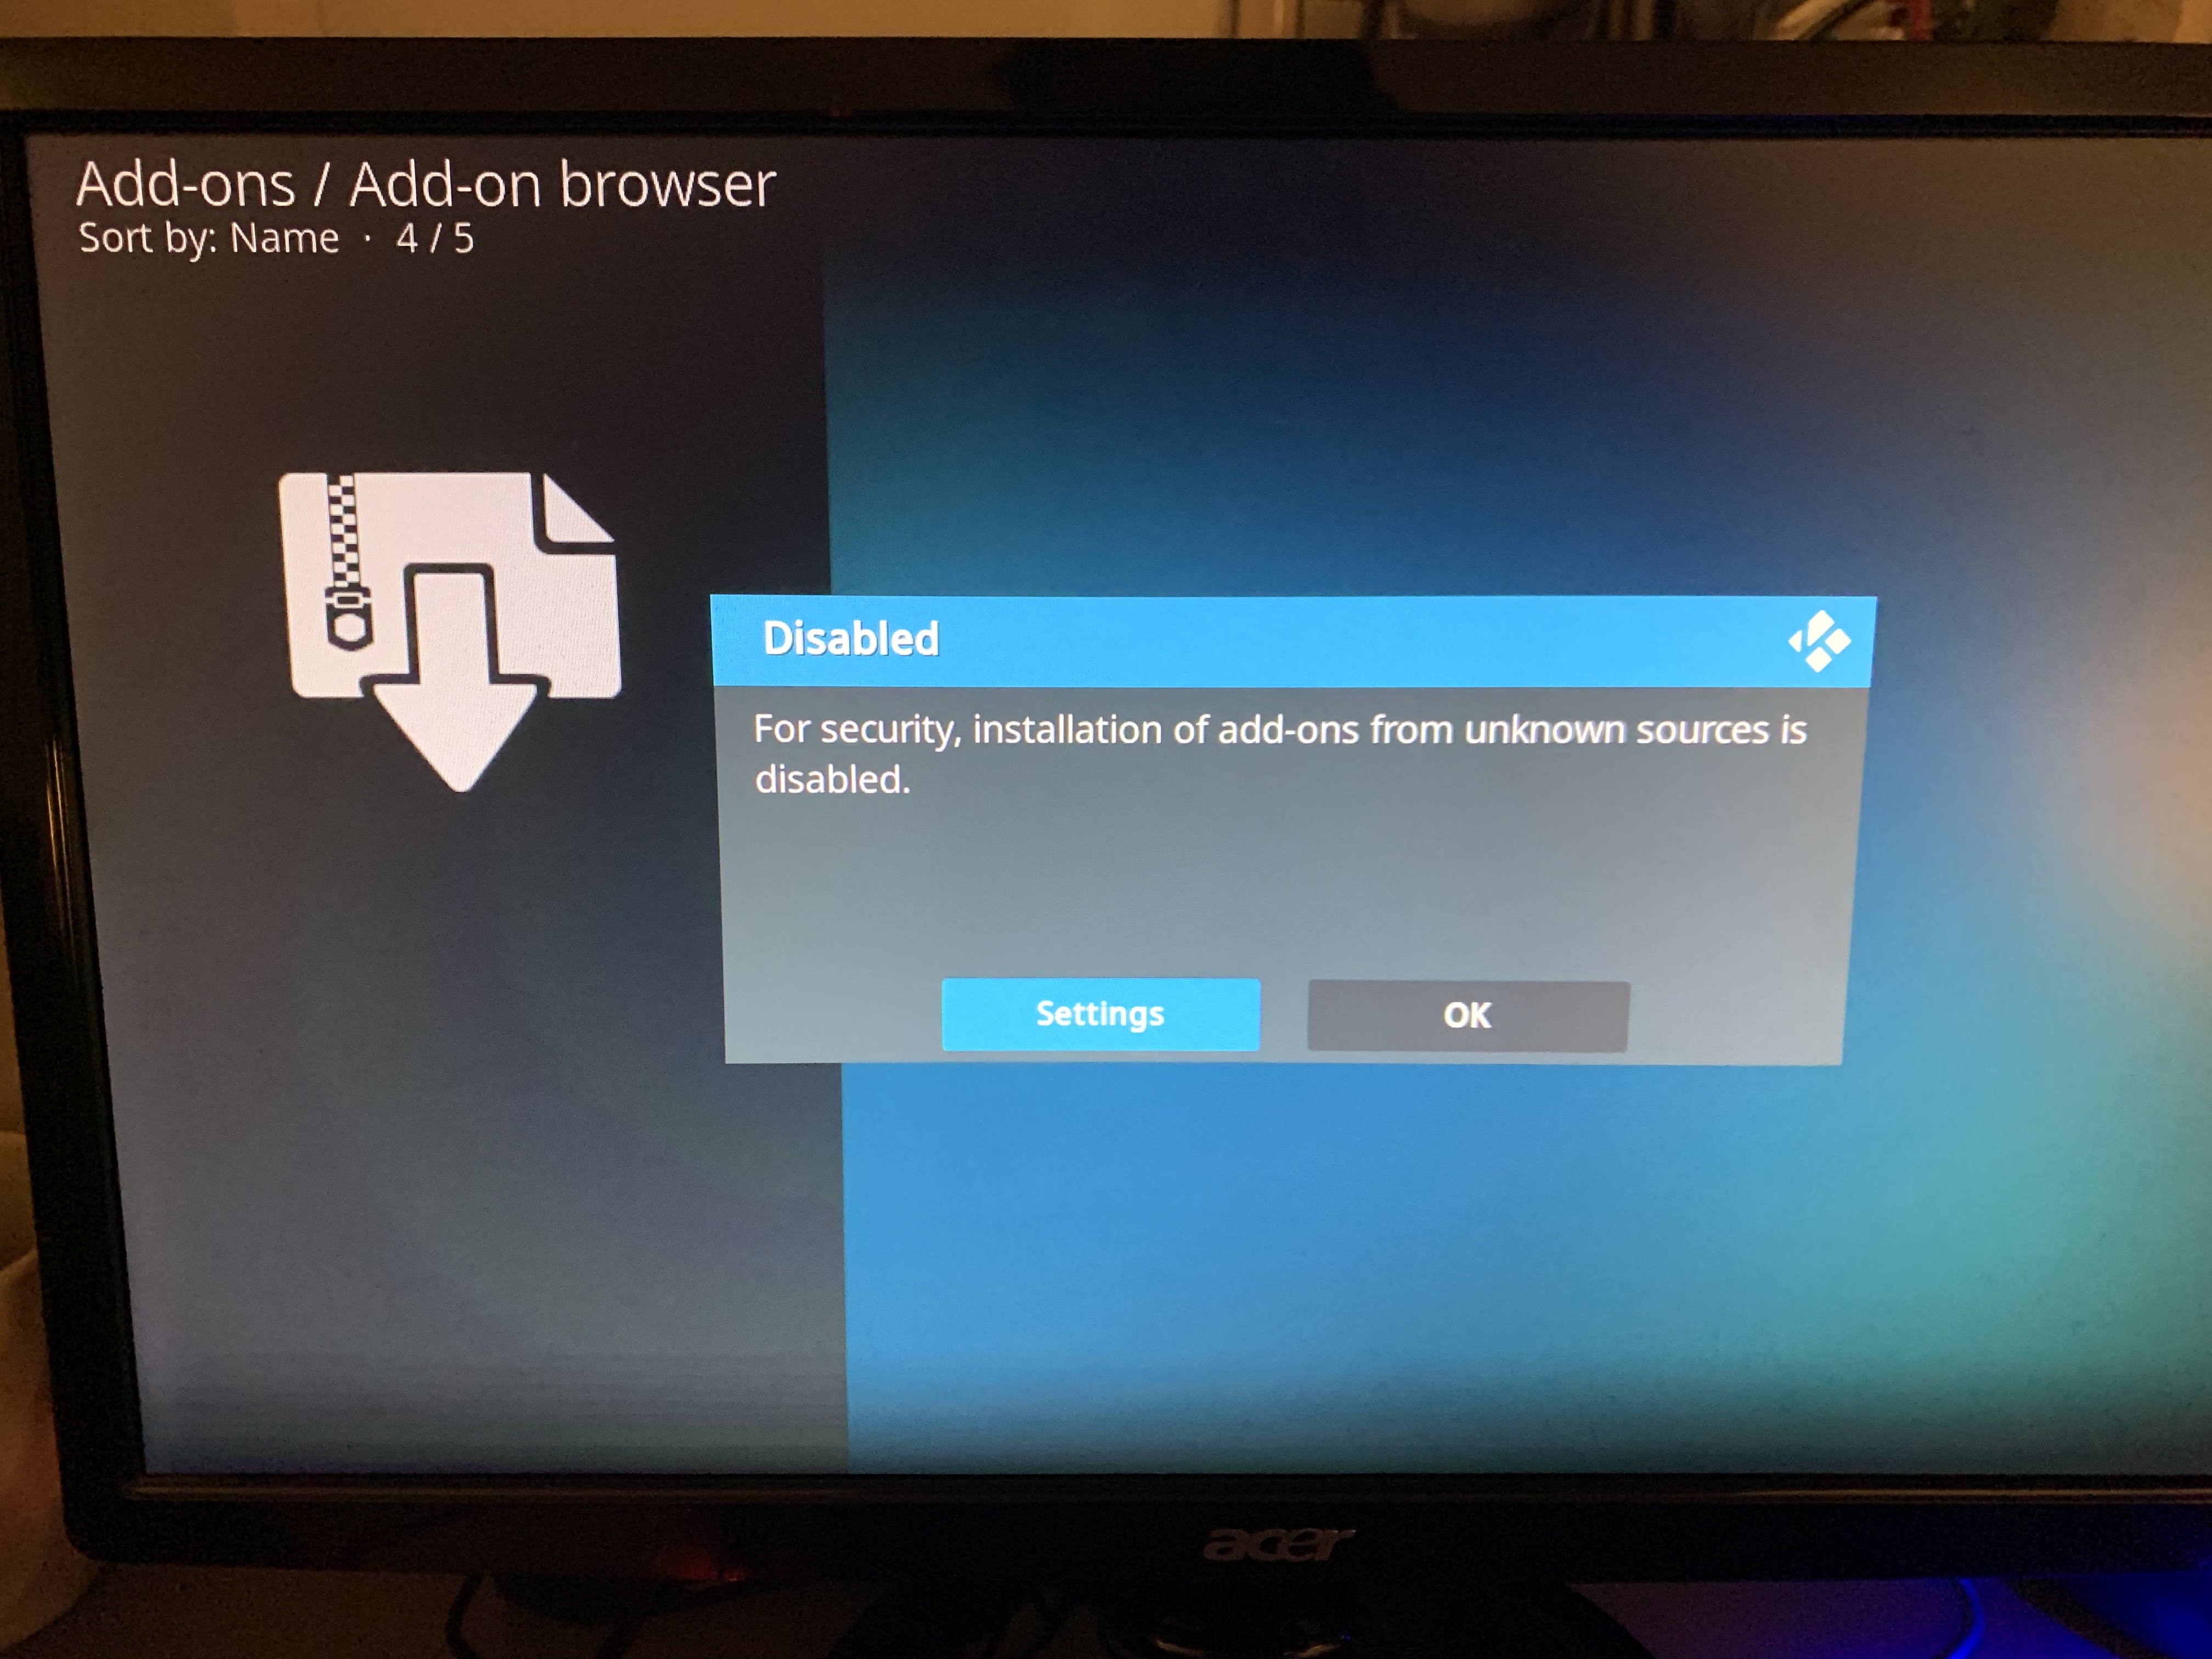
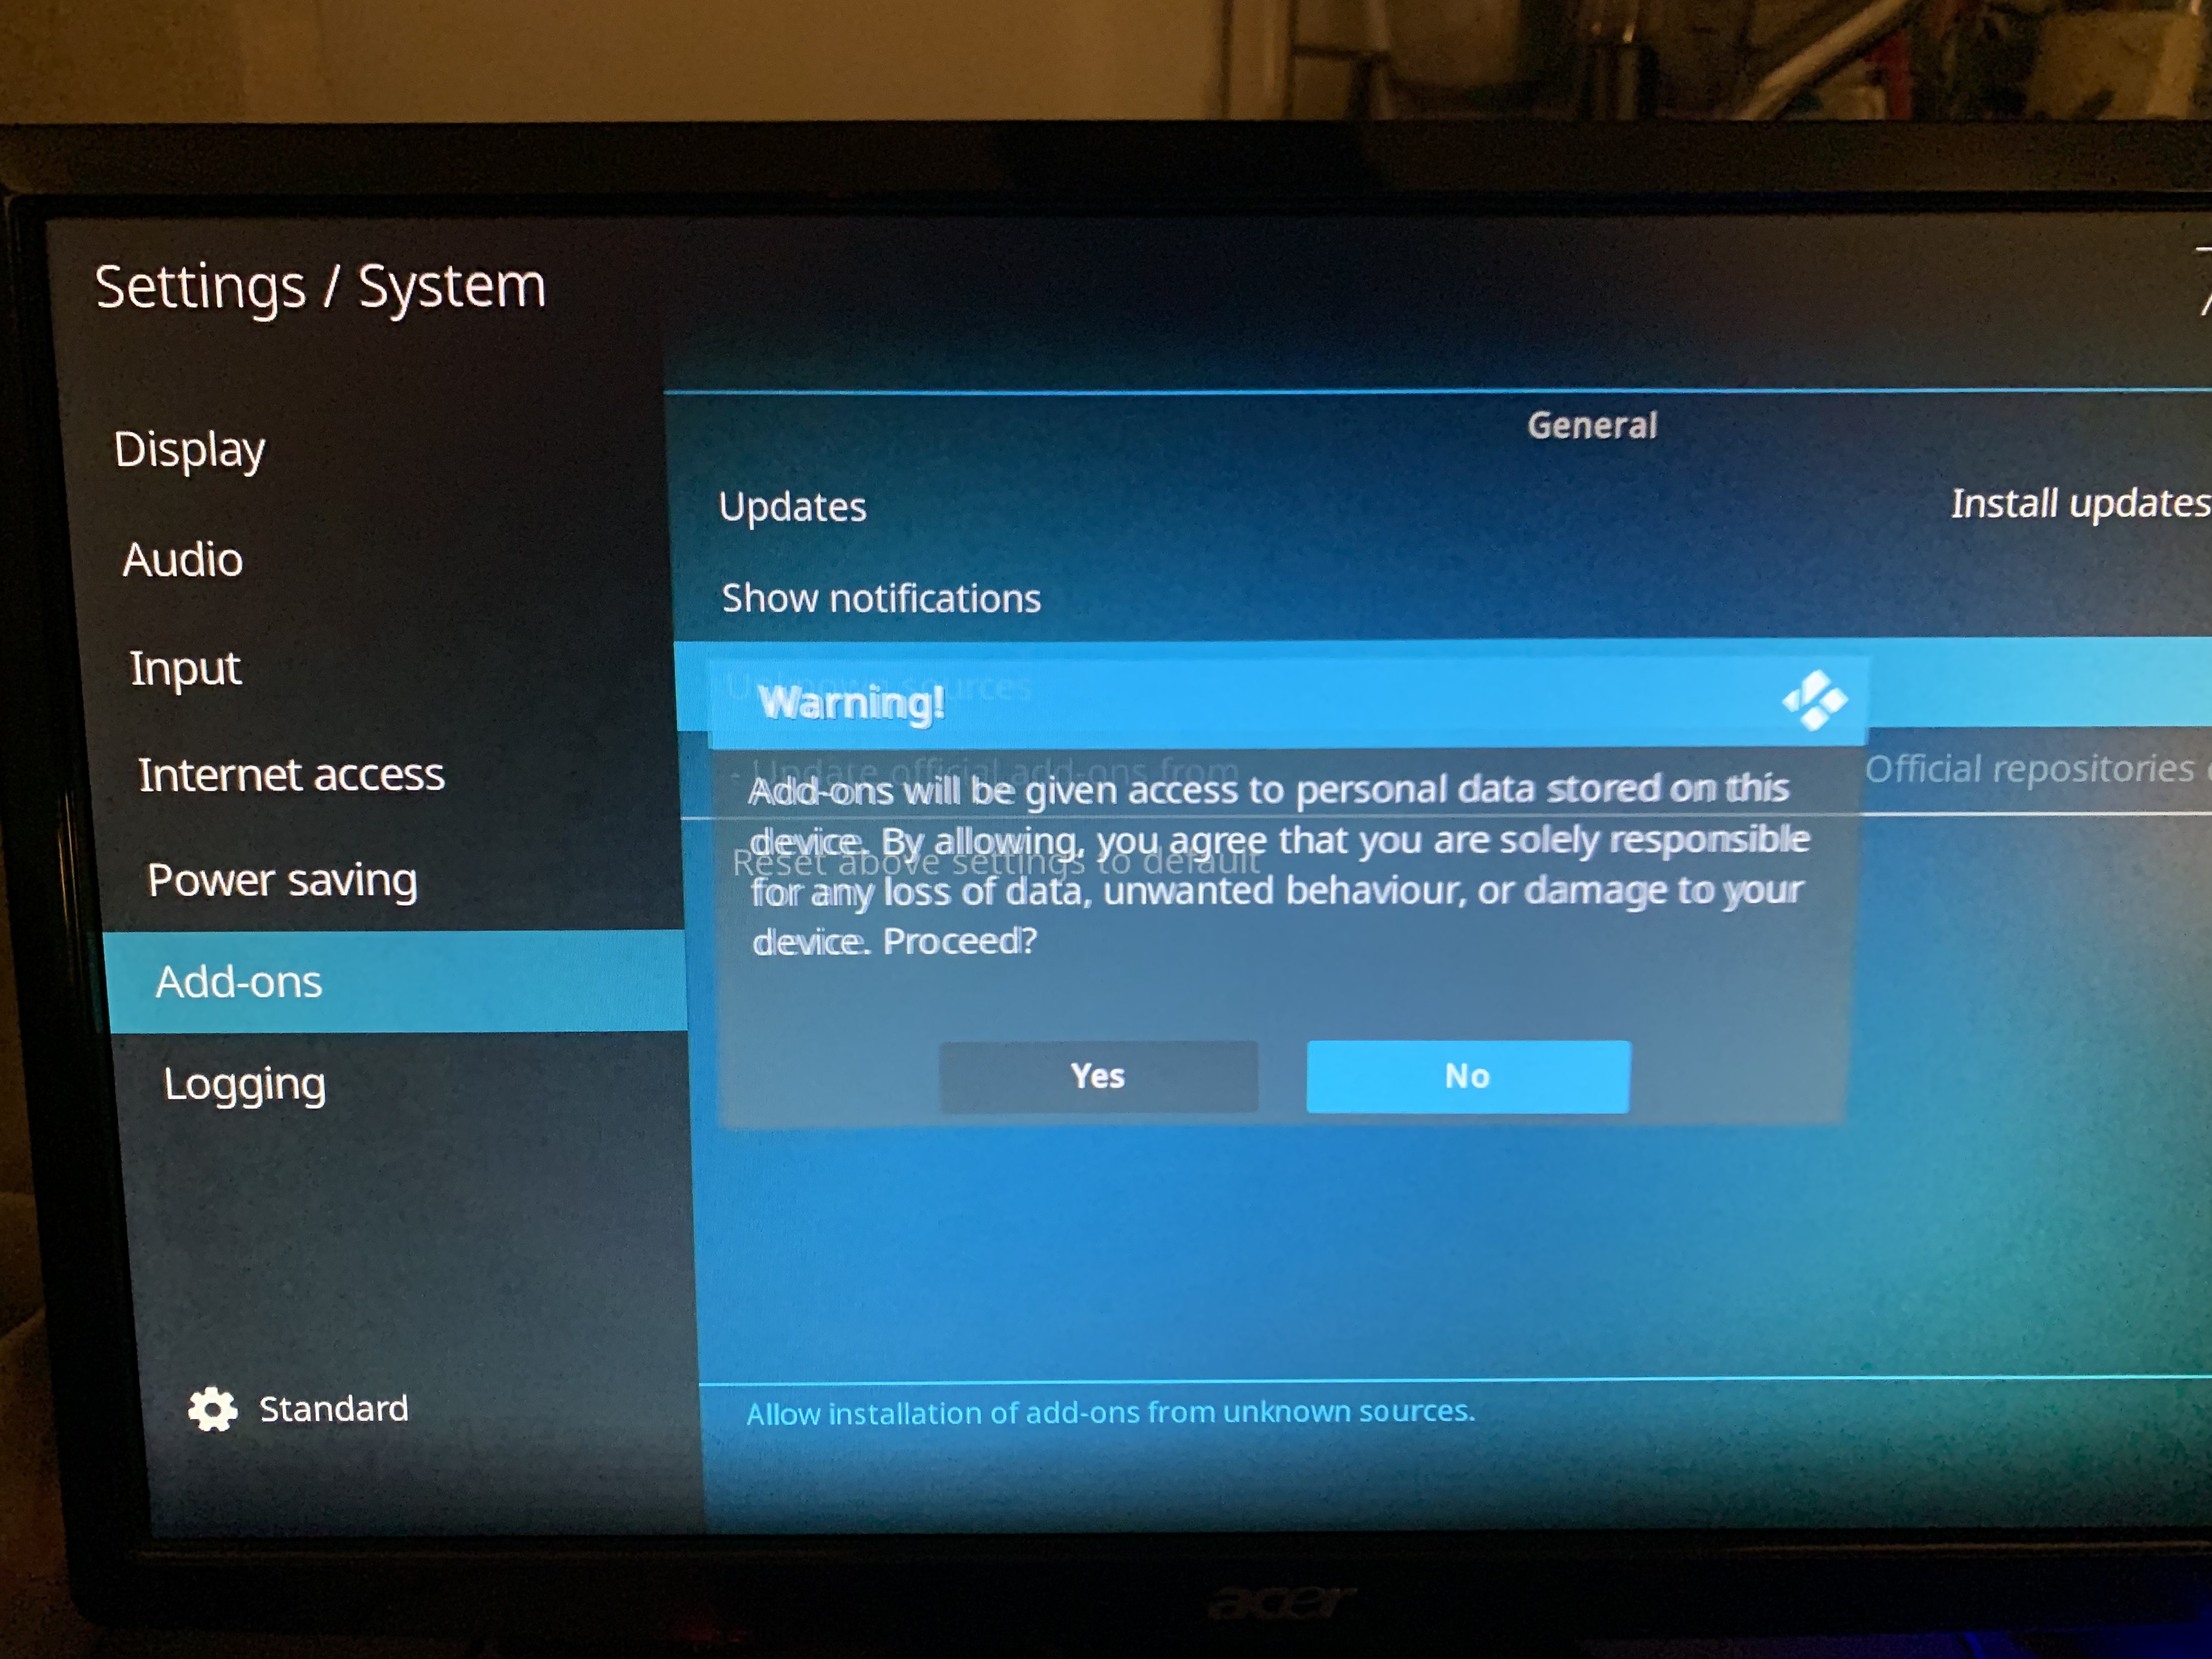
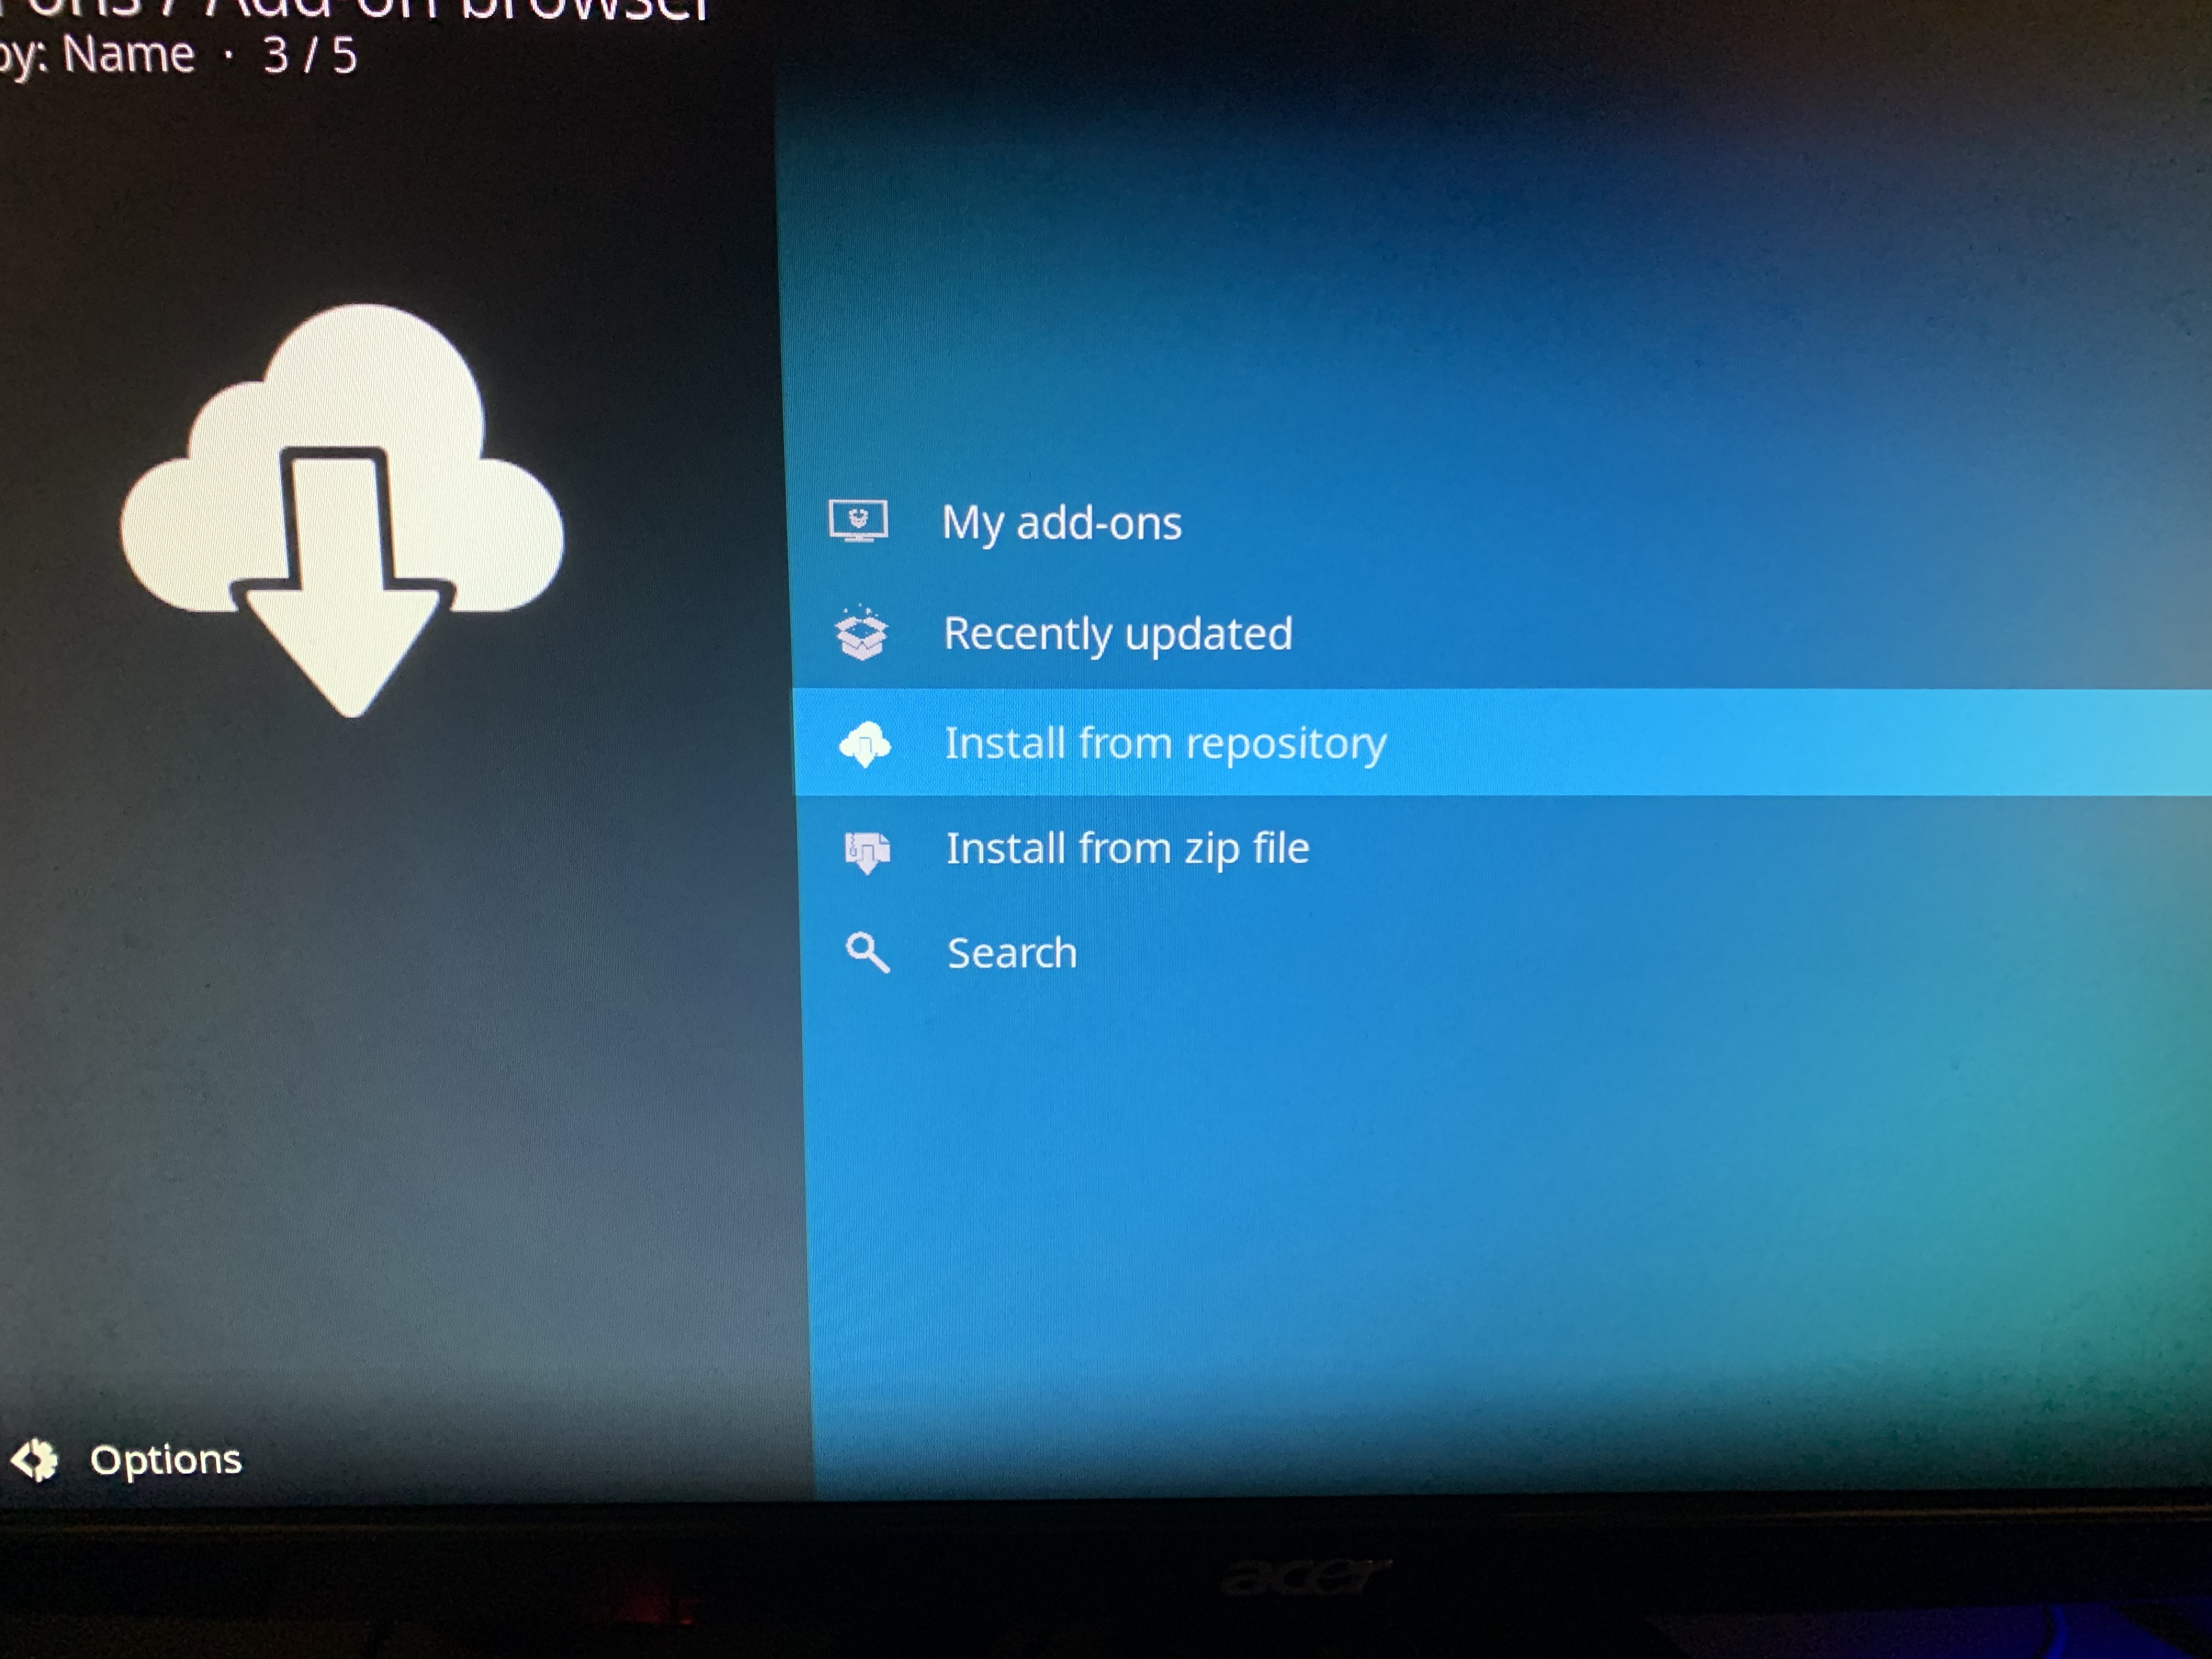
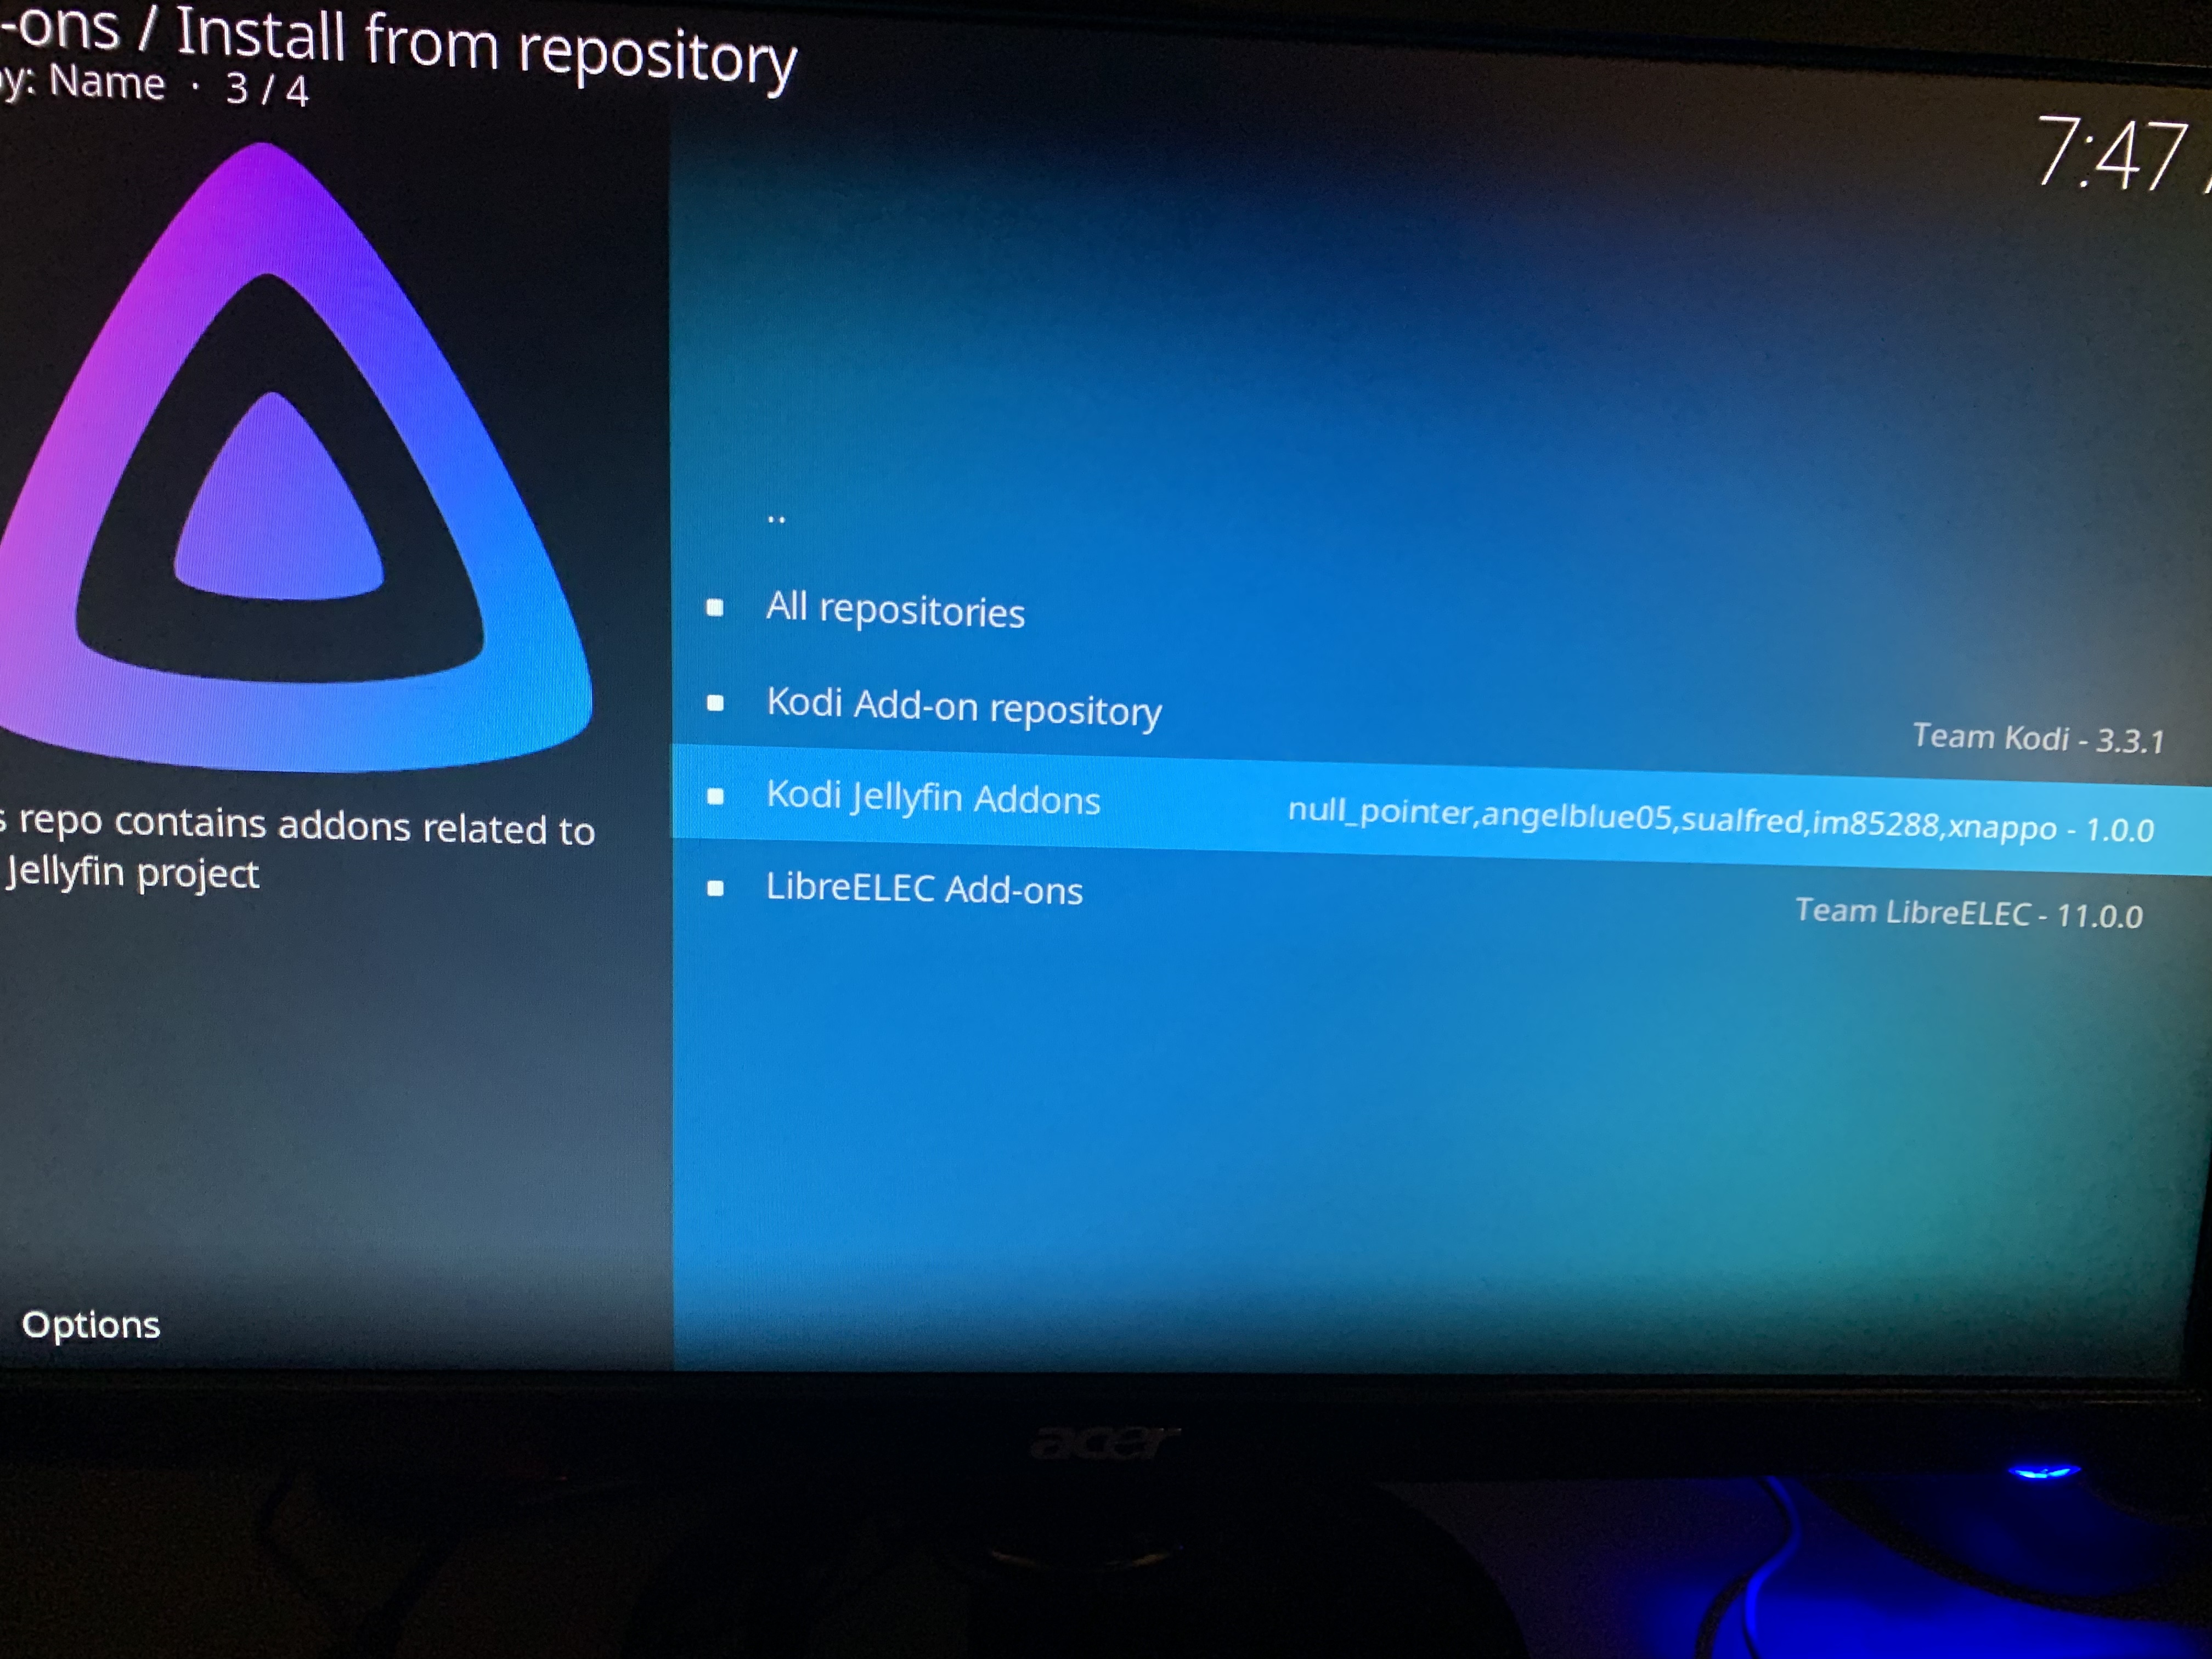
- Install add-on repository.
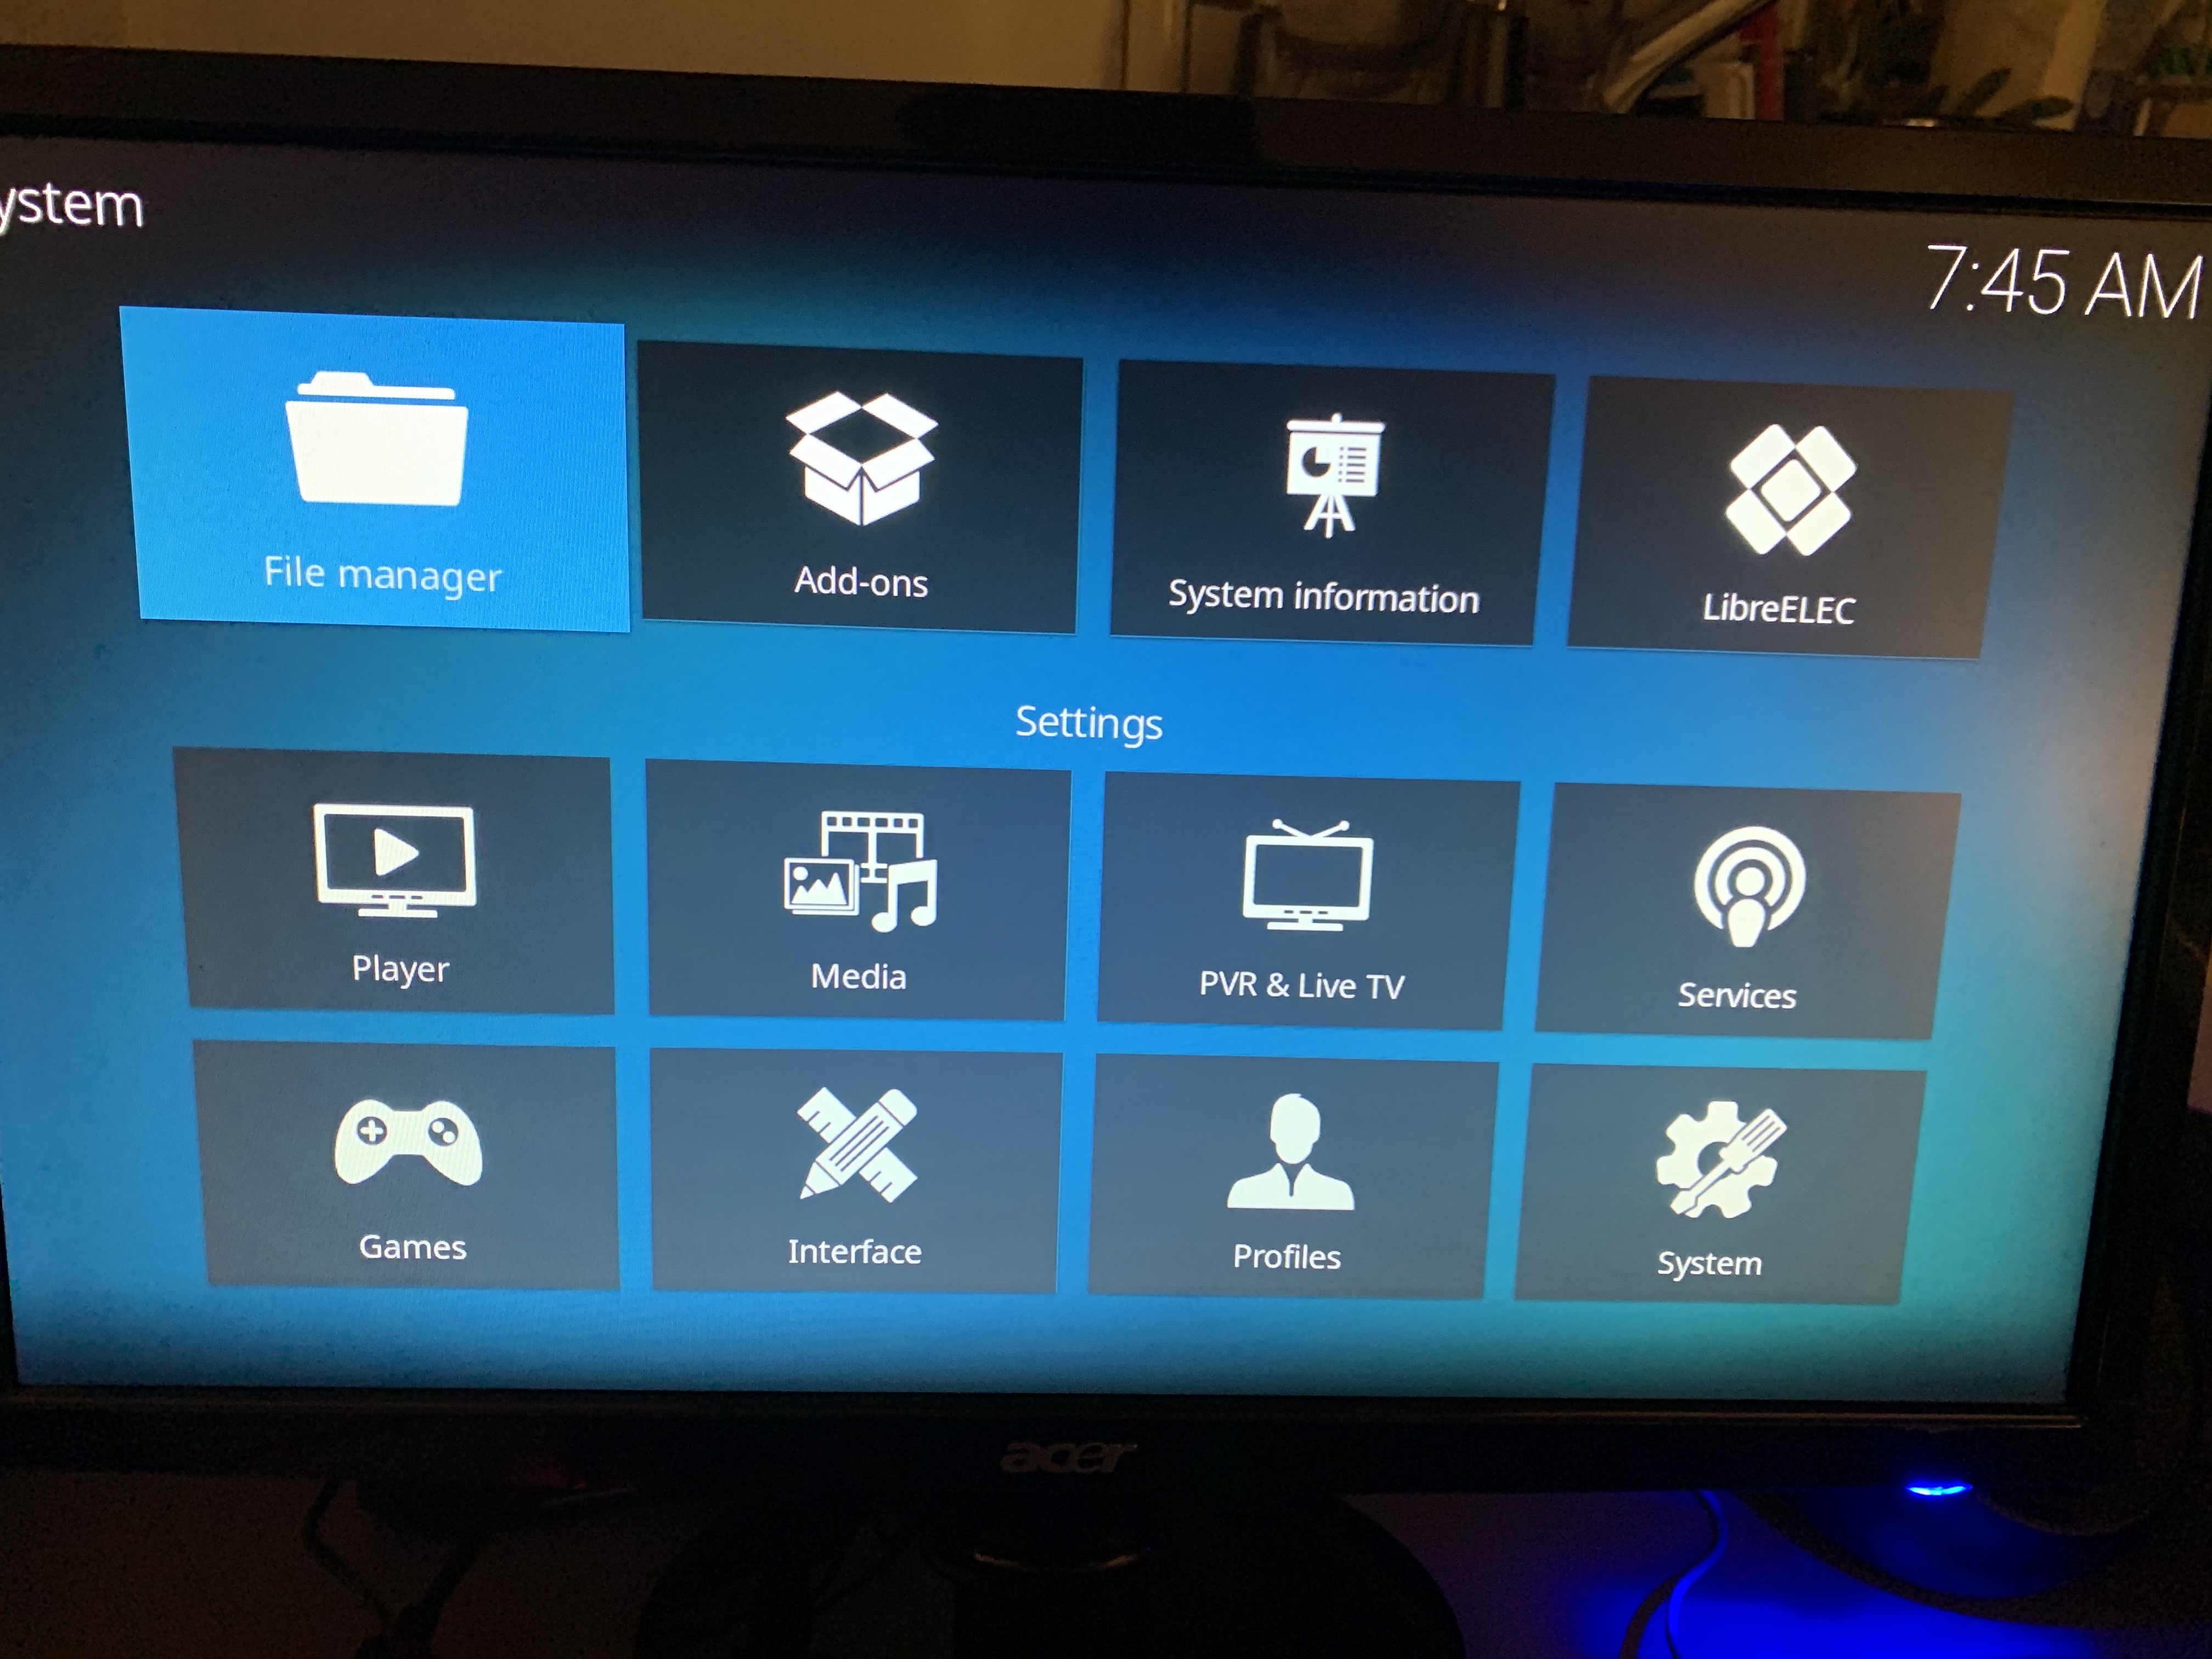
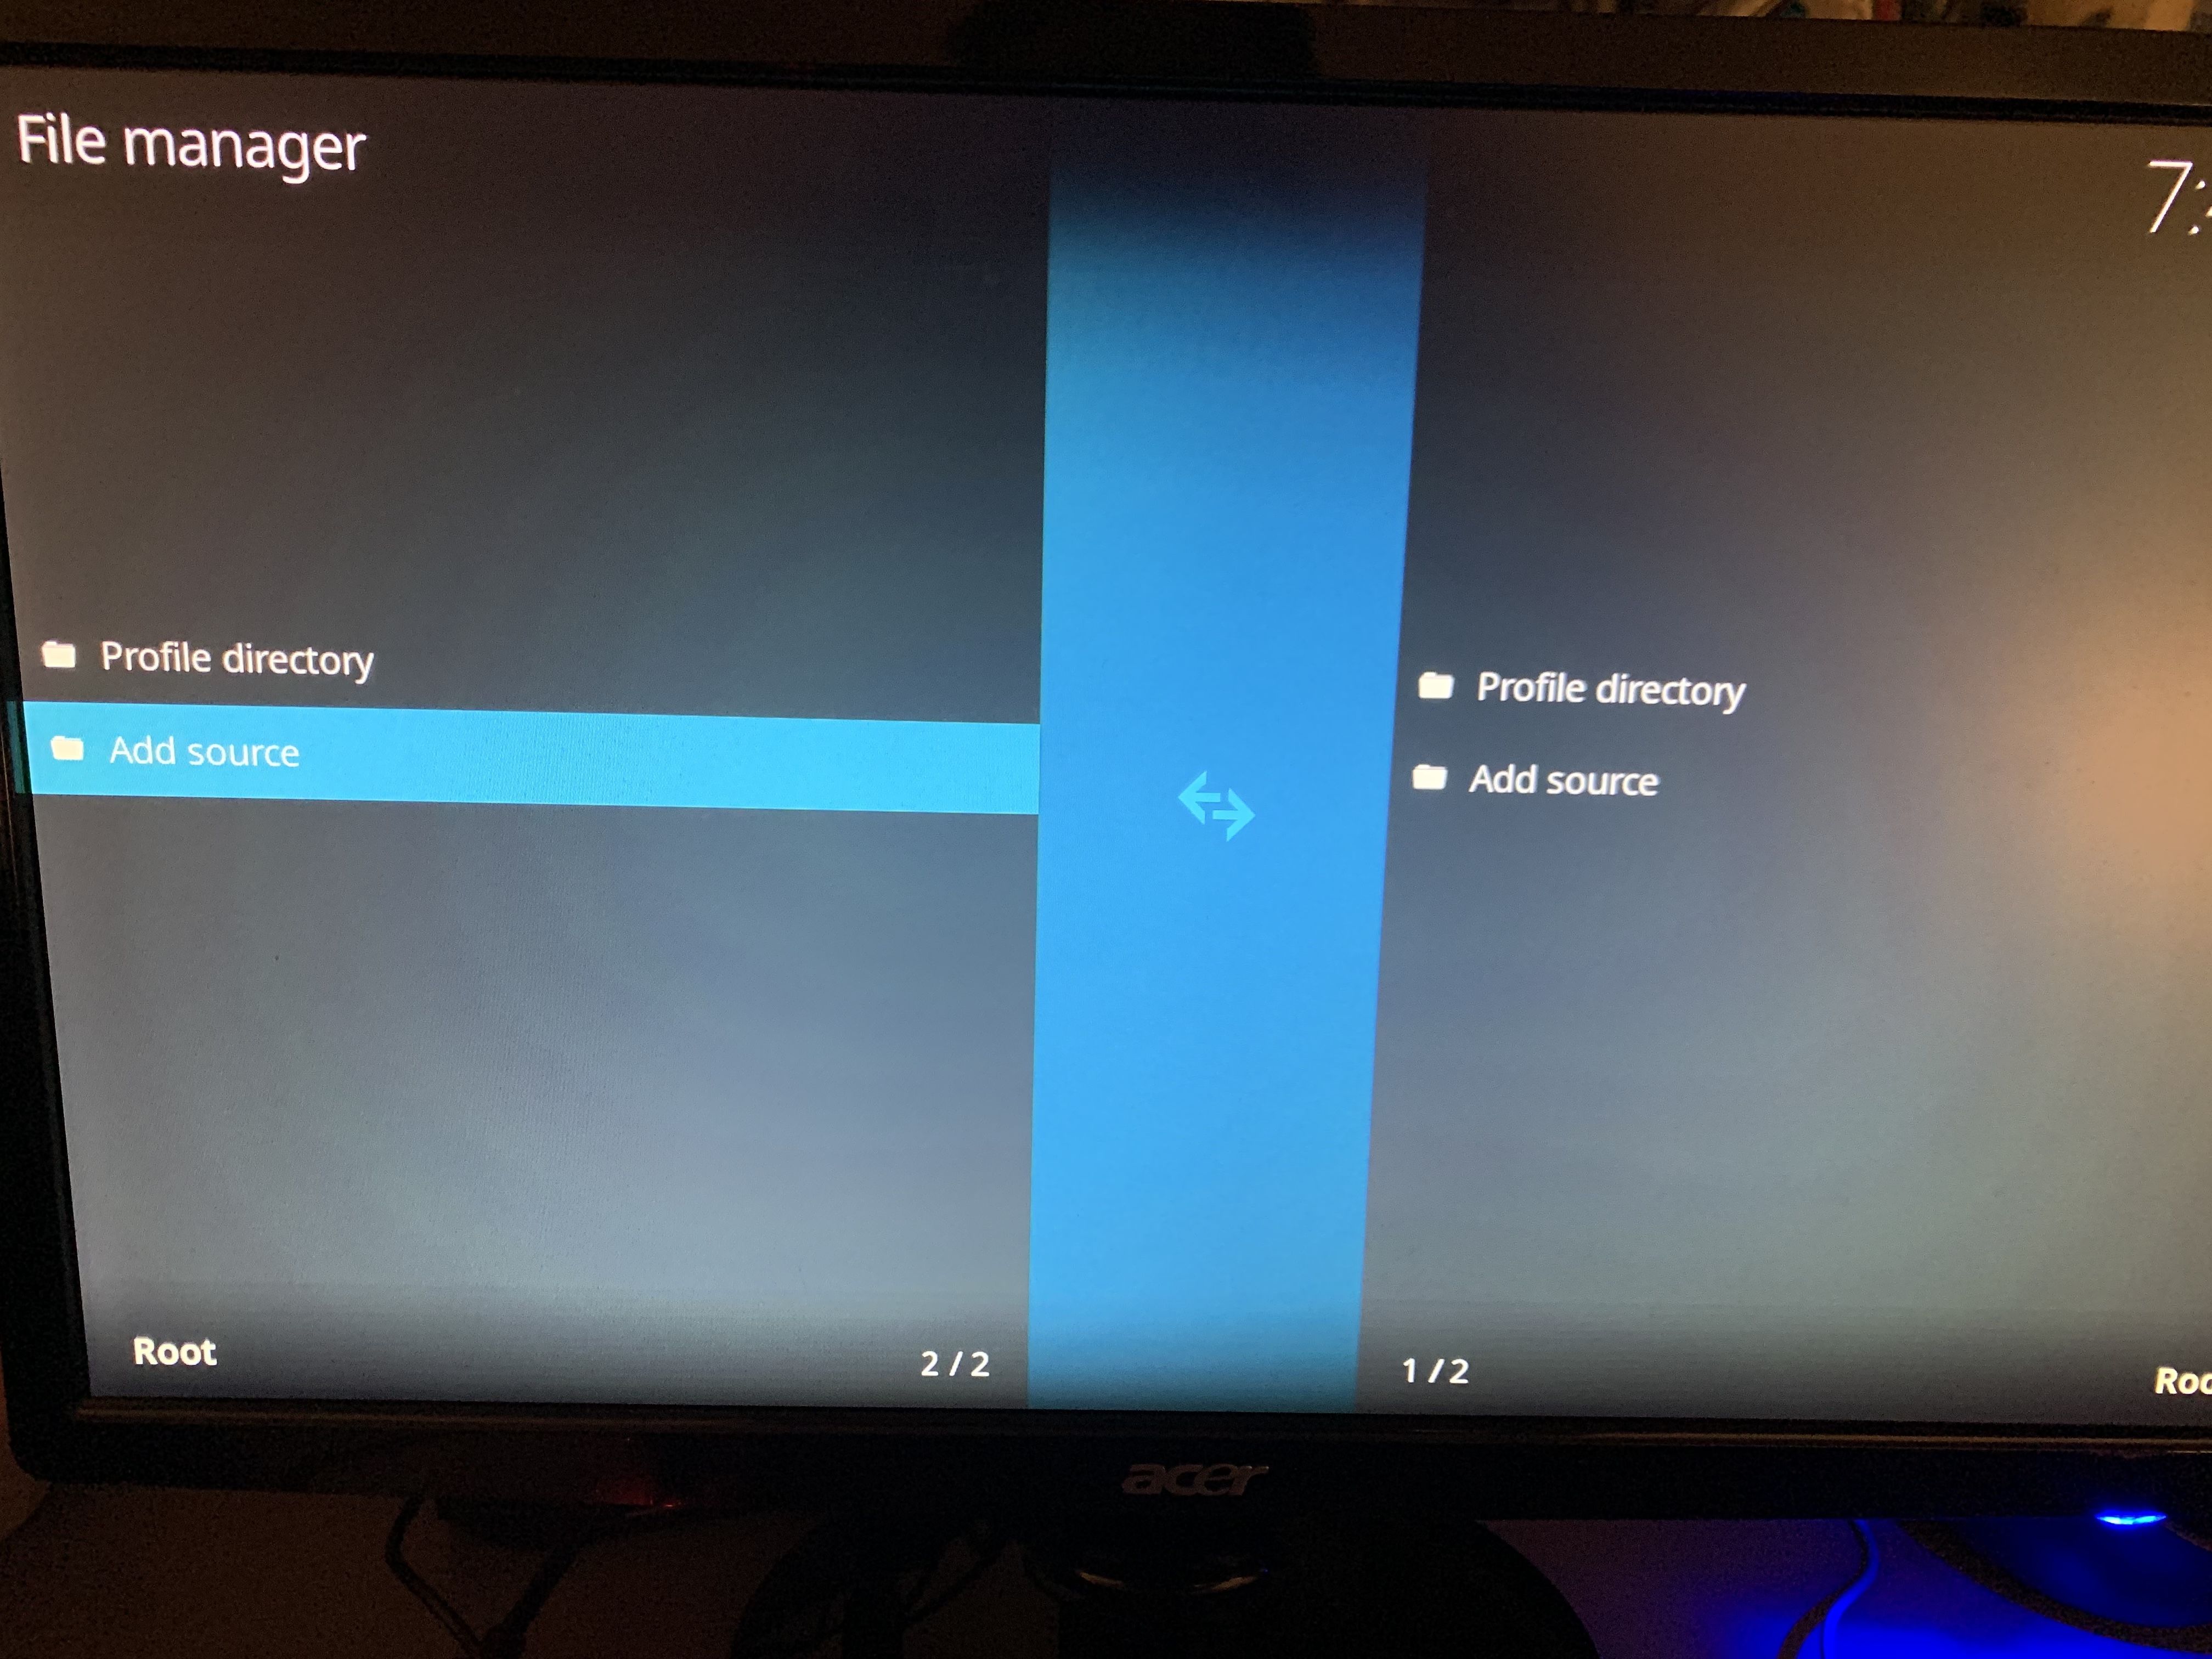
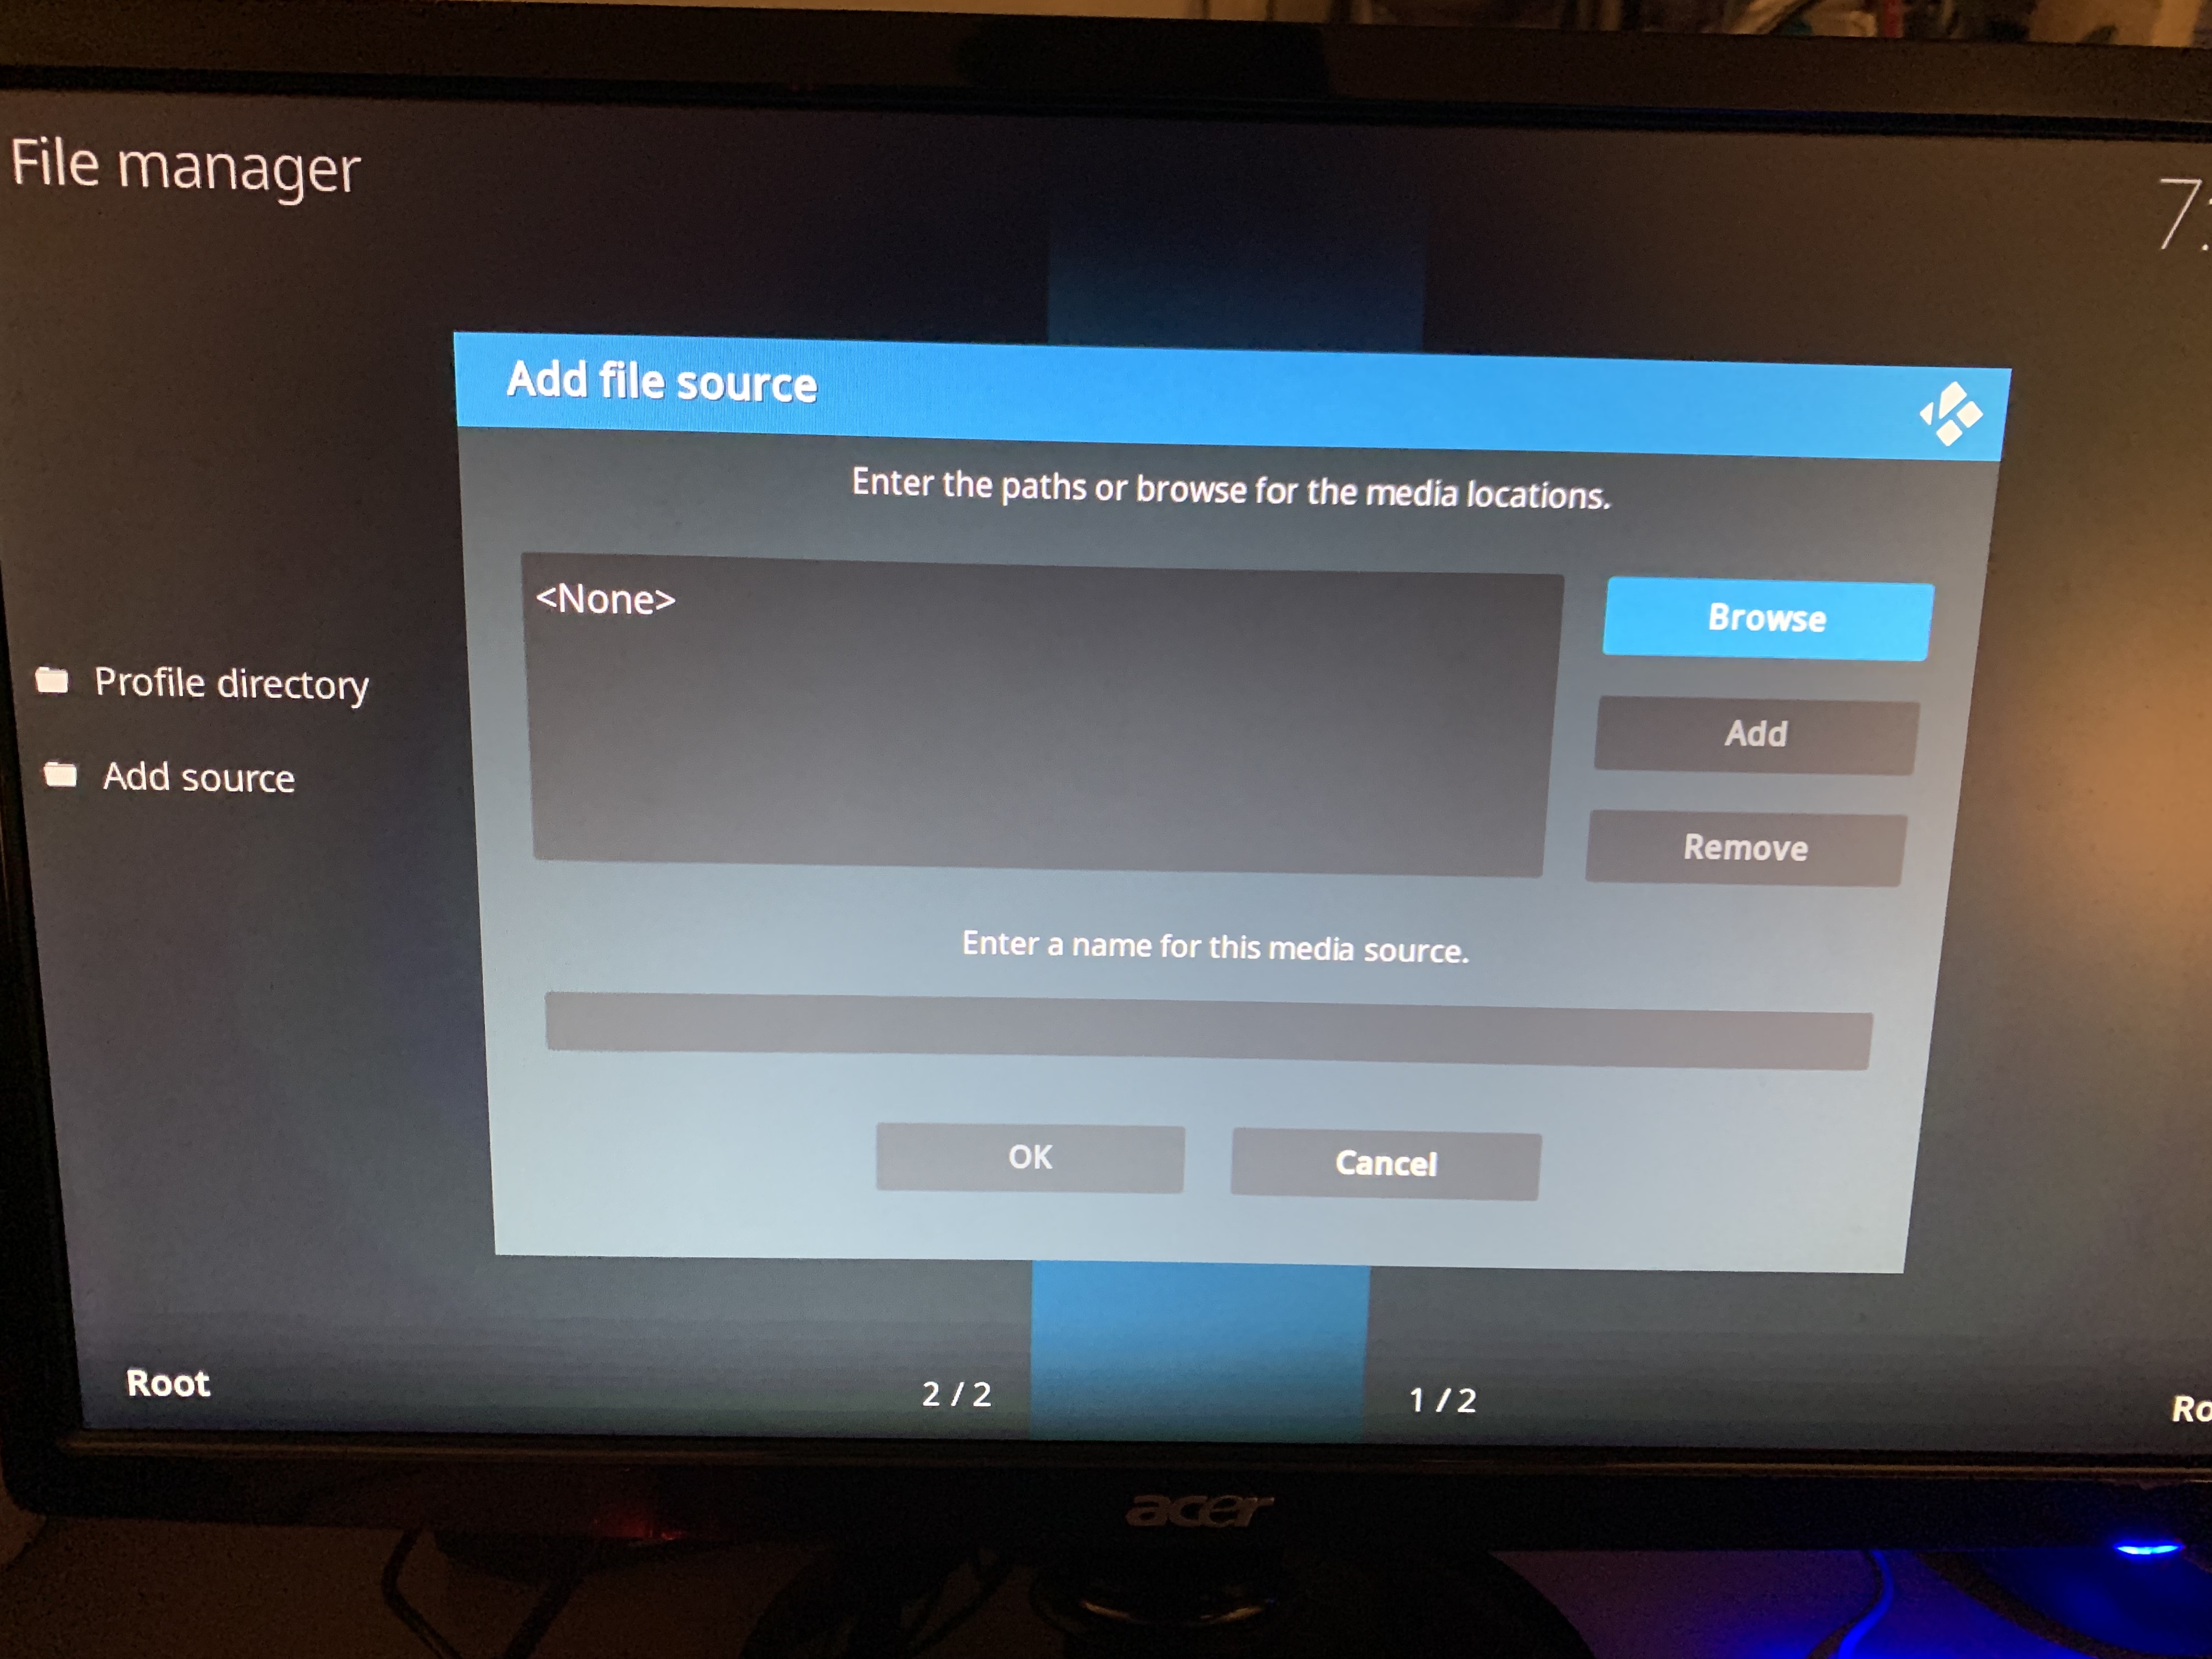

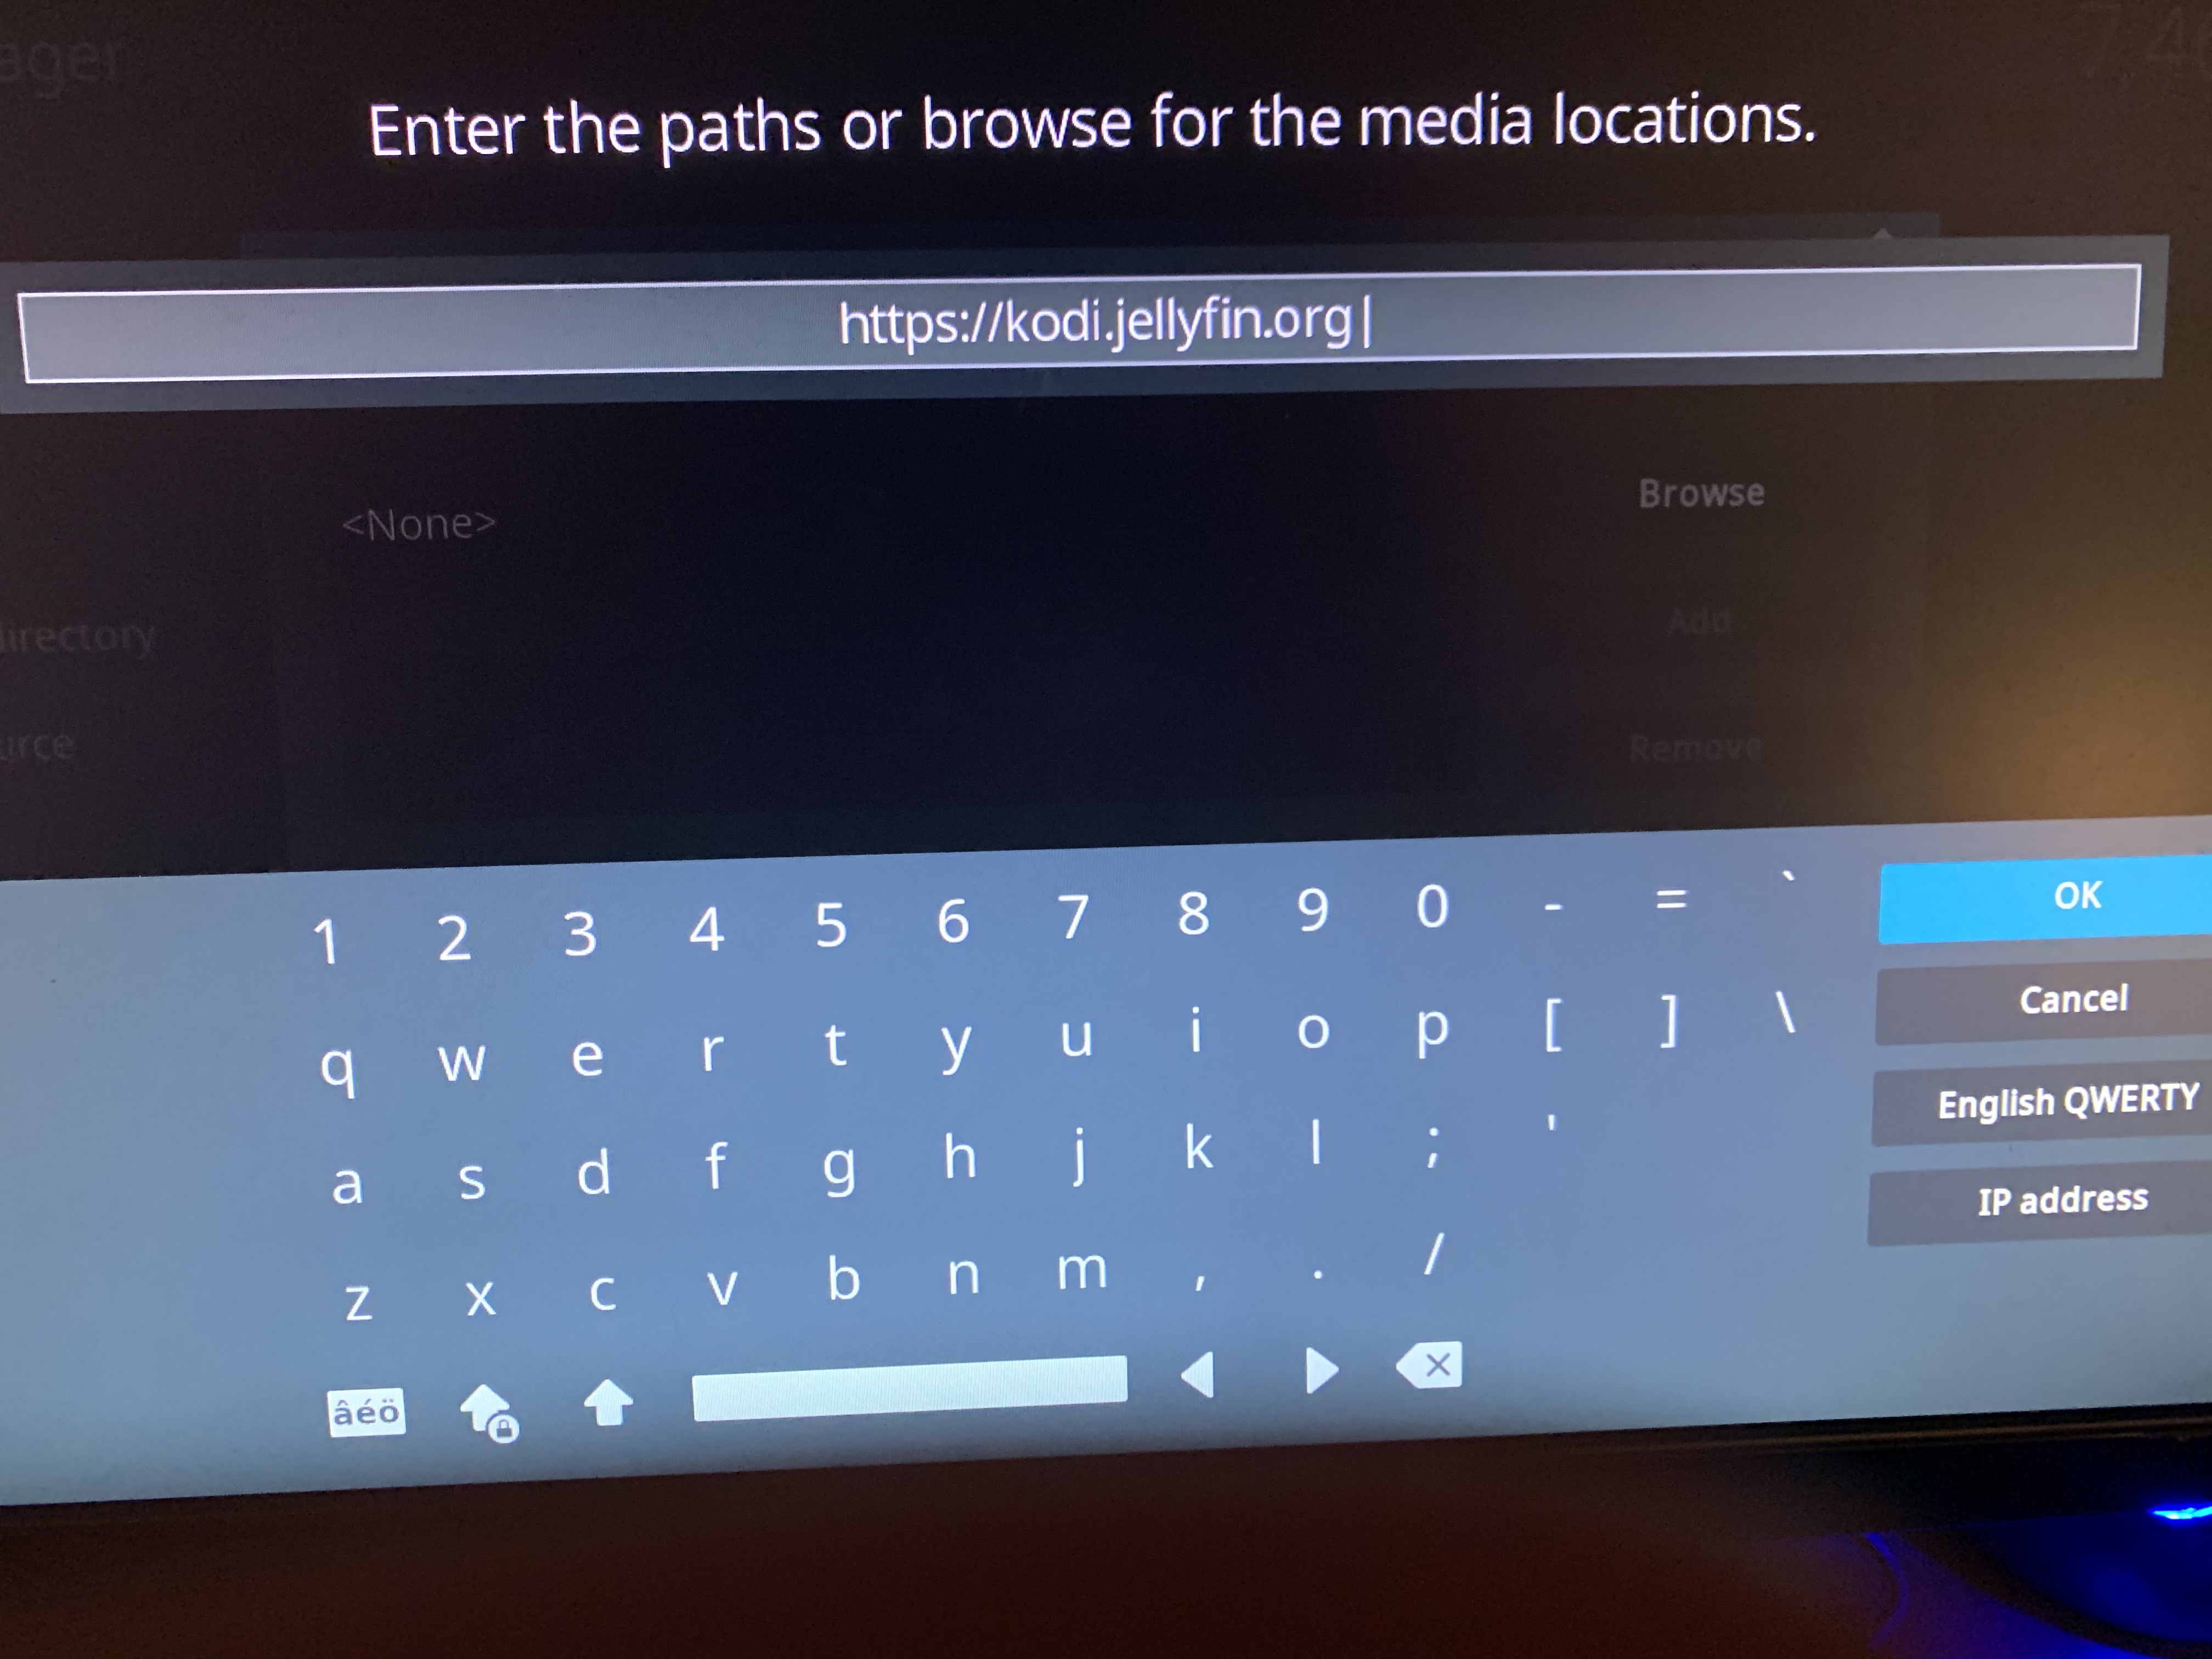
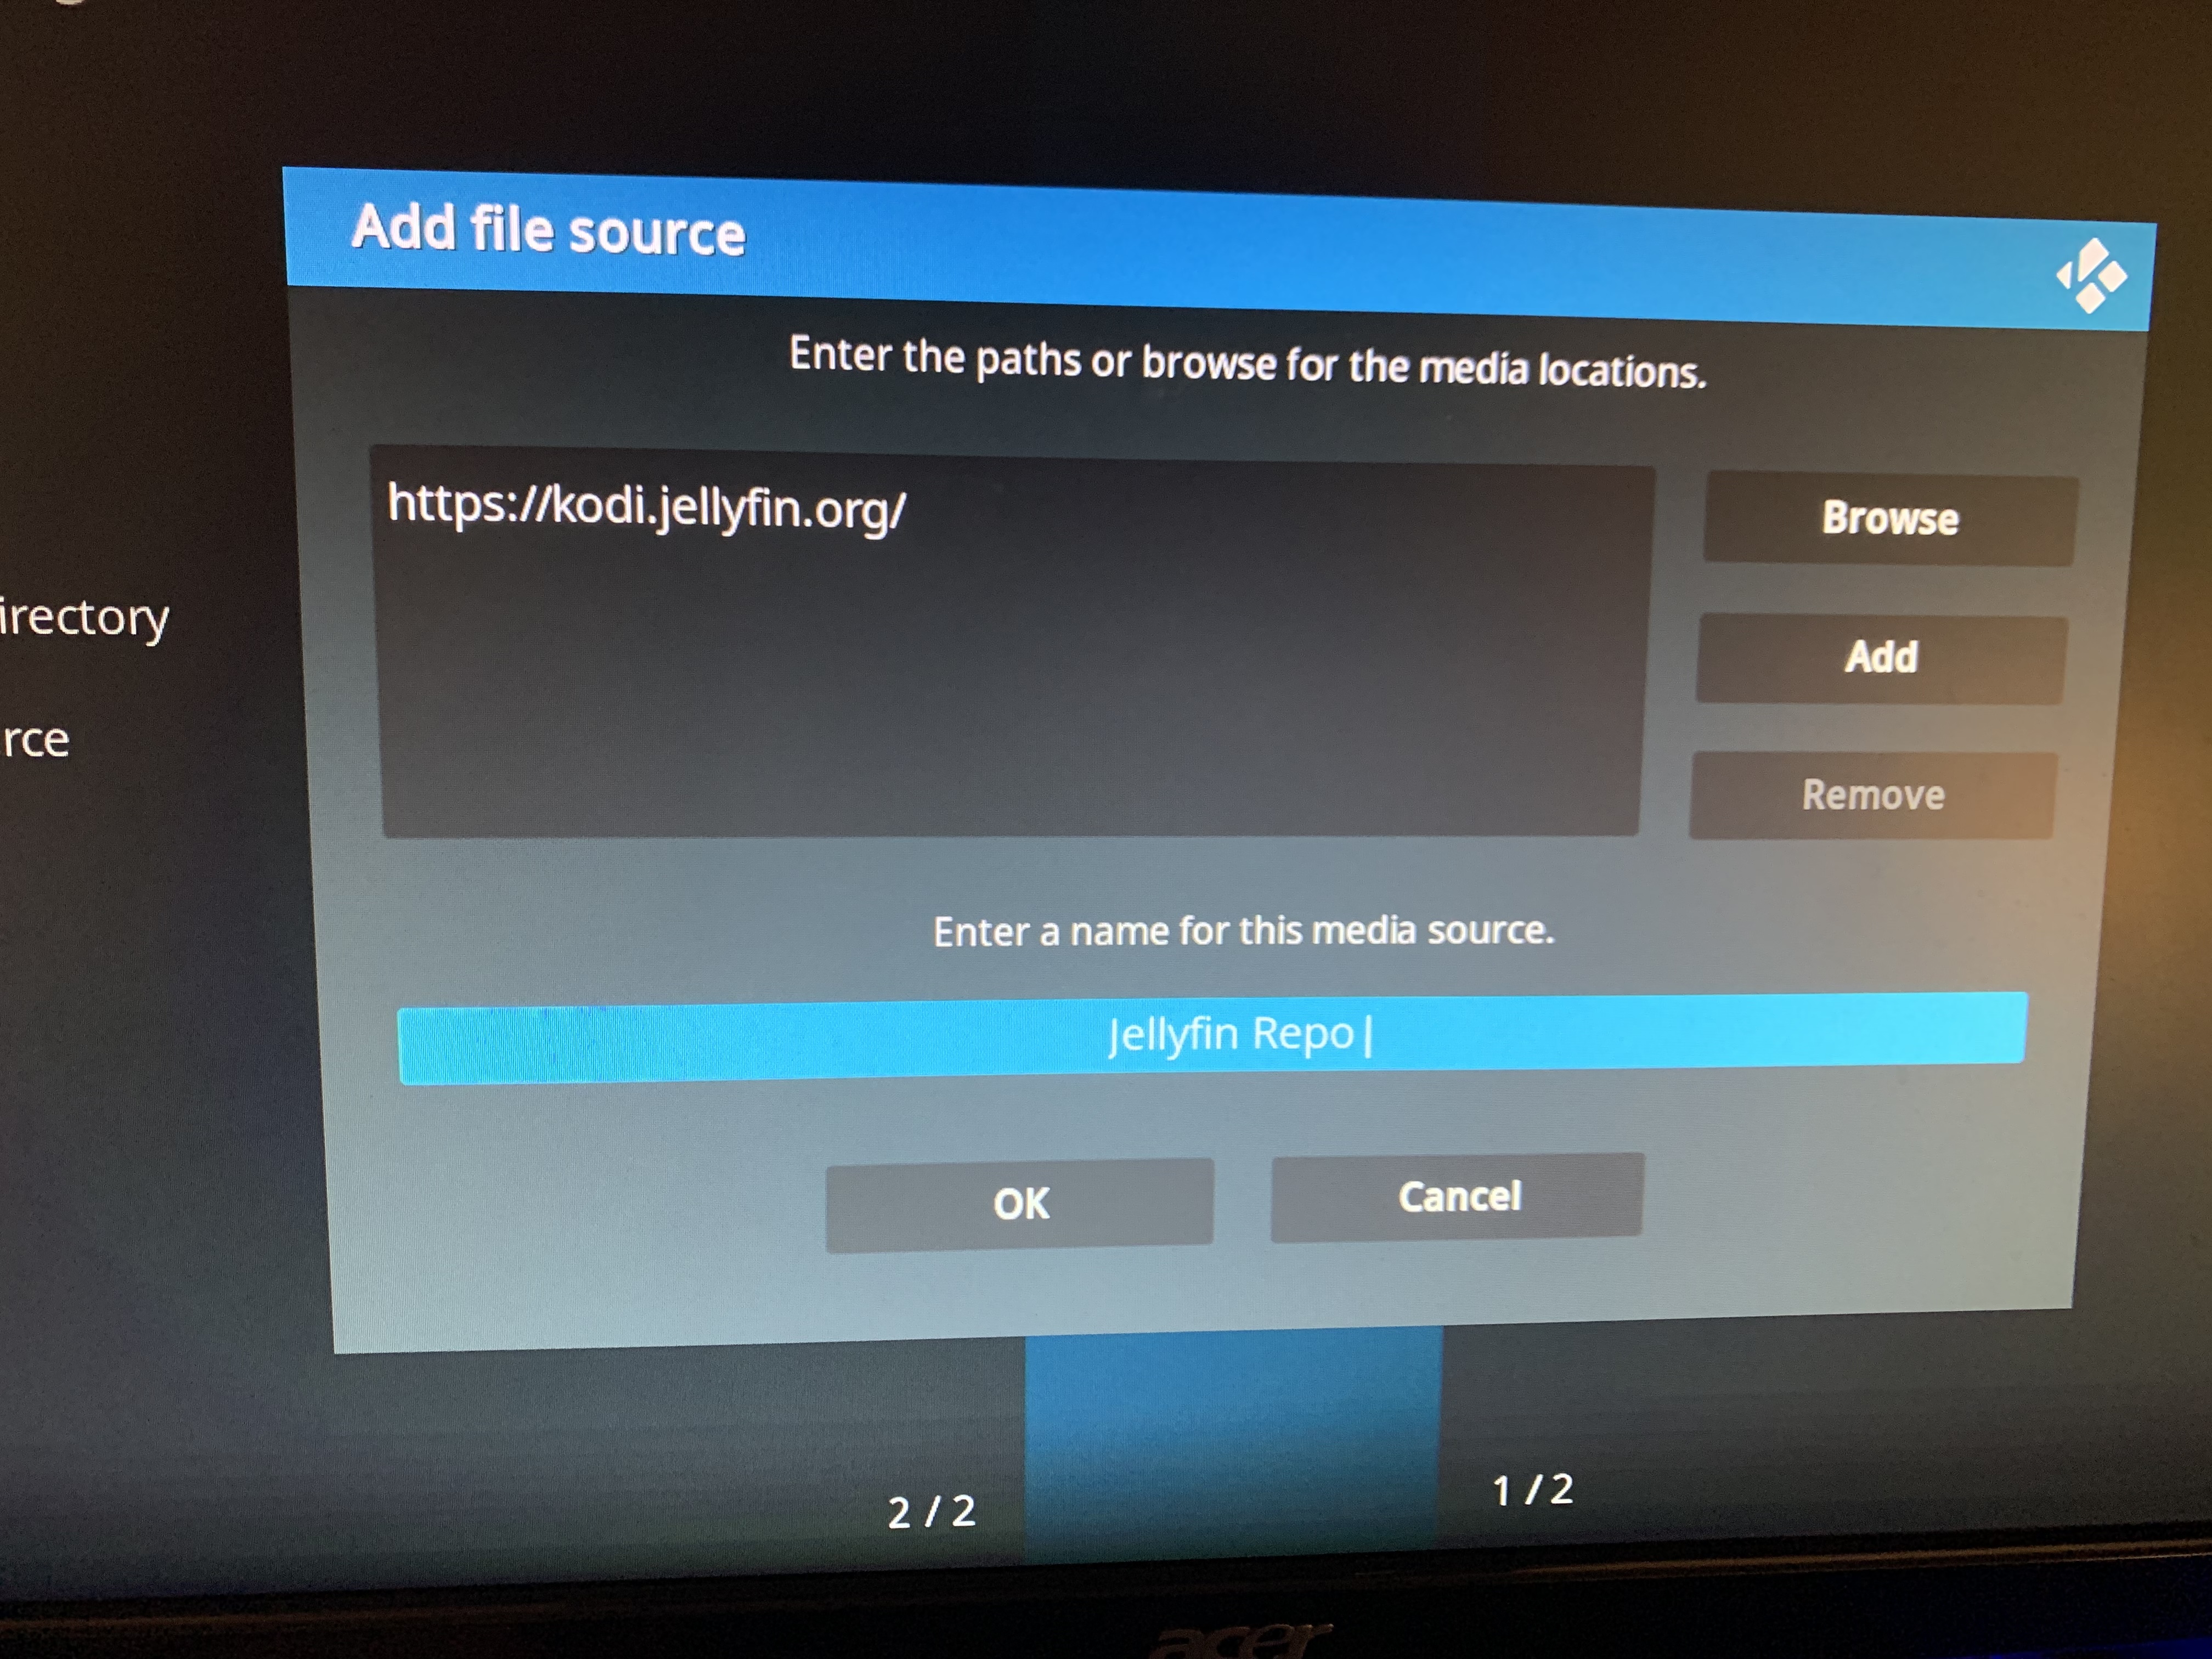
Then press OK. Now, we can actually install the add-on.
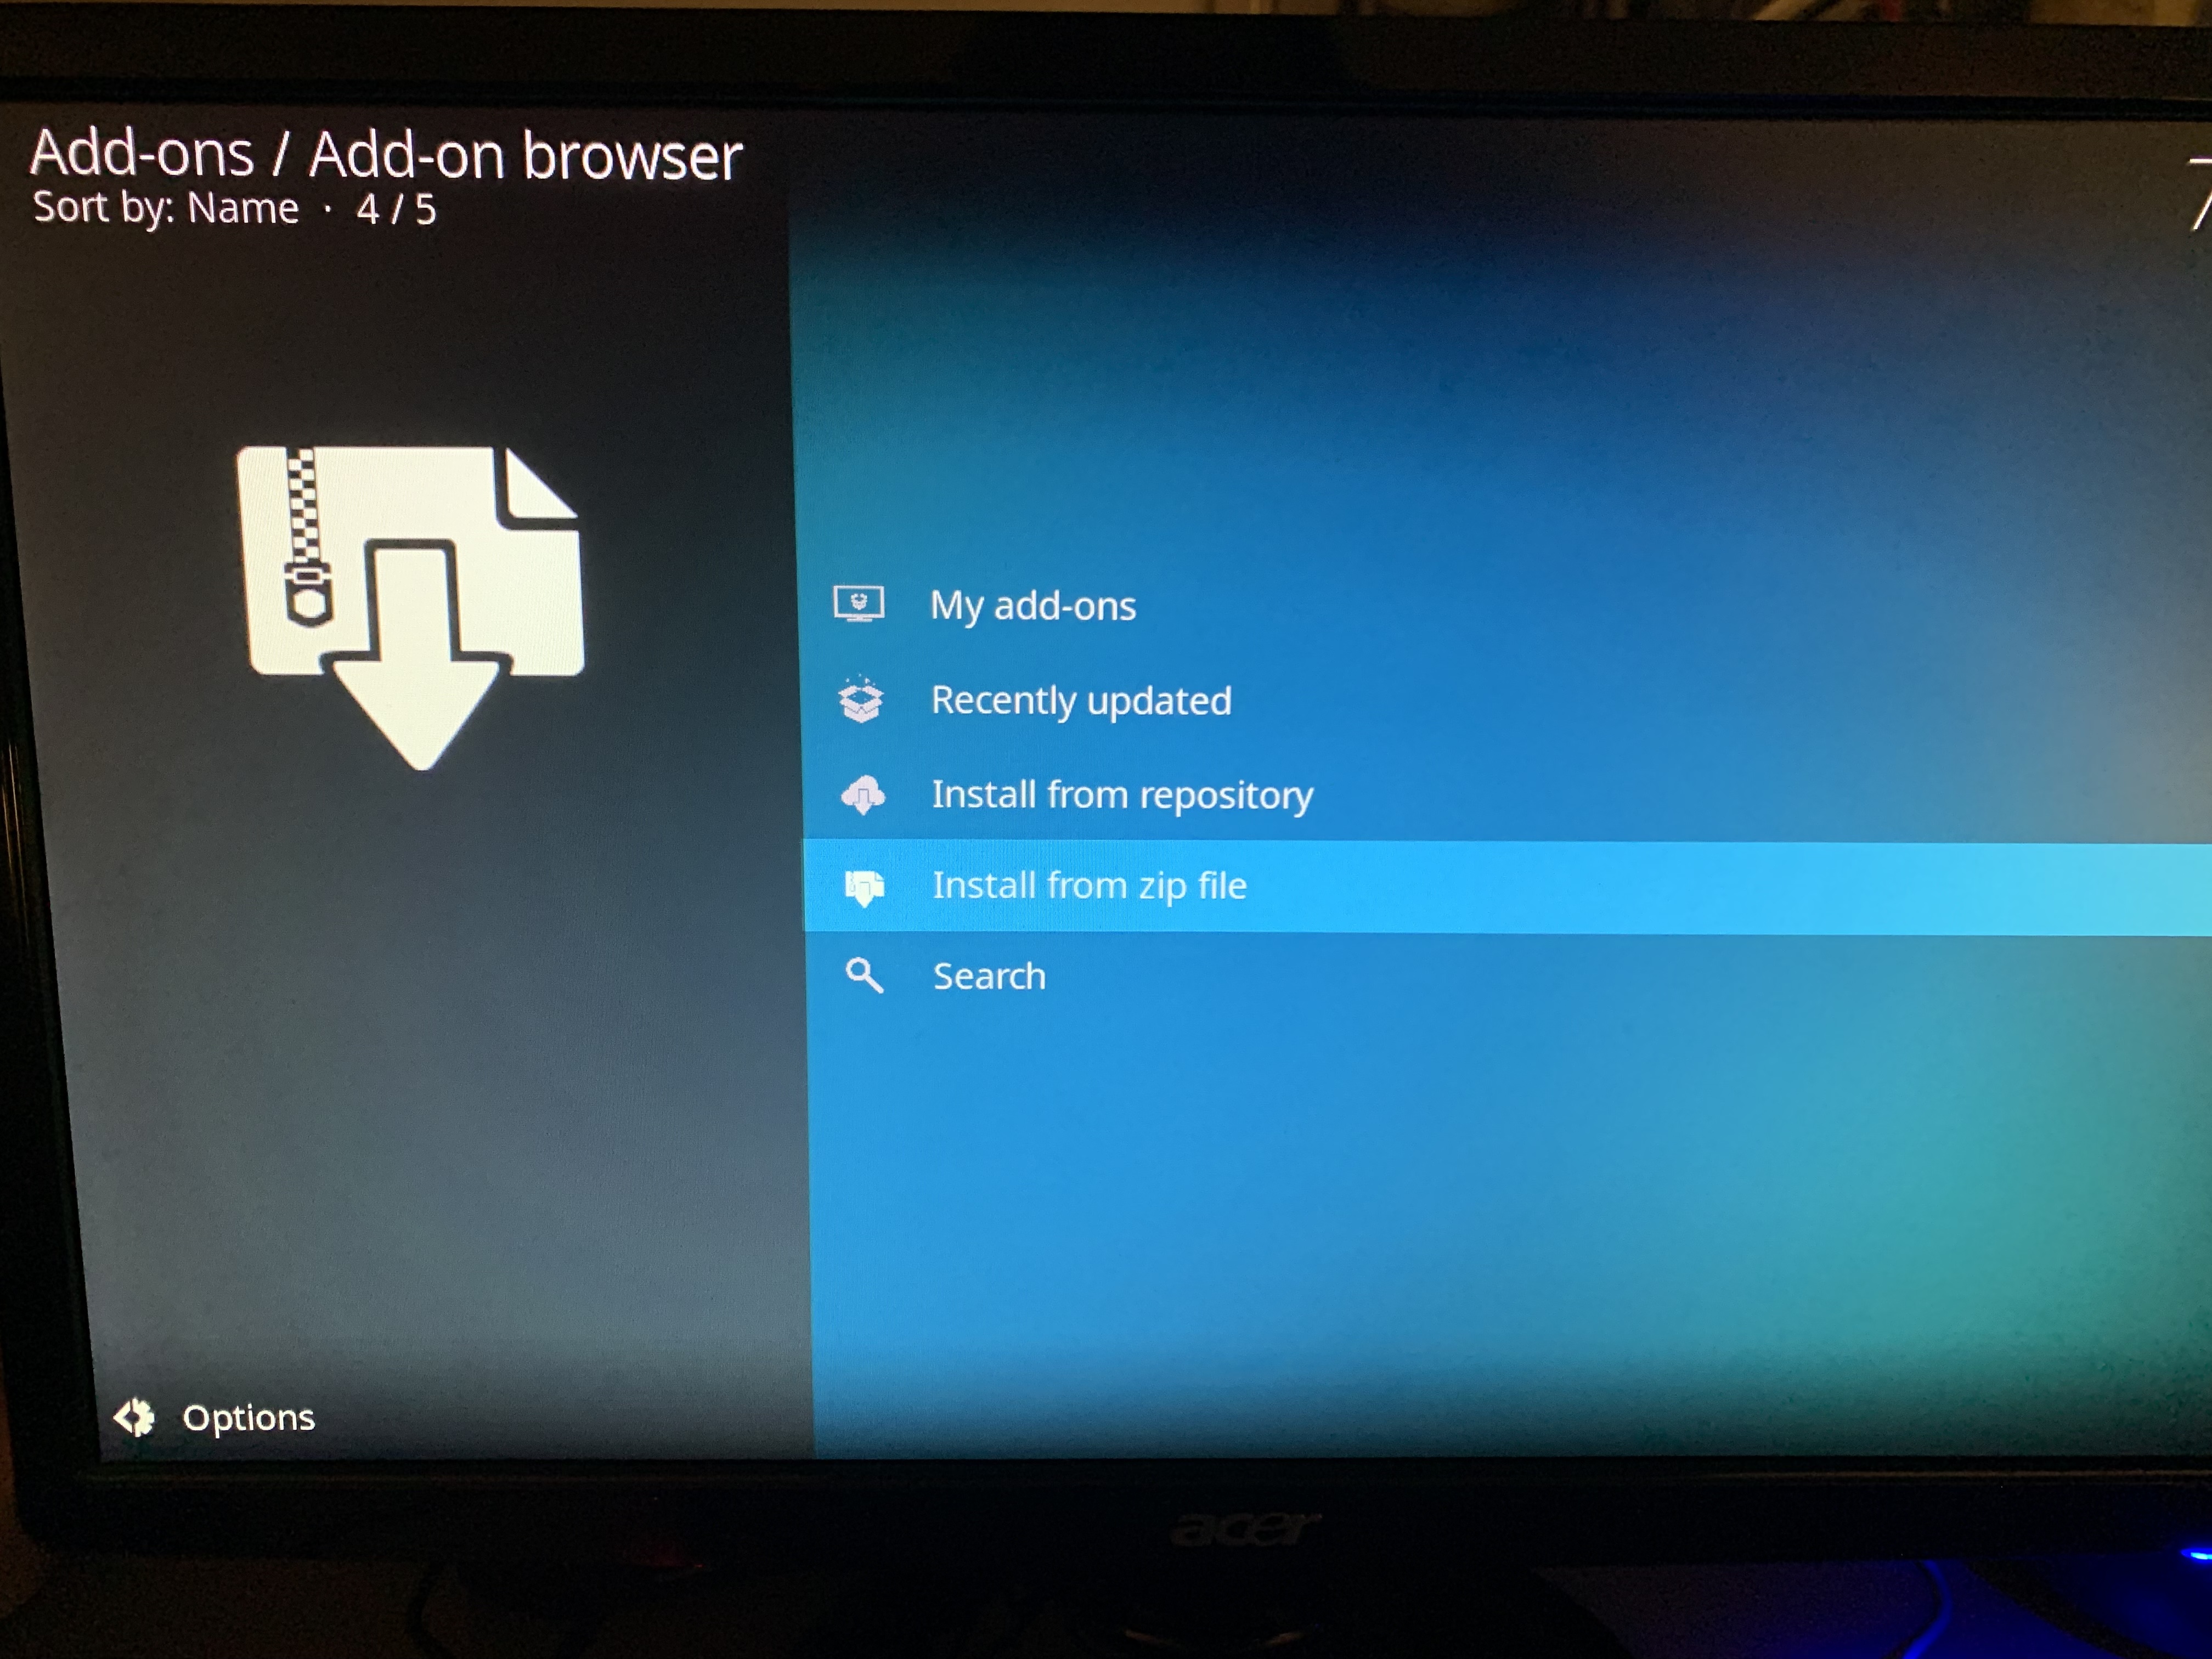
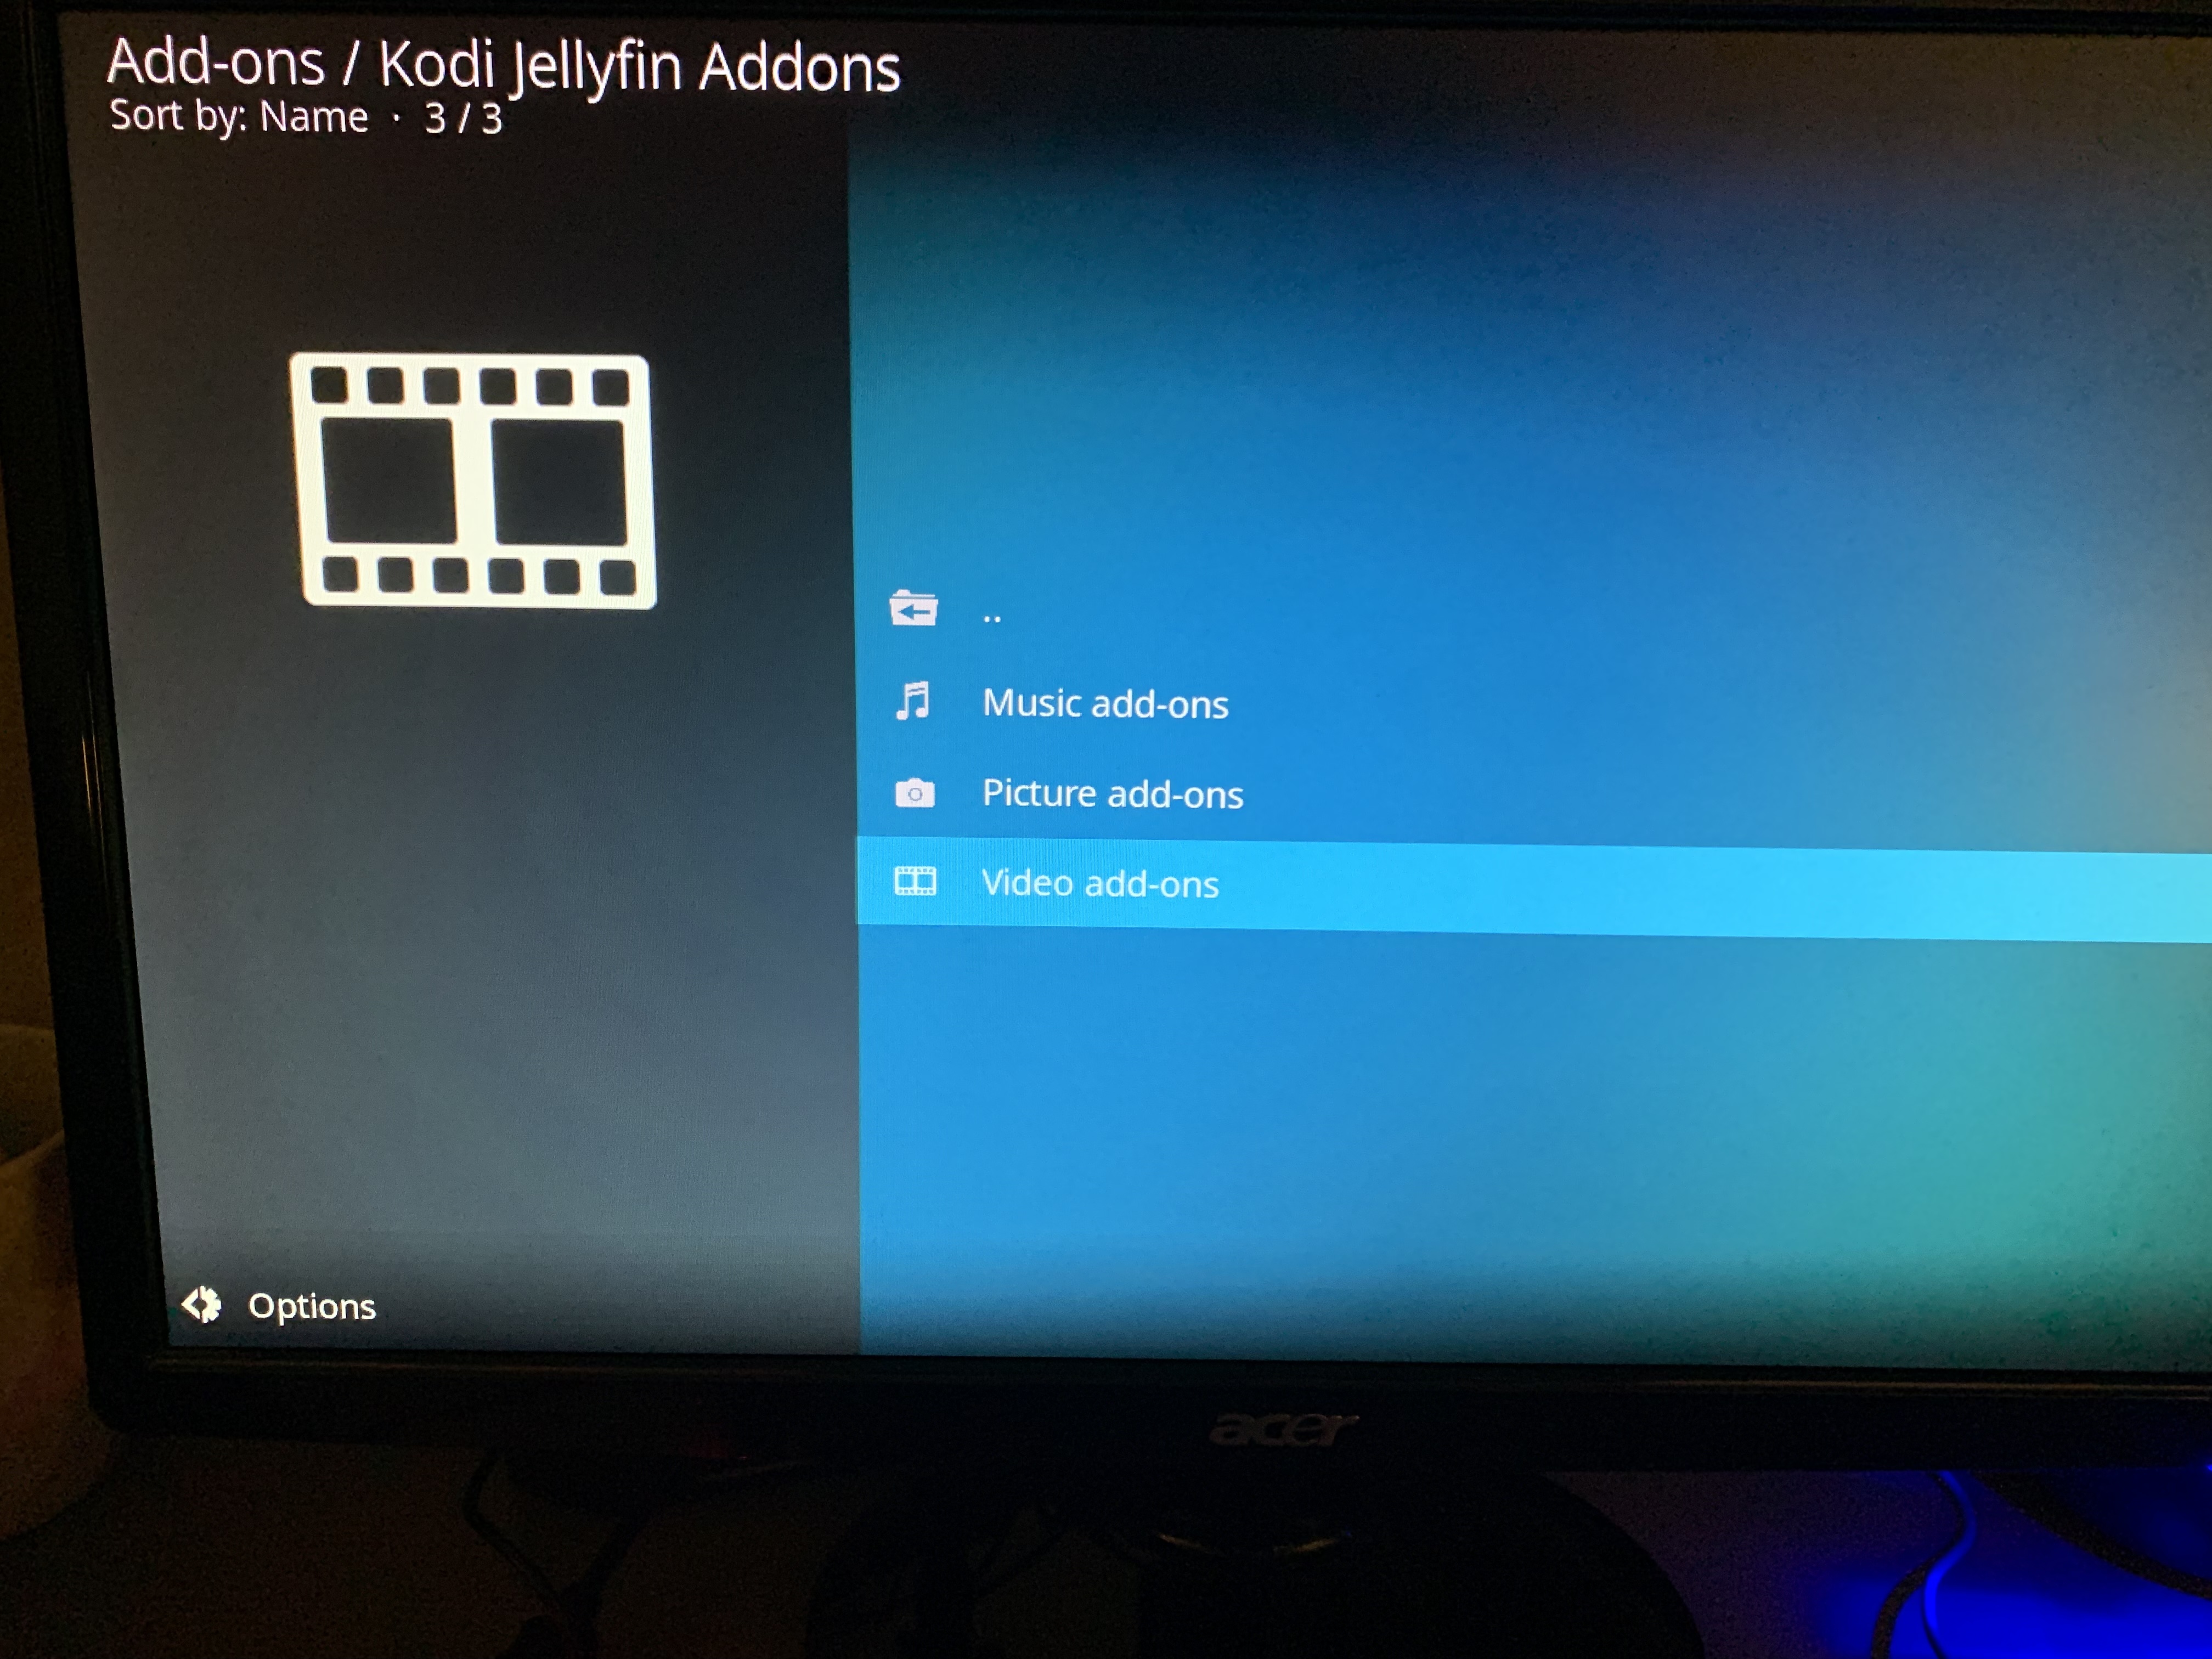
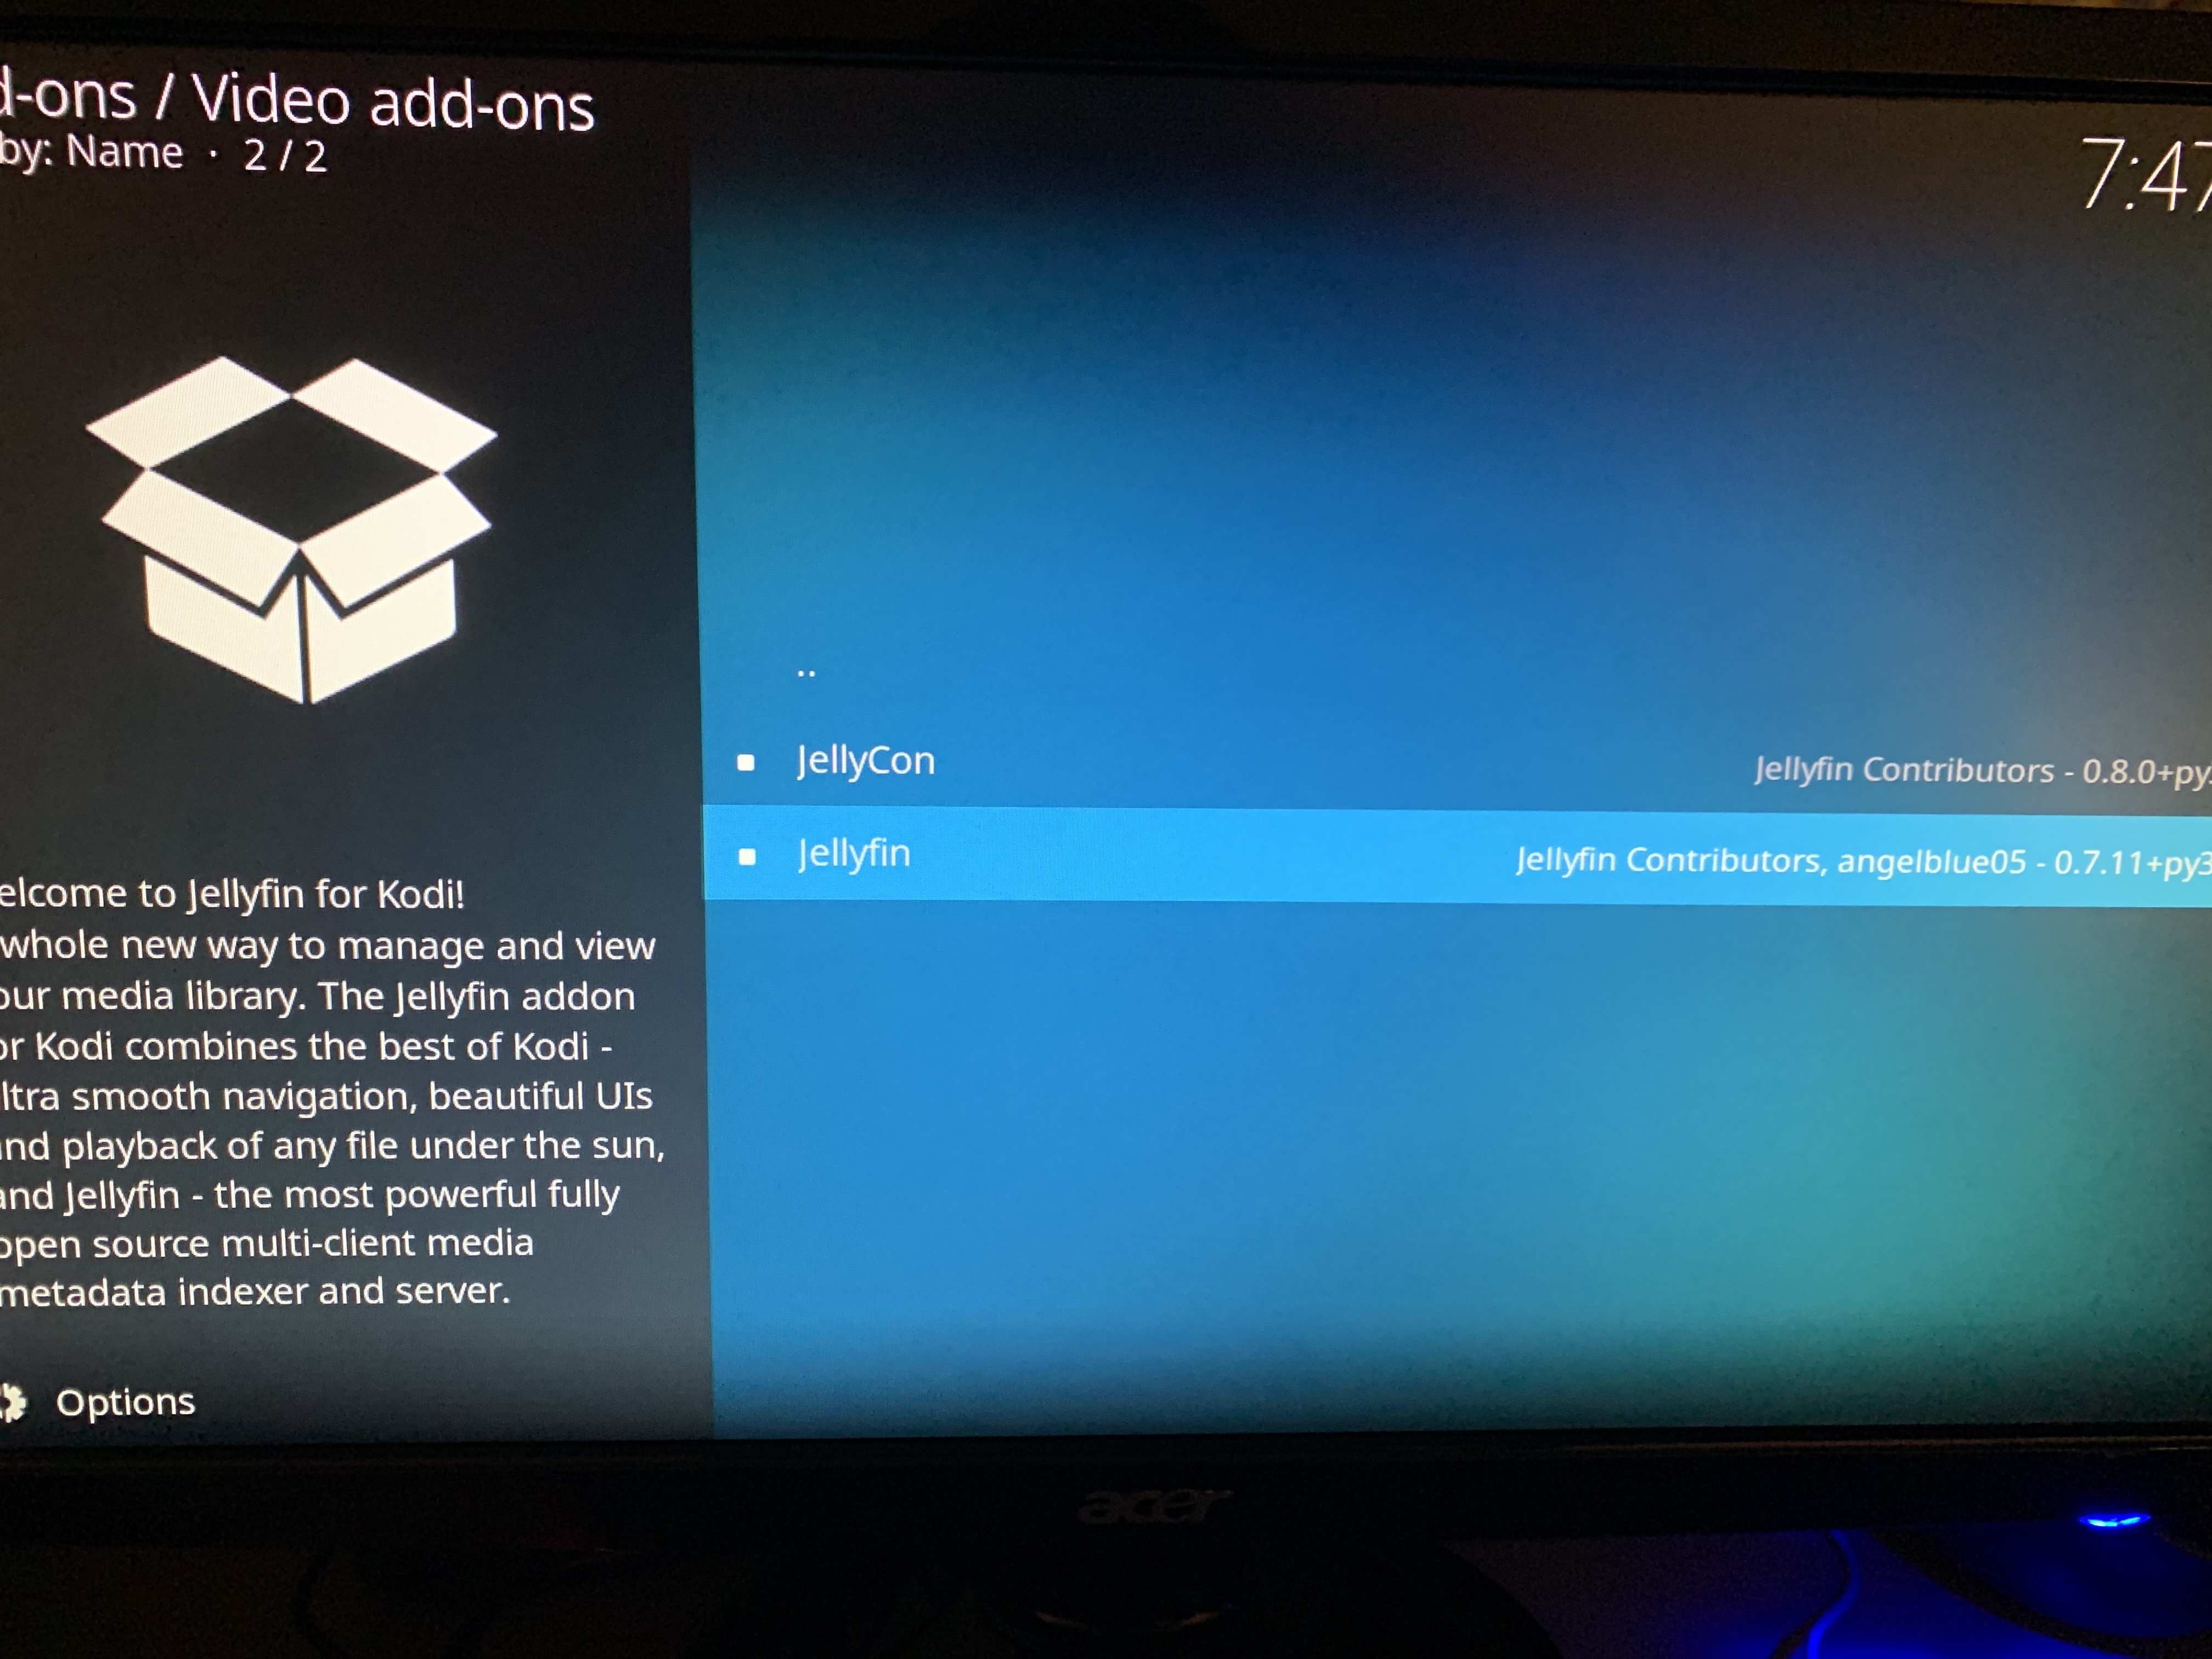
- Install the Jellyfin for Kodi add-on.
Alright, now that the Jellyfin repository is installed, we can finally install the Jellyfin add-on!

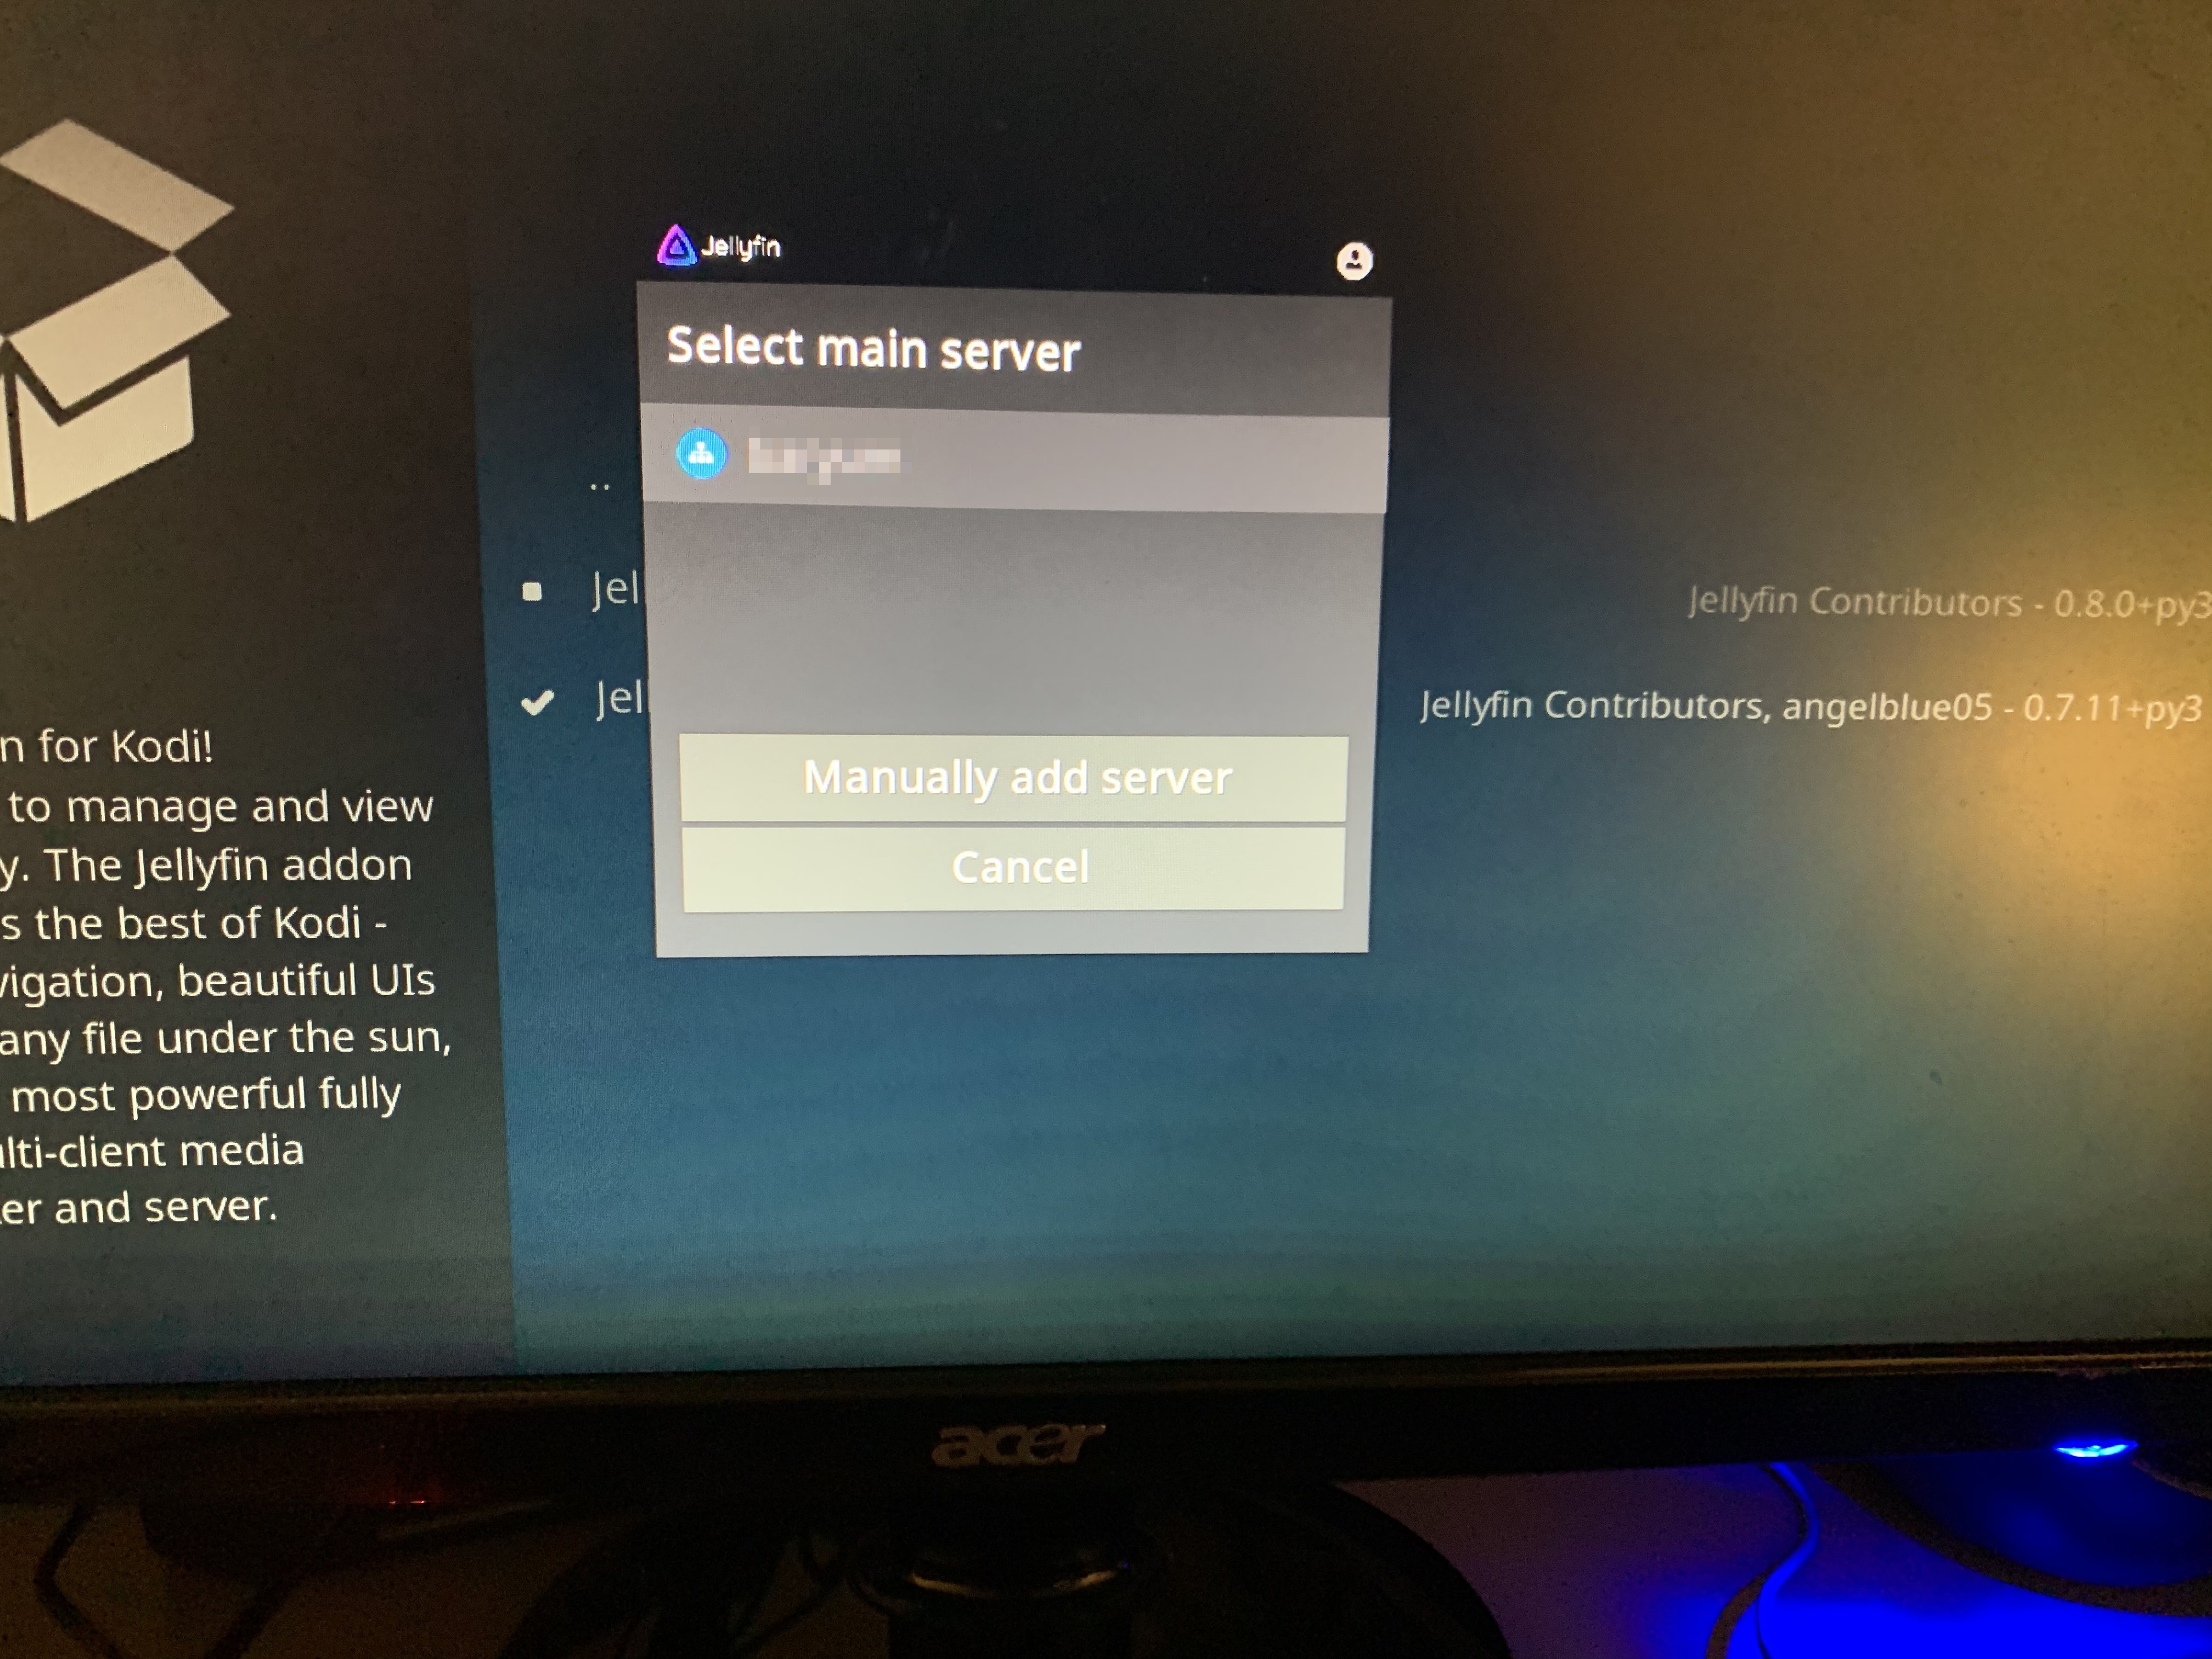
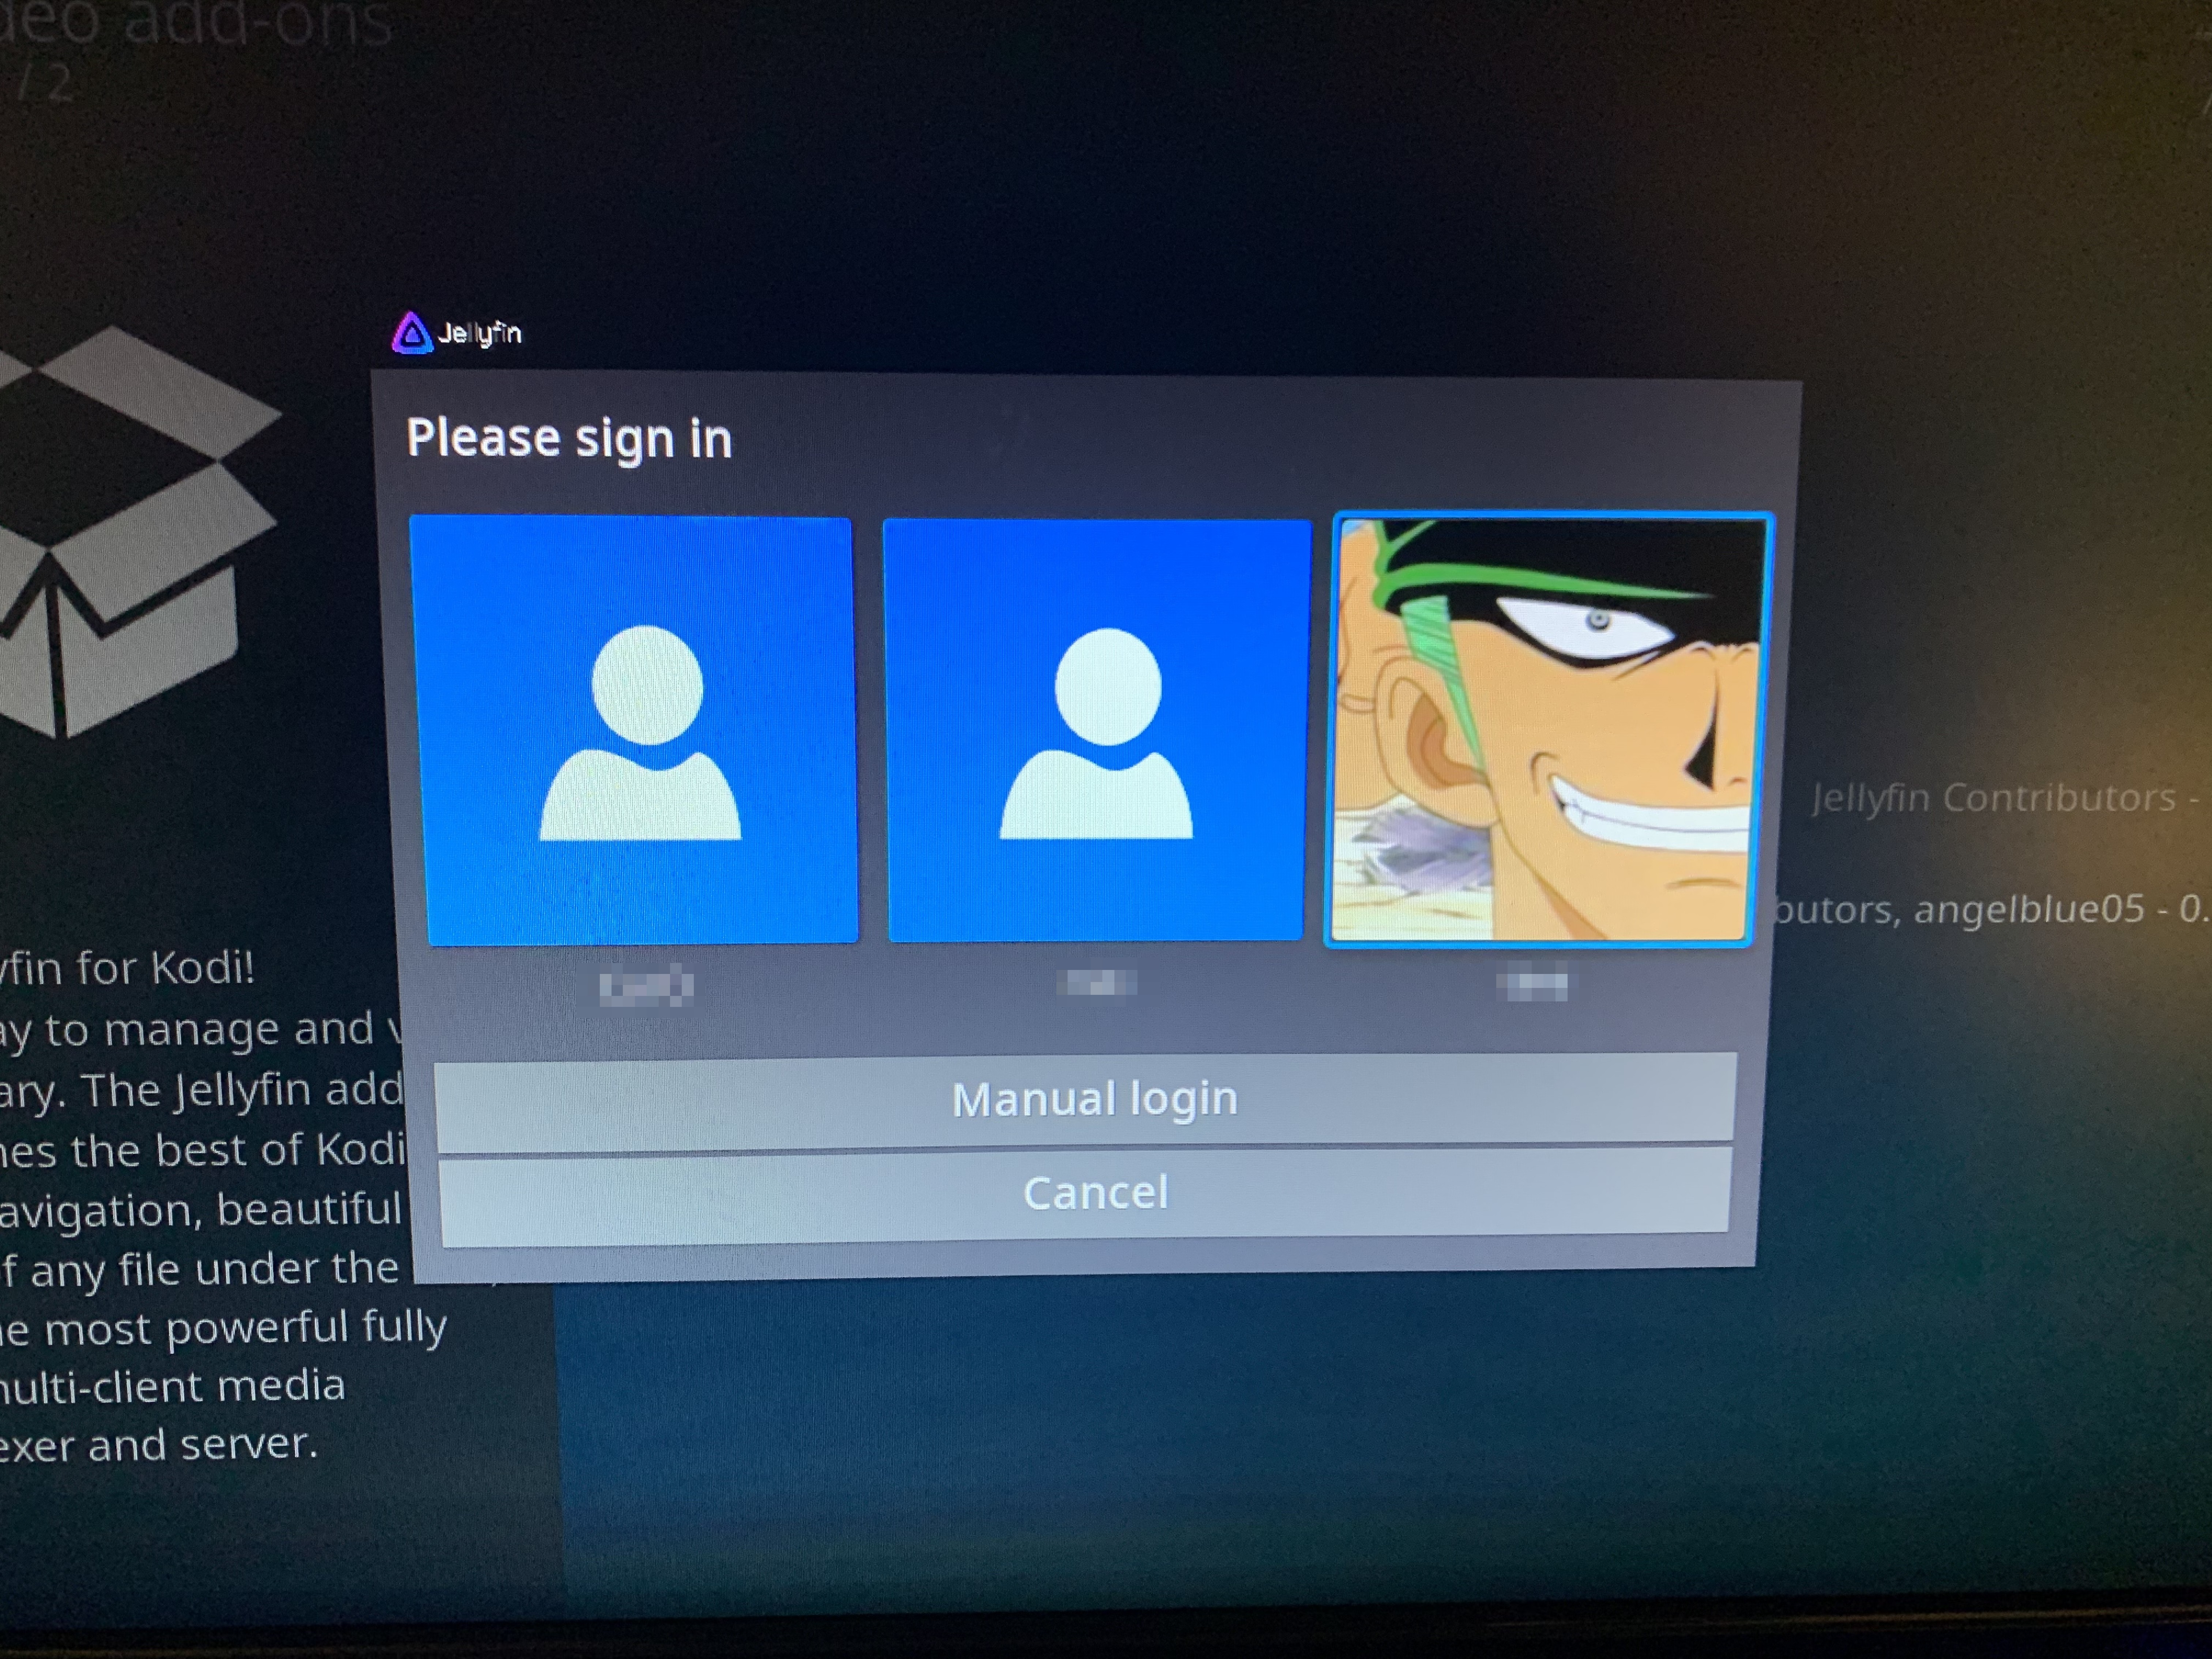
After a few seconds, a popup will appear to choose which Jellyfin server to connect to. Assuming one is discoverable locally, you will see the following.
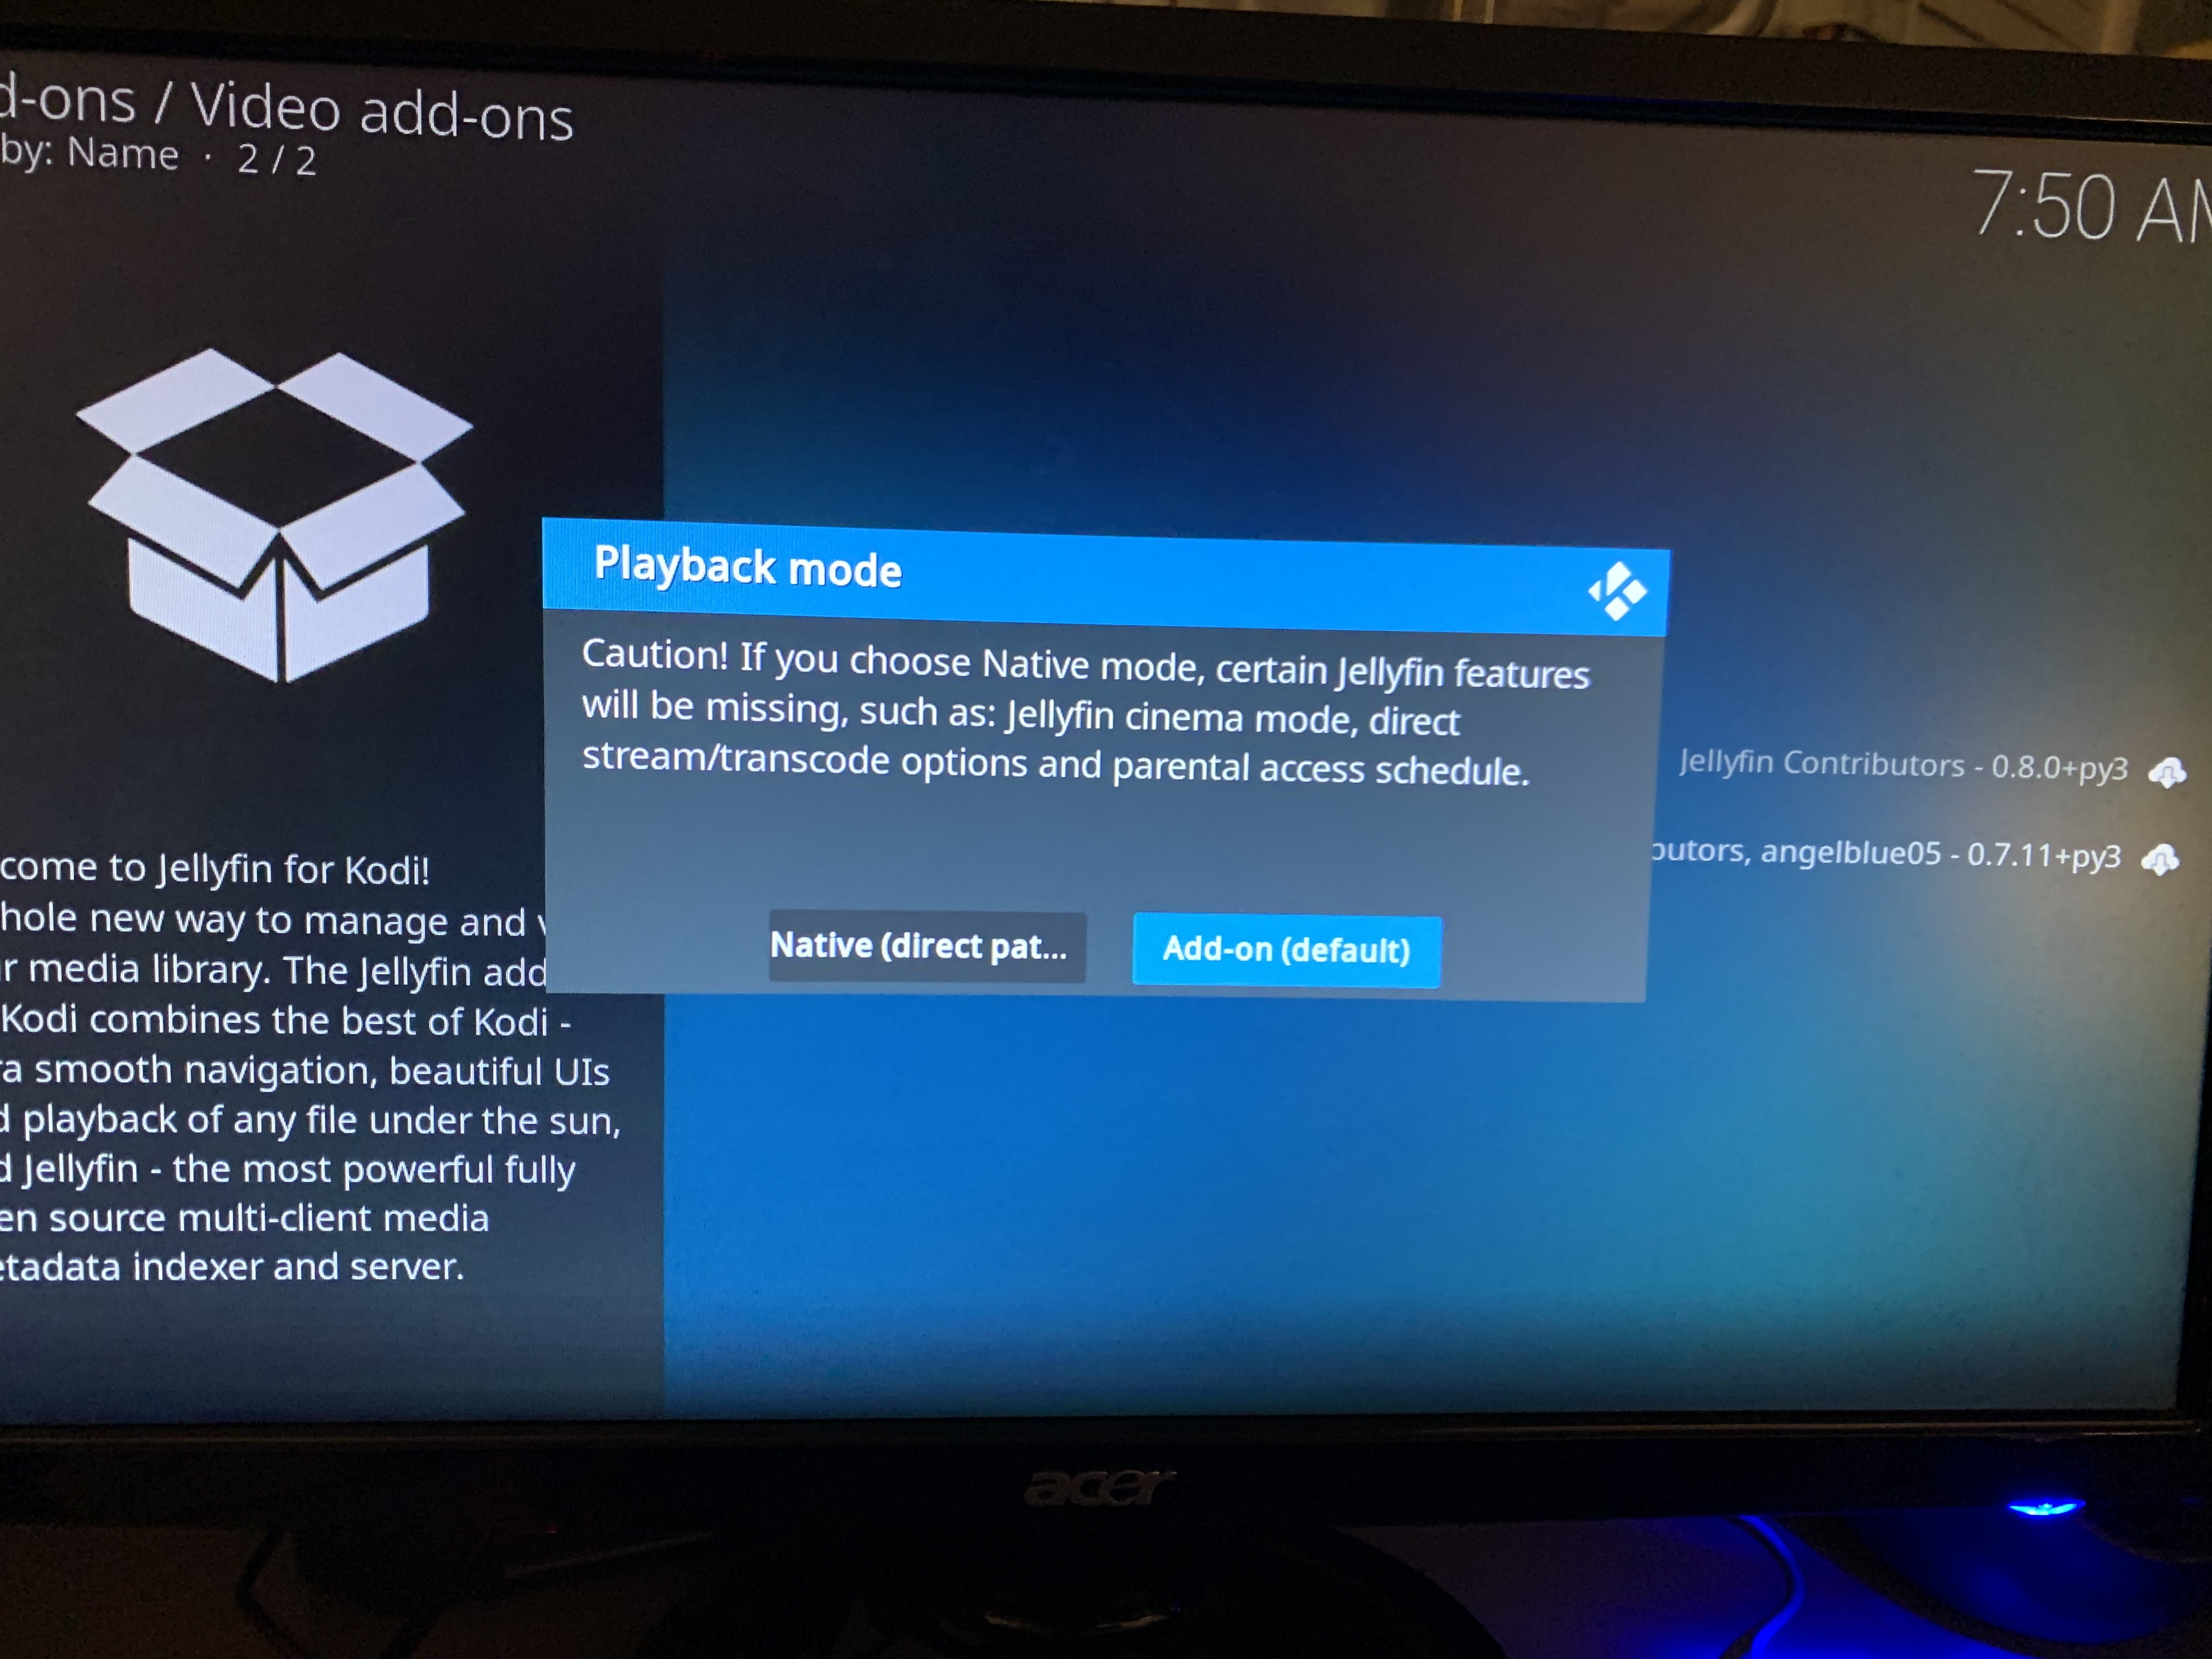
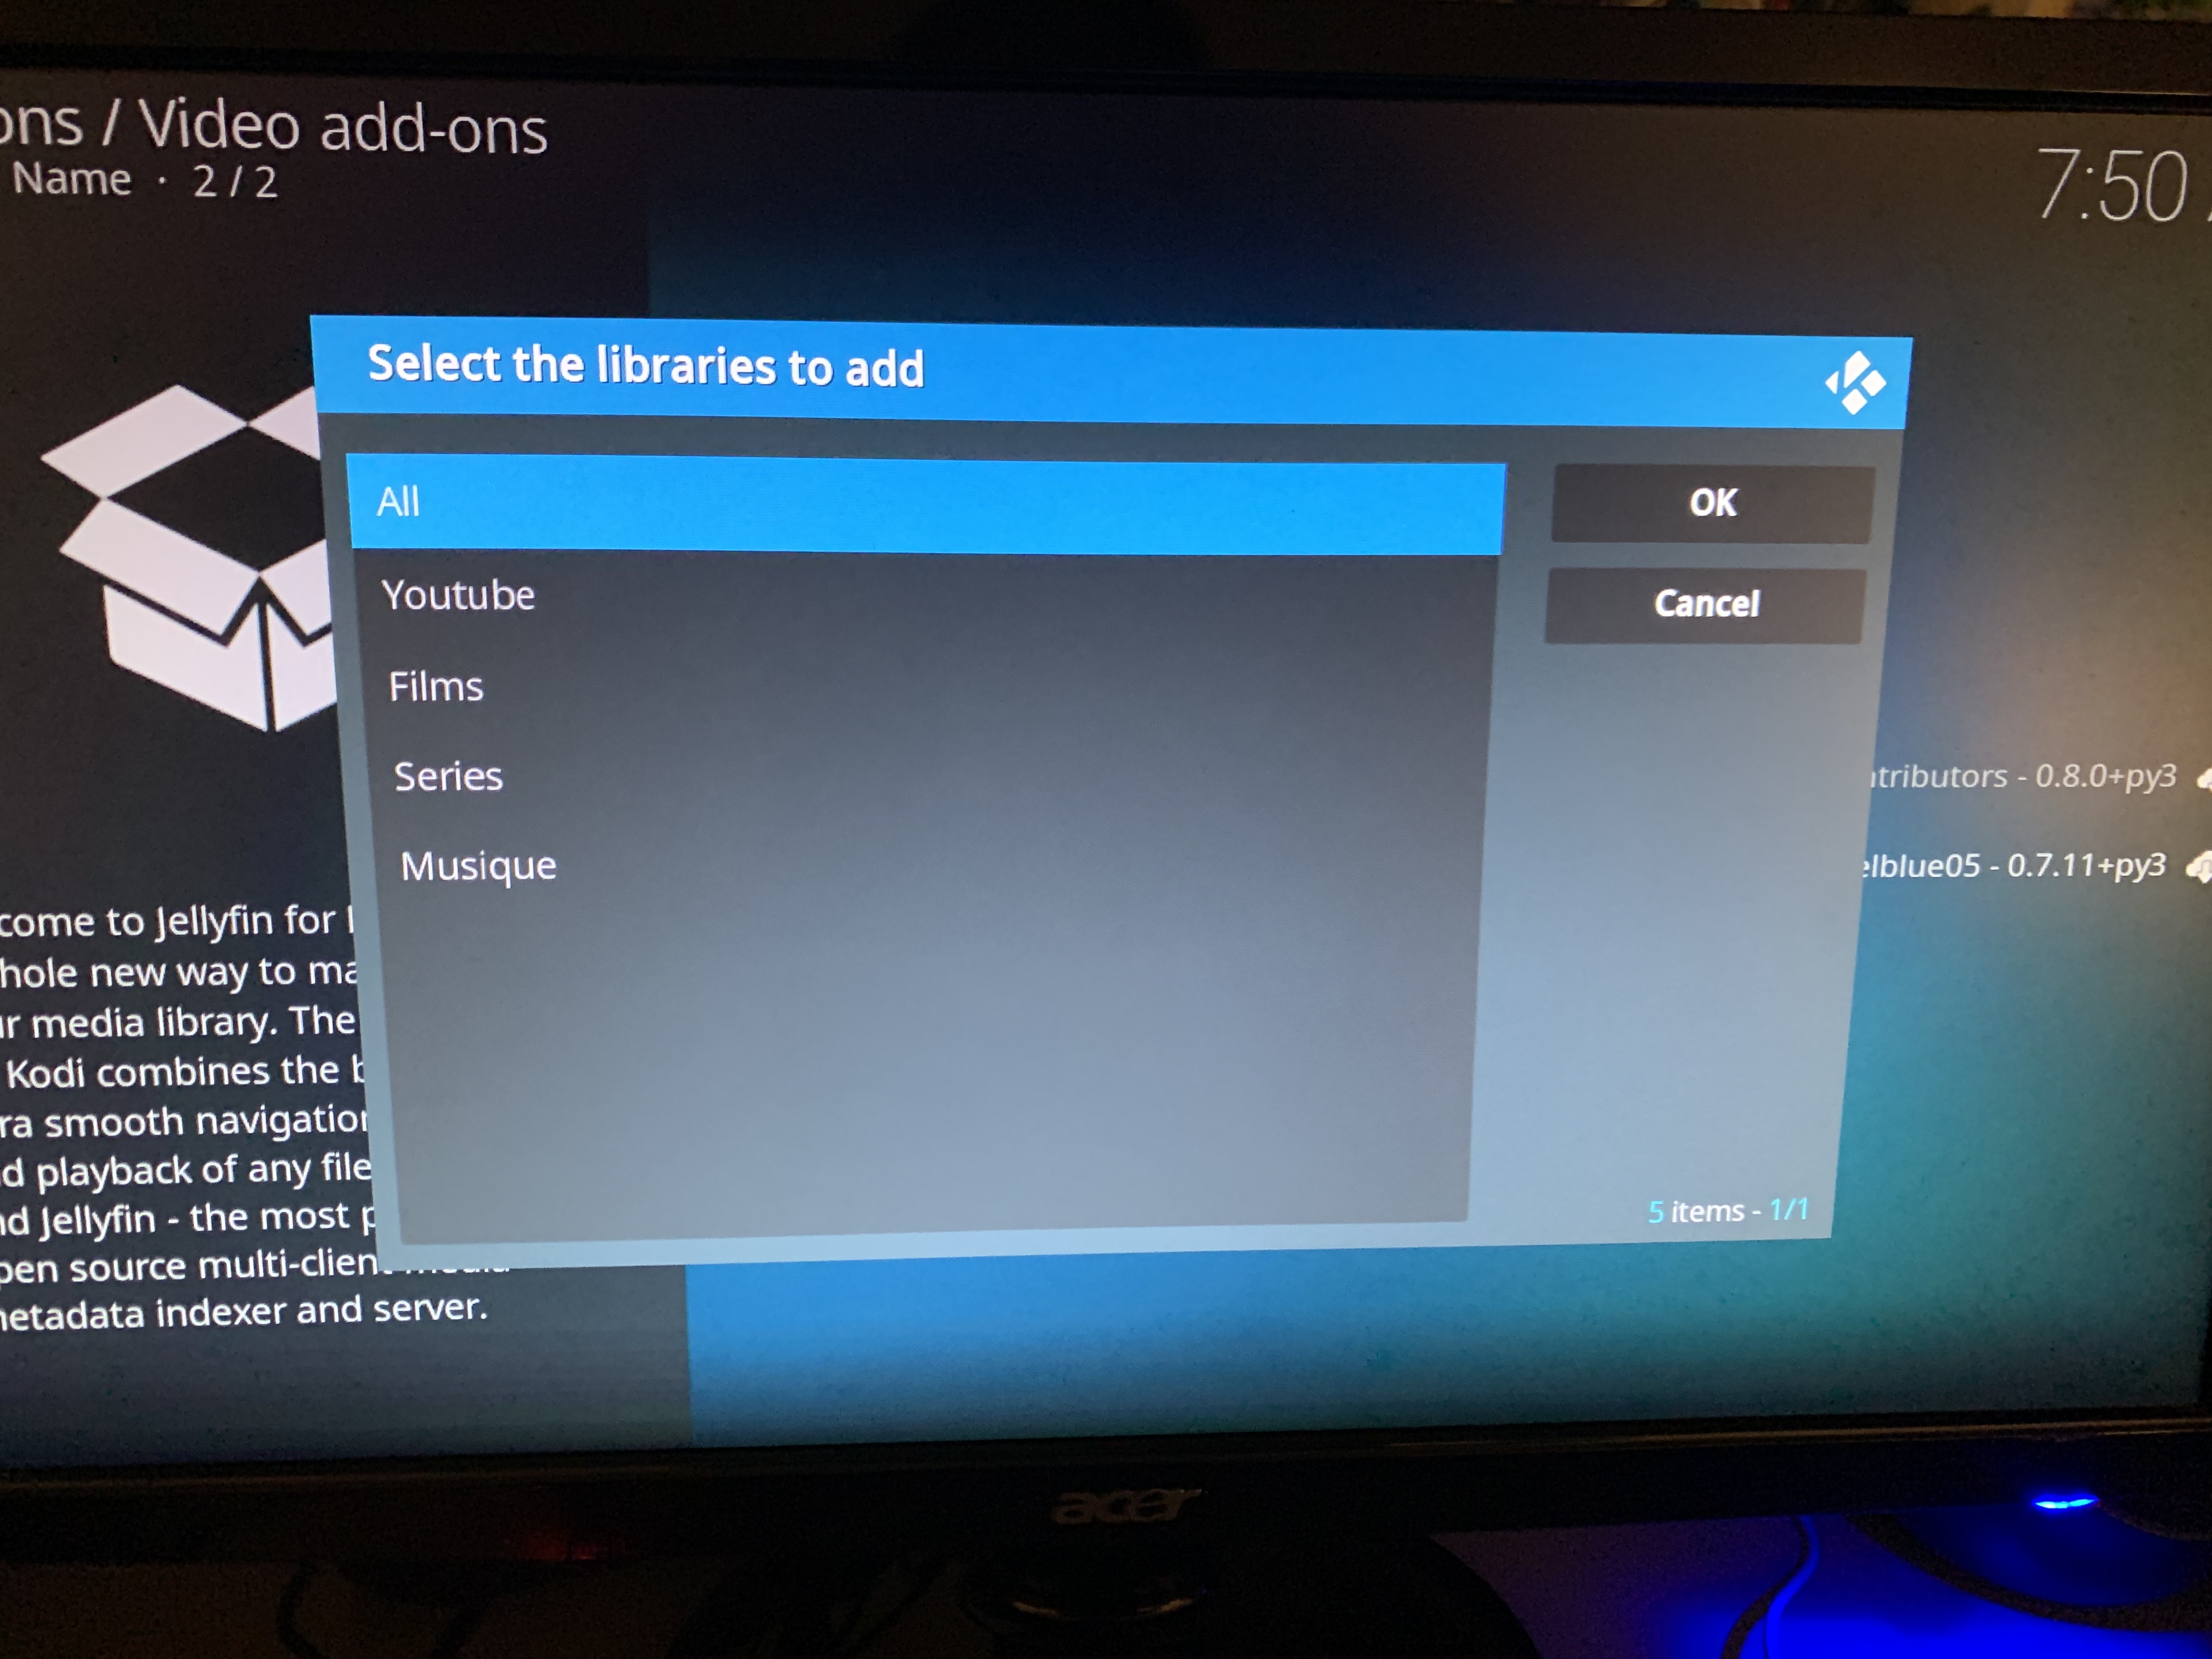
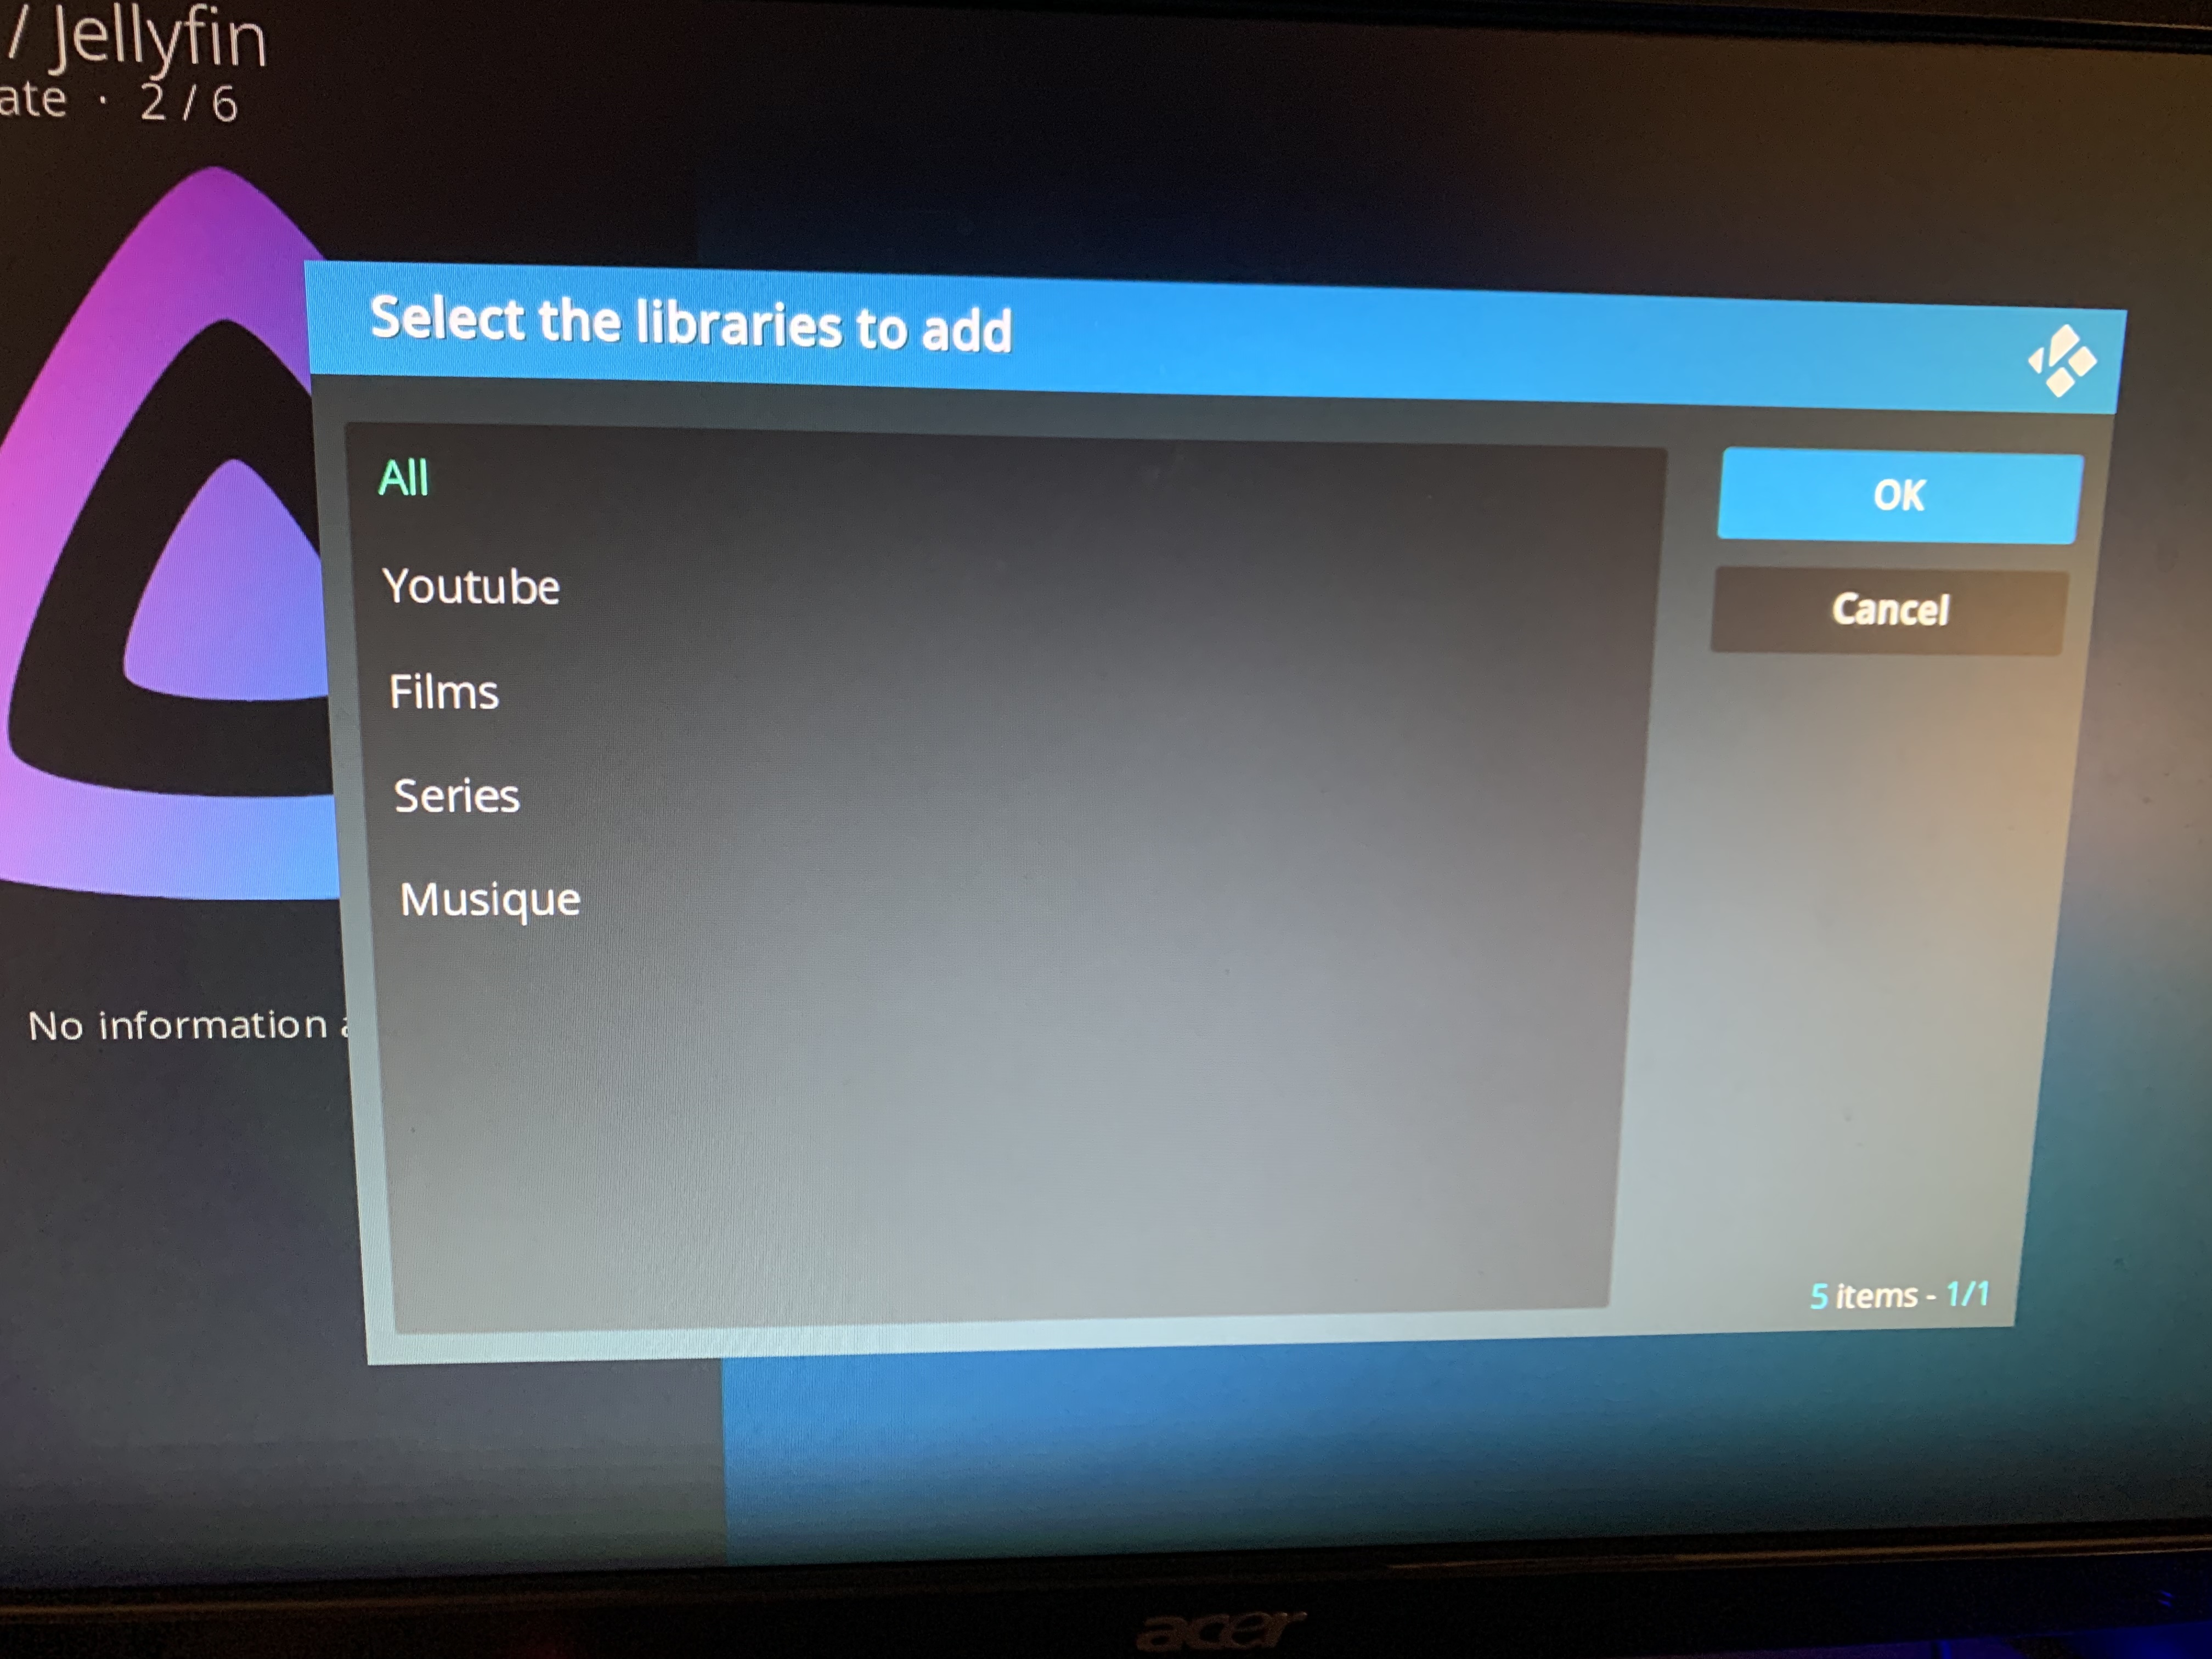
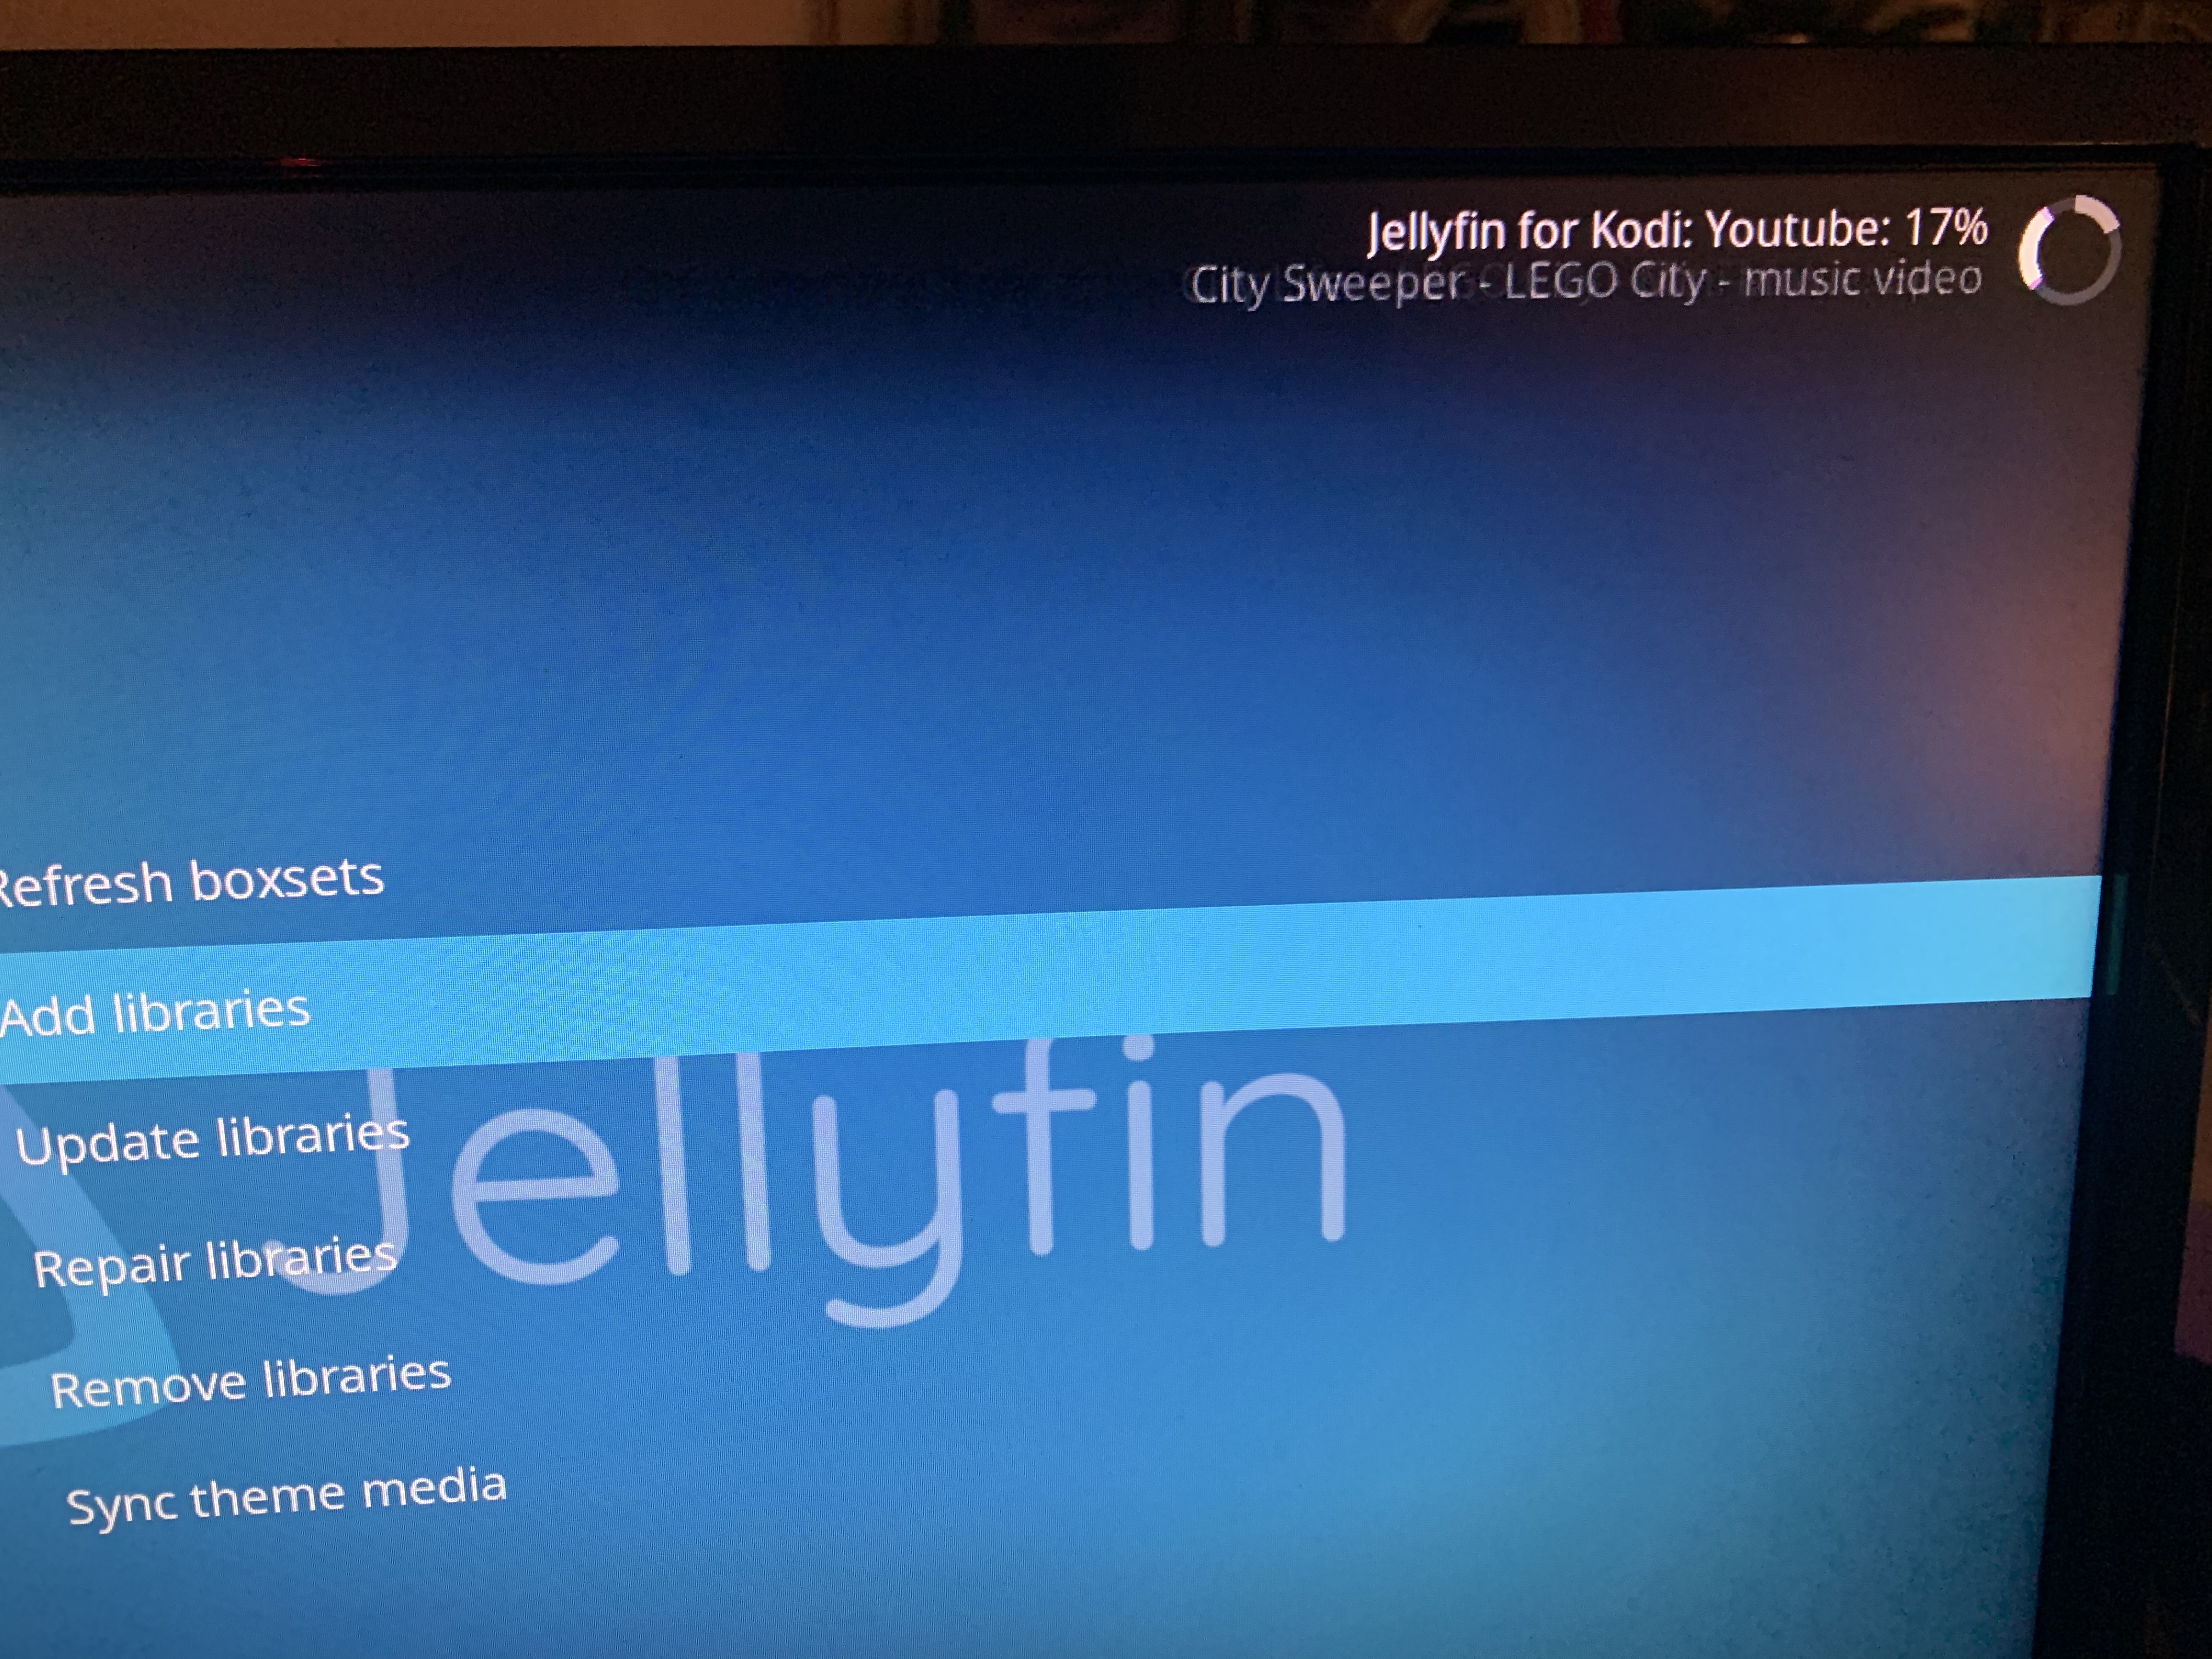
And you’re done! You can now use your Jellyfin server on the TV. A few ideas for what to do next:
- Automate Jellyfin/Kodi with Home Assistant. For example, I pause the room speakers when playback starts.
- Synchronize pictures to use as screensavers on the TV
Finally, I rebooted just to make sure everything worked as intended.