My project SelfHostBlocks (SHB), pushes the boundaries for setting up features declaratively through nix. For example, in SHB, you can find NixOS modules for Nextcloud, Jellyfin, Immich, Home Assistant and others with a fully declarative integration with an LDAP and SSO server.
I test those integrations by driving a real browser in NixOS VM tests with Playwright. In a previous blog post I explain the machinery and test framework I came up with to power those tests.
Here, I’ll show you my current workflow which makes writing those tests actually pleasant.
Comments can be found in the discourse post.
Previous tedious flow
Until recently, actually figuring out all the peculiarities of a service and how to drive the browser (ex. how to locate the text field for the username) was based on a tedious trial and error process. I was:
- launching the NixOS VM test,
- waiting for the failure to happen,
- reading the logs,
- looking at the Playwright trace (the trace feature is really cool),
- figuring out the issue,
- implementing a fix
- and once more launching the test to see if I’d actually fix the issue.
Repeat ad nauseam.
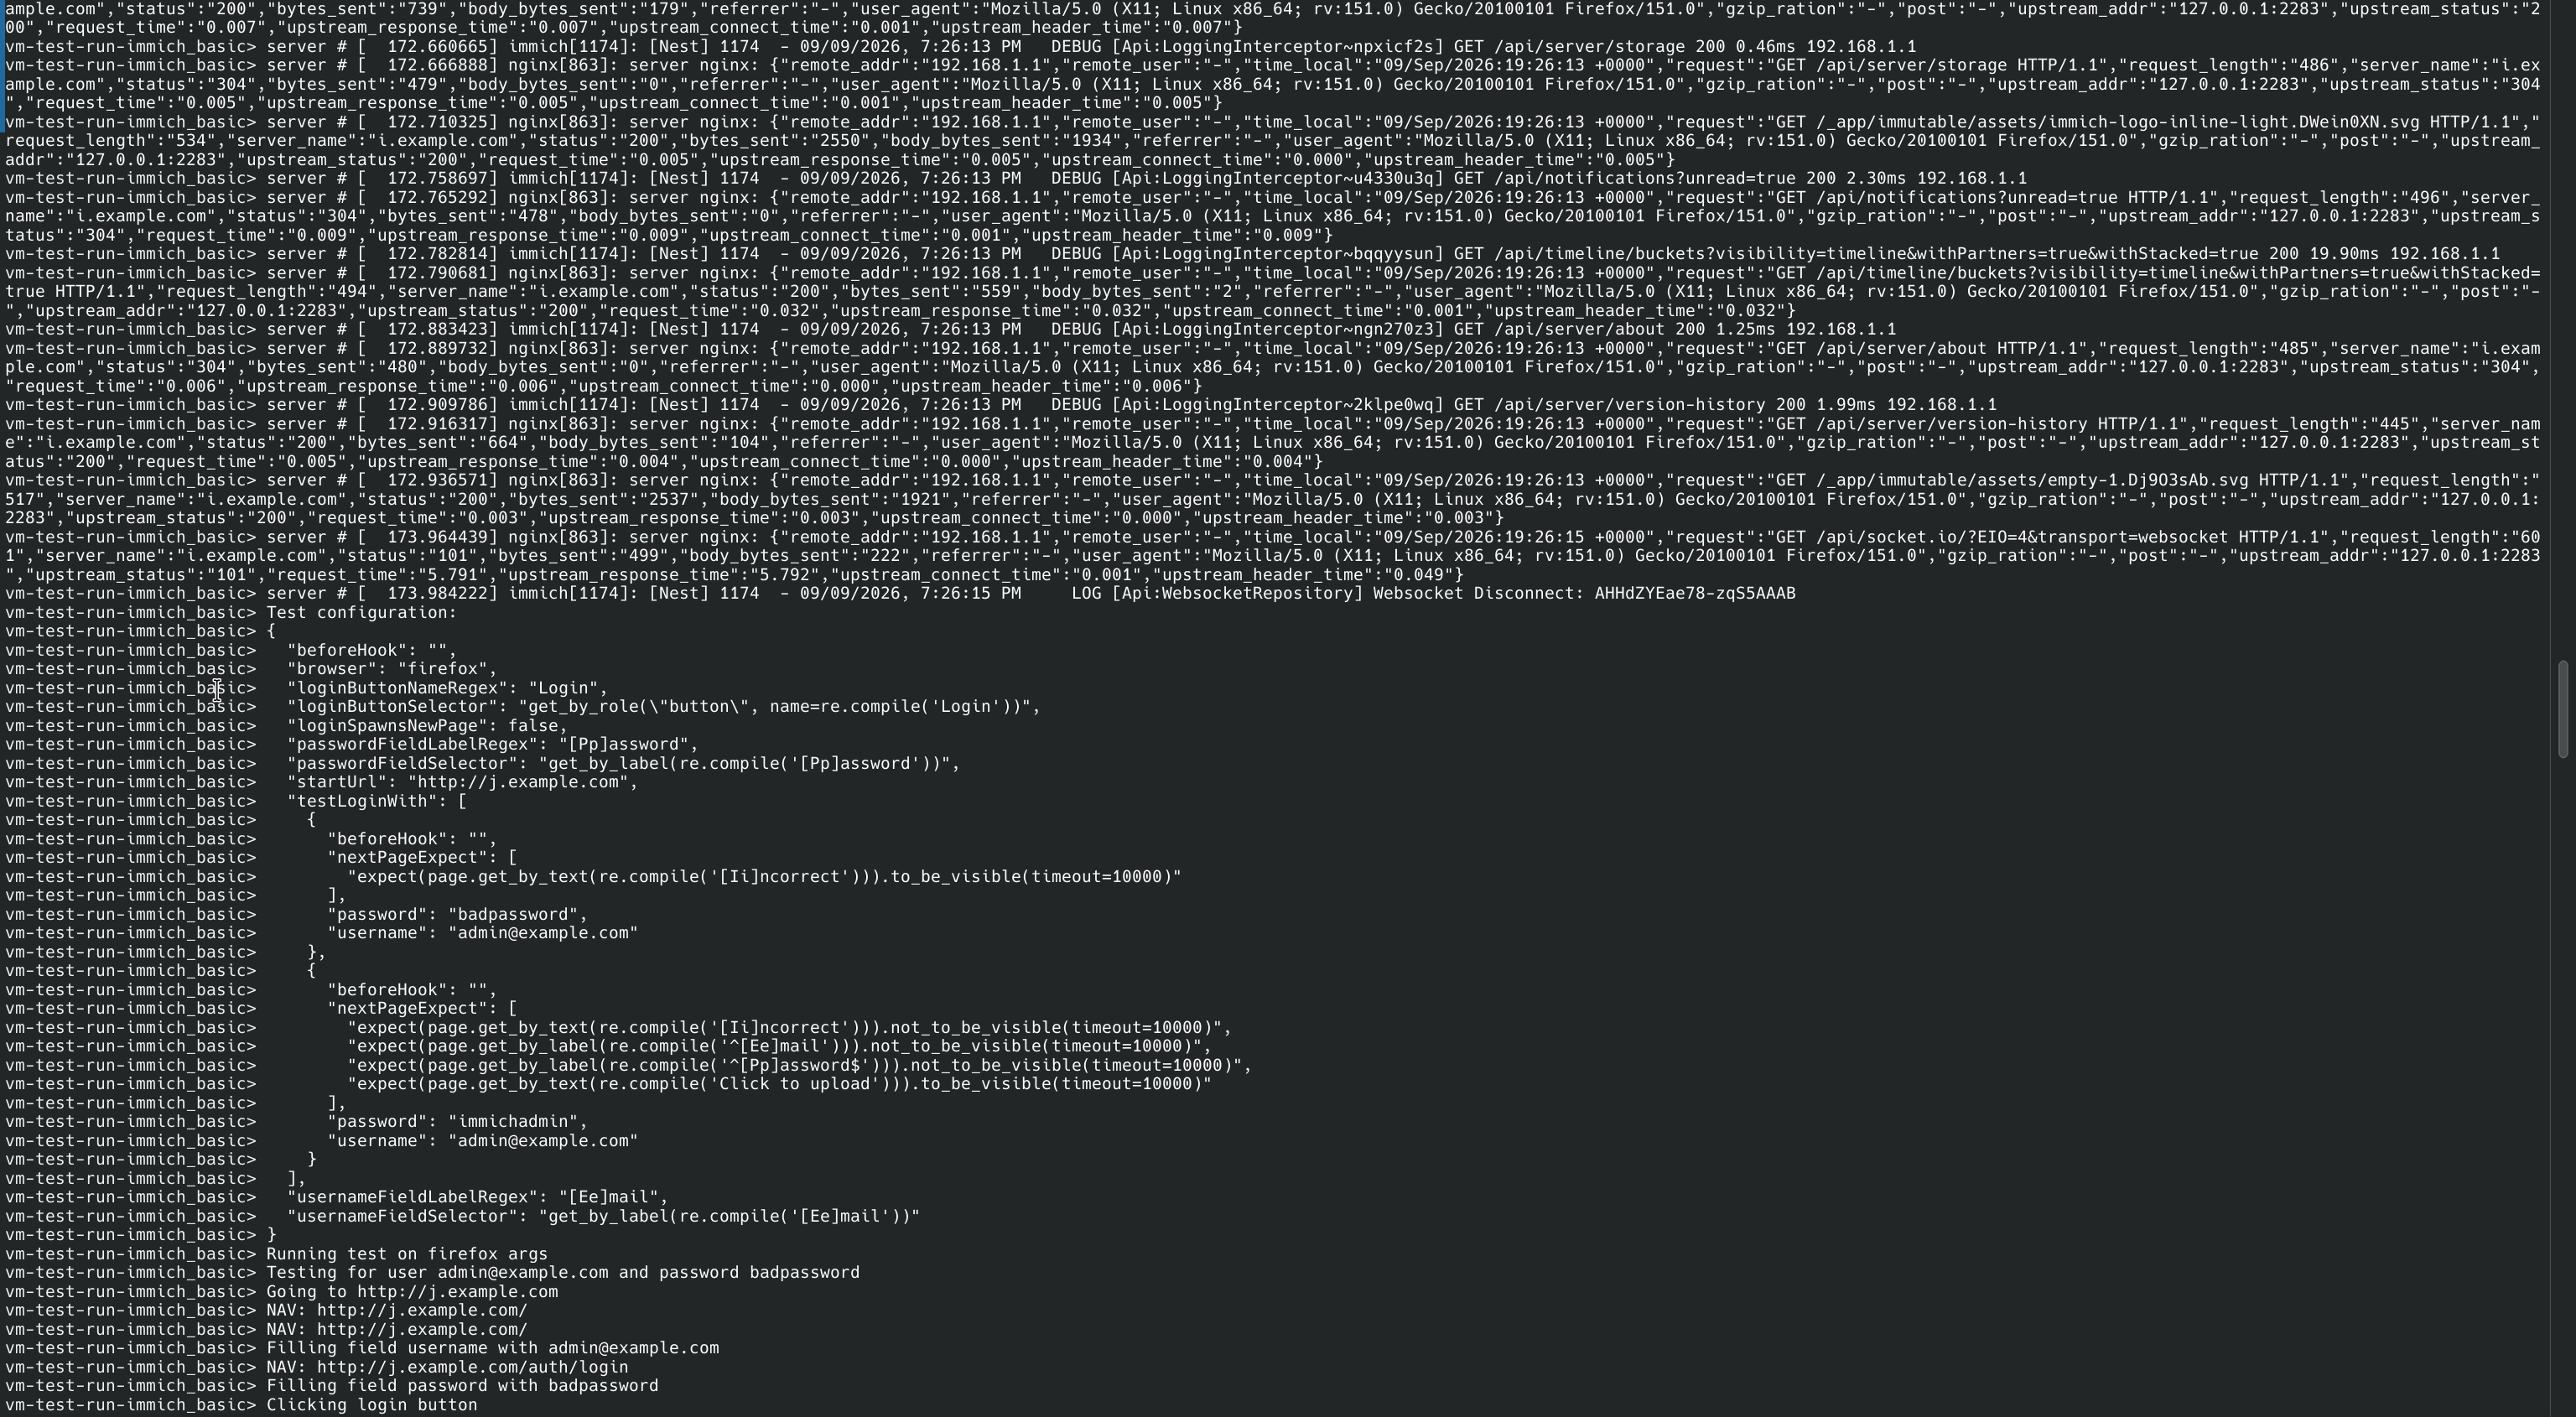
Just one iteration easily takes 15 minutes. And worse it is completely non-interactive, which is a shame for a fundamentally exploratory task.
But now I have a really nice setup which allows me to get nearly everything nailed down before even writing the test.
Interactive flow
Start a VM
The first step is setting up a demo environment. In SHB, a demo is a folder with a self-contained nix flake that sets up a service with optionally LDAP and SSO integration.
As the name suggests, the initial goal was to provide users an easy way to create a VM with battery included like sops-nix and feel the power of nix. For example, the Immich demo in SHB.
The recent realization I had is I can just use the demos for interactively exploring the services I want to test.
Let’s start the Immich demo VM. The steps are taken from the manual linked in the previous paragraph.
cd demos/immich

rm nixos.qcow2; \
  nixos-rebuild build-vm --flake .#basic \
  && QEMU_NET_OPTS="hostfwd=tcp::2222-:2222,hostfwd=tcp::8080-:80" \
     ./result/bin/run-nixos-vm -m 4096 &
Here we use the .#basic NixOS configuration.
To test LDAP and SSO there are relevant flake attributes.
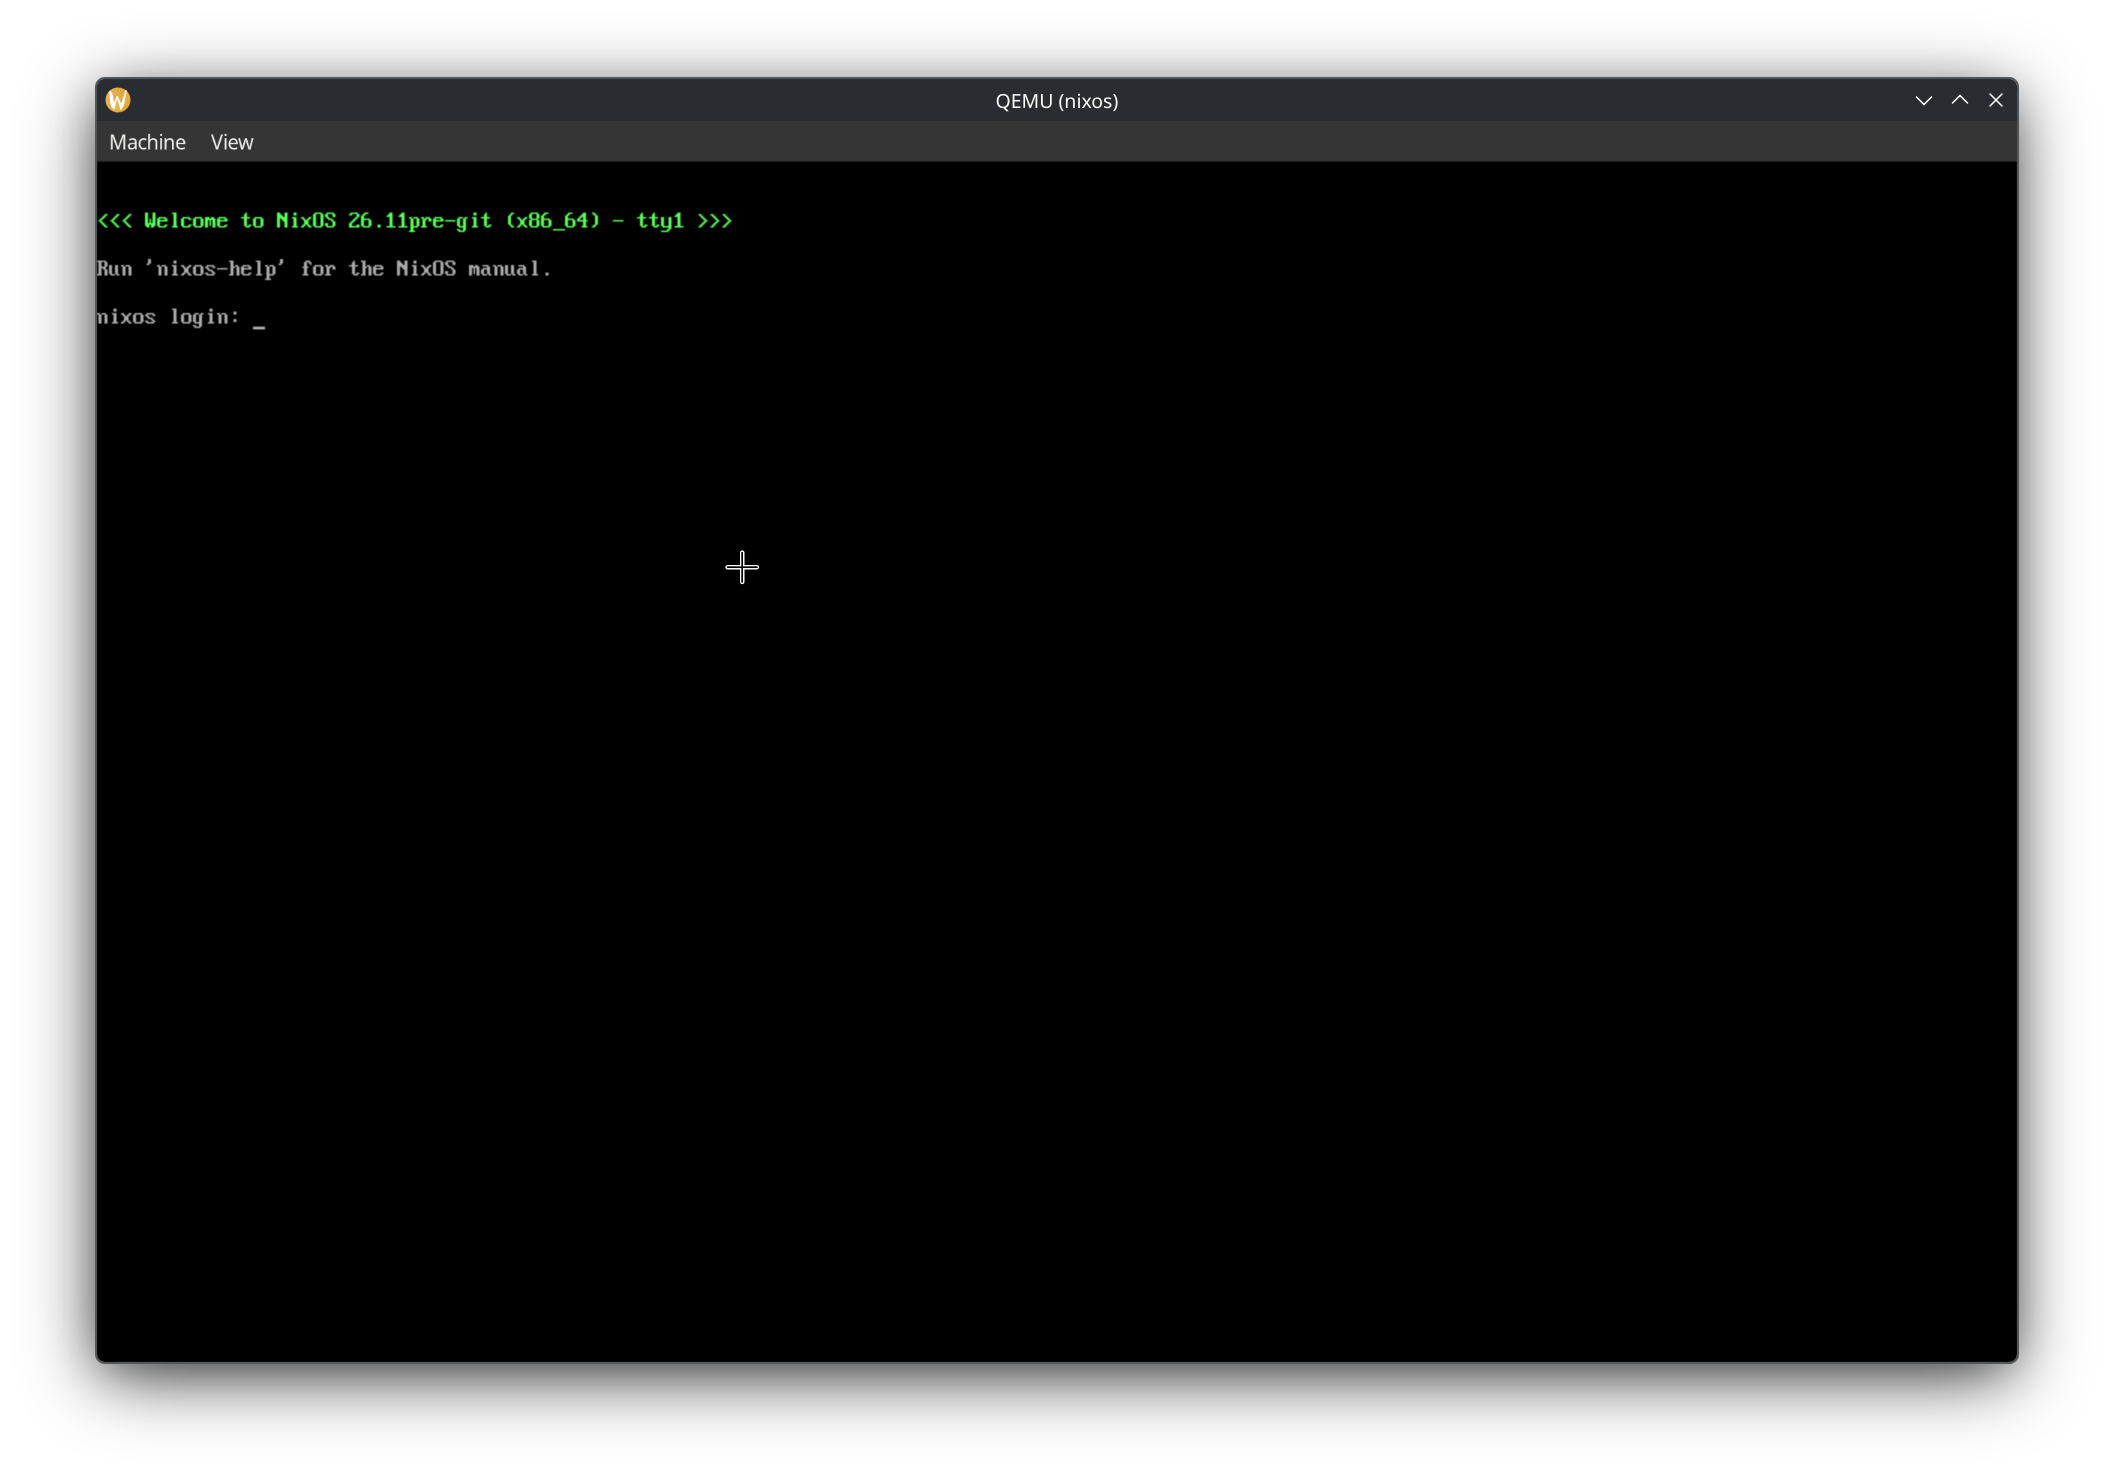
Now we just wait until the VM shows up and its ssh daemon is started:
Proxy
To access the Immich service from our local browser, we create a SOCKS5 proxy using ssh:
$ chmod 600 sshkey
$ ssh -F ssh_config -D 1080 example
[nixos@nixos:~]$
This works thanks to the ssh_config file included in every demo:
Host example
  Port 2222
  User nixos
  HostName 127.0.0.1
  IdentityFile sshkey
  IdentitiesOnly yes
  StrictHostKeyChecking no
  UserKnownHostsFile /dev/null
If you’re curious about how the demo works in general, check the “in more details” section of the demo’s README file.
The ssh command above gives us two things. First, an ssh shell in the VM from which we can inspect the state:
$ journalctl -b -u immich-server
Sep 09 22:33:31 nixos systemd[1]: Starting Immich backend server (Self-hosted photo and video backup solution)...
Sep 09 22:33:31 nixos immich[976]: Waiting for Immich's public API...
Sep 09 22:33:31 nixos immich[976]: Waiting for Immich... elapsed: 0s
Sep 09 22:33:33 nixos immich[976]: Waiting for Immich... elapsed: 2s
Sep 09 22:33:35 nixos immich[976]: Waiting for Immich... elapsed: 4s
...
Sep 09 22:35:32 nixos immich[1209]: [Nest] 1209  - 09/09/2026, 10:35:32 PM     LOG [Api:Bootstrap] Immich Server is listening on http://127.0.0.1:2283 [v3.1.0] [production]
Sep 09 22:35:32 nixos immich[1209]: [Nest] 1209  - 09/09/2026, 10:35:32 PM     LOG [Api:MachineLearningRepository] Machine learning server became healthy (http://localhost:3003).
Sep 09 22:35:34 nixos immich[1169]: Immich is ready.
Not pictured here: immich-server.service failing a bunch of times before getting it to start successfully.
$ sudo -u postgres psql
psql (14.24)
Type "help" for help.

postgres=# \c immich
You are now connected to database "immich" as user "postgres".

immich=# \x
Expanded display is on.

immich=# SELECT * FROM public.user;
-[ RECORD 1 ]--------+-------------------------------------------------------------
id                   | e027f4f1-064c-4e79-9bd2-27f45c95e1d4
email                | admin@example.com
password             | $2b$10$zMpmwBRrOLV0GPWvuw0NsuQICXJfNpDagt6LGVng30TufOyWCXf8C
createdAt            | 2026-09-09 22:35:35.176868+00
profileImagePath     |
isAdmin              | t
shouldChangePassword | t
deletedAt            |
oauthId              |
updatedAt            | 2026-09-09 22:35:35.176868+00
storageLabel         | admin
name                 | Admin
quotaSizeInBytes     |
quotaUsageInBytes    | 0
status               | active
profileChangedAt     | 2026-09-09 22:35:35.176868+00
updateId             | 01a0884f-ef90-7f2c-98ff-efbdbc05123a
avatarColor          |
pinCode              |

immich=# SELECT * FROM public.user_metadata;
-[ RECORD 1 ]-----------------------------------
userId    | e027f4f1-064c-4e79-9bd2-27f45c95e1d4
key       | onboarding
value     | {"isOnboarded": true}
updateId  | 01a0884f-f3a0-72c6-b689-15246b688182
updatedAt | 2026-09-09 22:35:36.220391+00
Second, it gives us a SOCKS5 proxy so we can access the VM from our local browser.
Browser Access
We could just start Firefox or whatever other browser and set it up to use the SOCKS5 proxy, but this will get annoying fast.
When the SOCKS5 proxy is enabled, the browser cannot reach internet anymore, making it necessary to toggle the proxy every time we want to search something on the web.
Also, on each VM reboot, you must accept the untrusted self-signed TLS certificates.
Instead, we can leverage Playwright to do those two steps automatically by launching in another terminal:
nix run ..#playwright -- \
    open \
    --browser chromium \
    --proxy-server socks5://127.0.0.1:1080 \
    --ignore-https-errors \
    https://i.example.com
You could probably use nixpkgs#playwright-test but I never tested that extensively.
Accessing https://i.example.com goes to the correct location
because there is a dnsmasq server in the VM!
It’s not only for convenience, it’s actually required for TLS certificates to work correctly.
The command above gets you directly to the correct location:
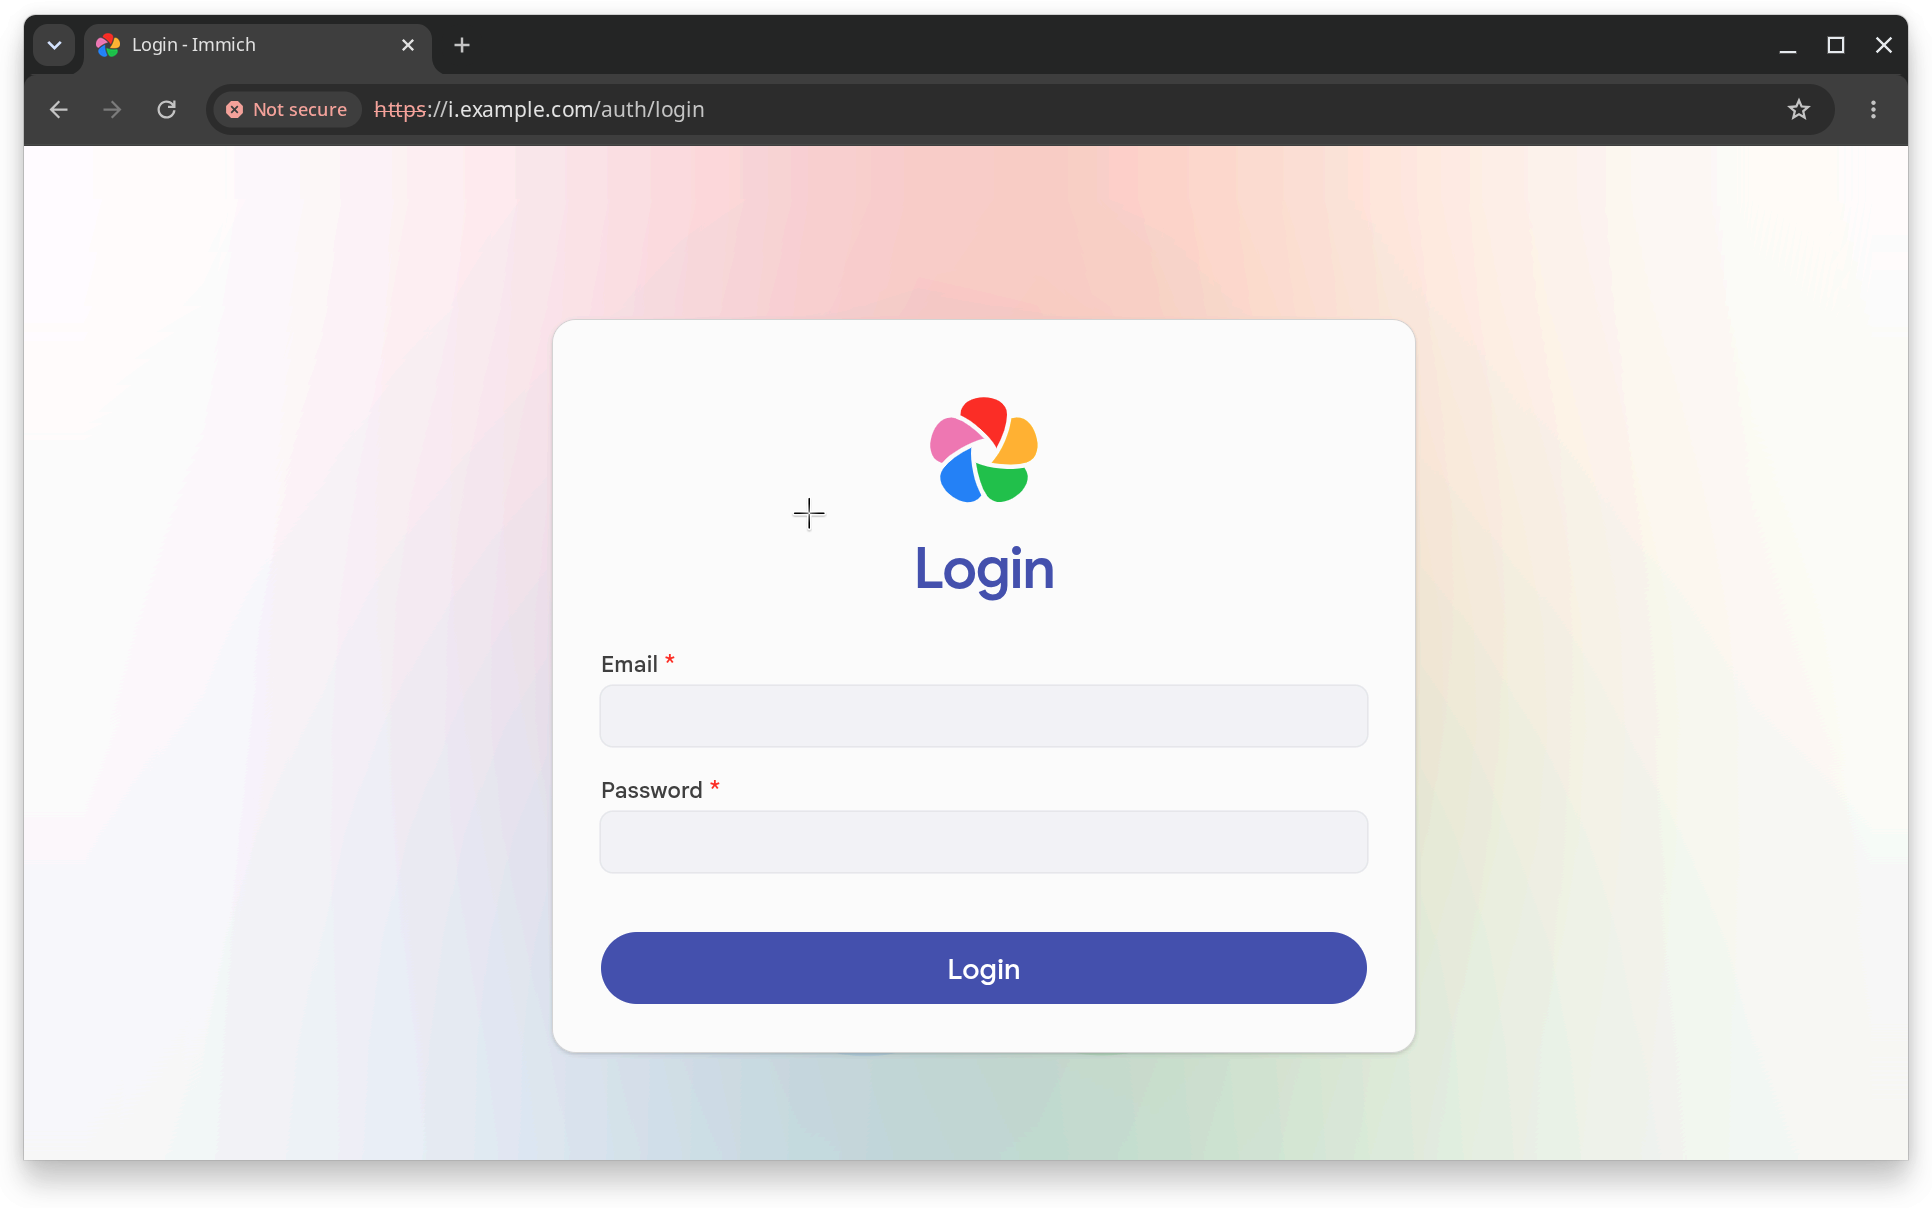
Now, we can poke around and see the output in the logs.
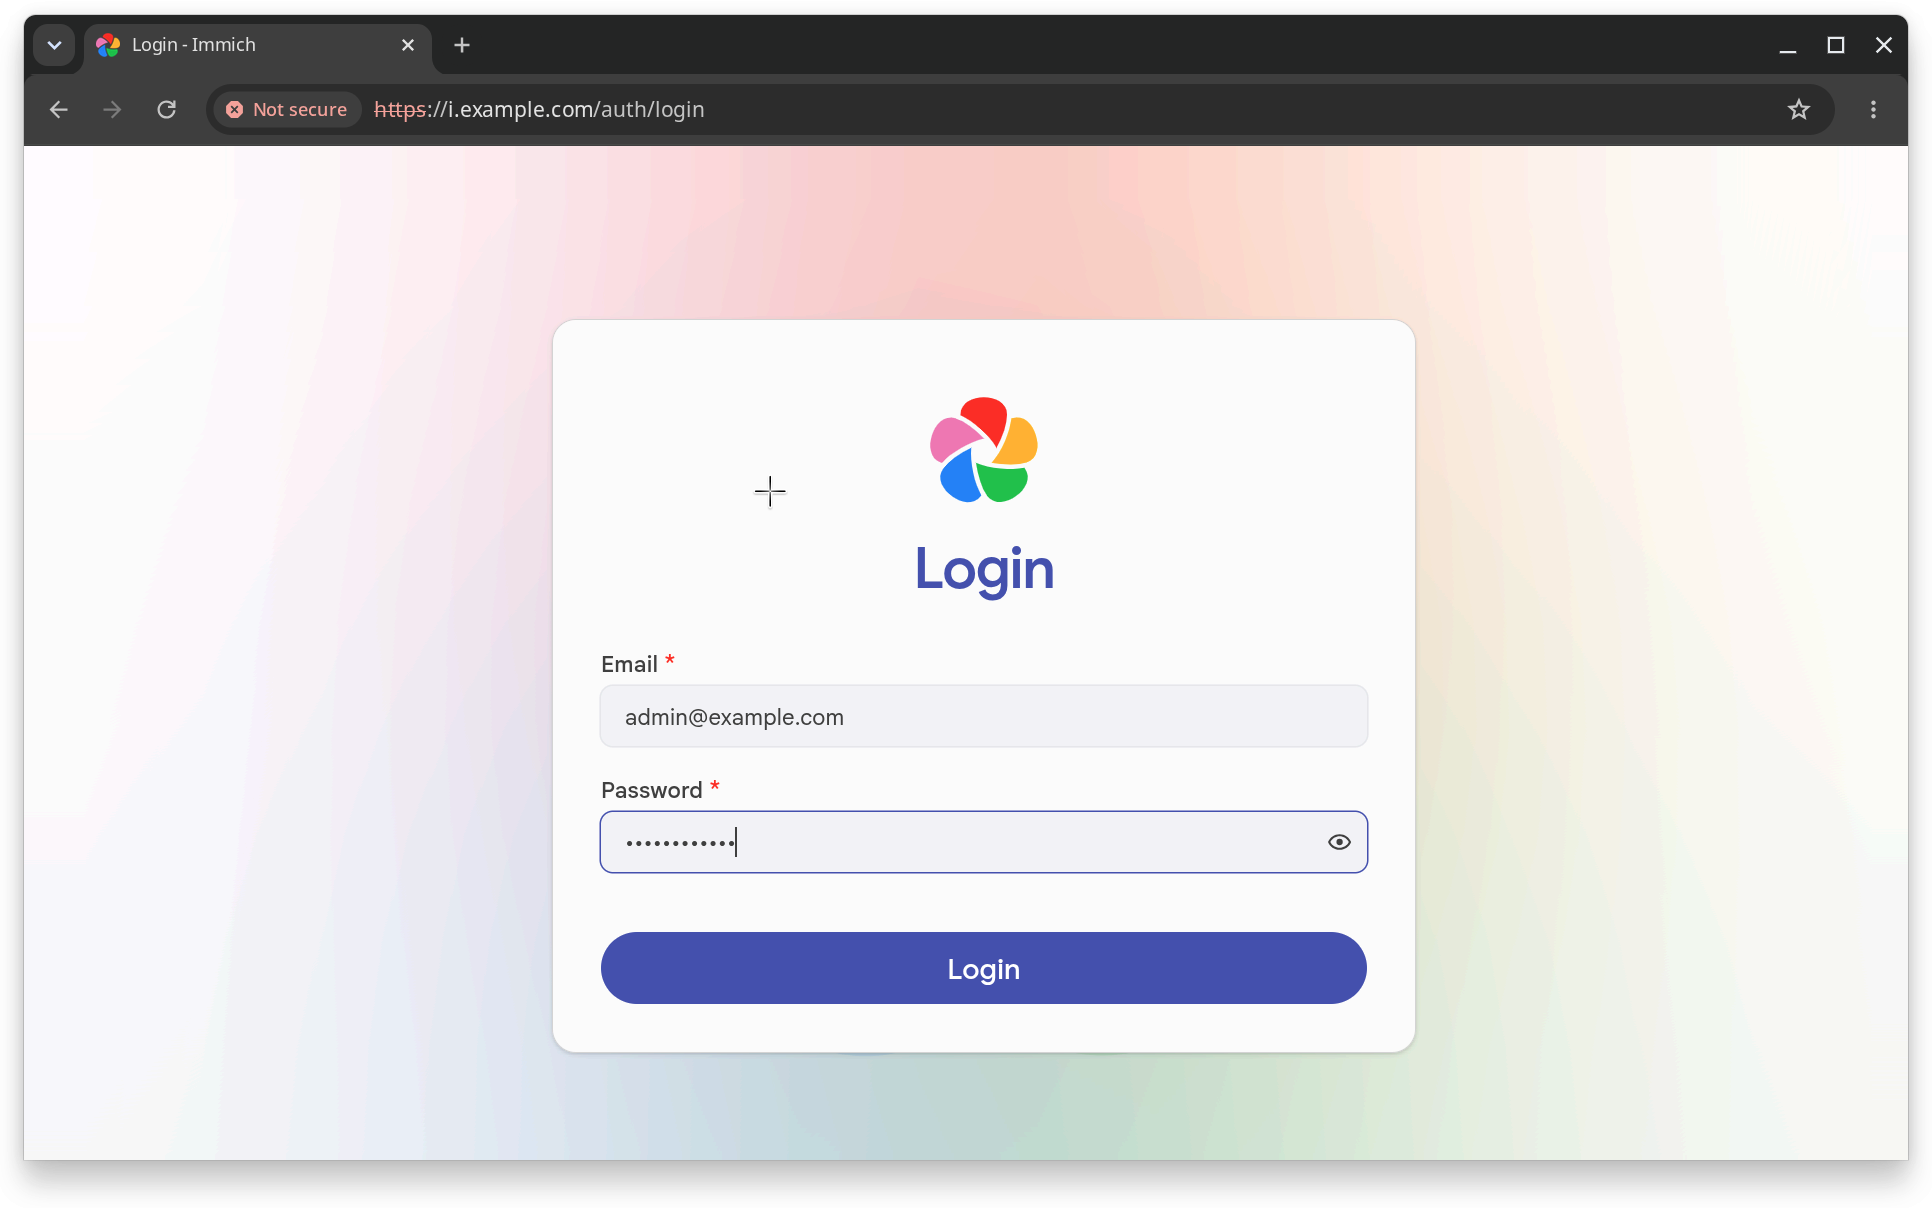
Let’s try logging in with the declarative admin user
whose password is set in the demo as immichadmin:
After clicking on “Login”, we can see the nginx logs:
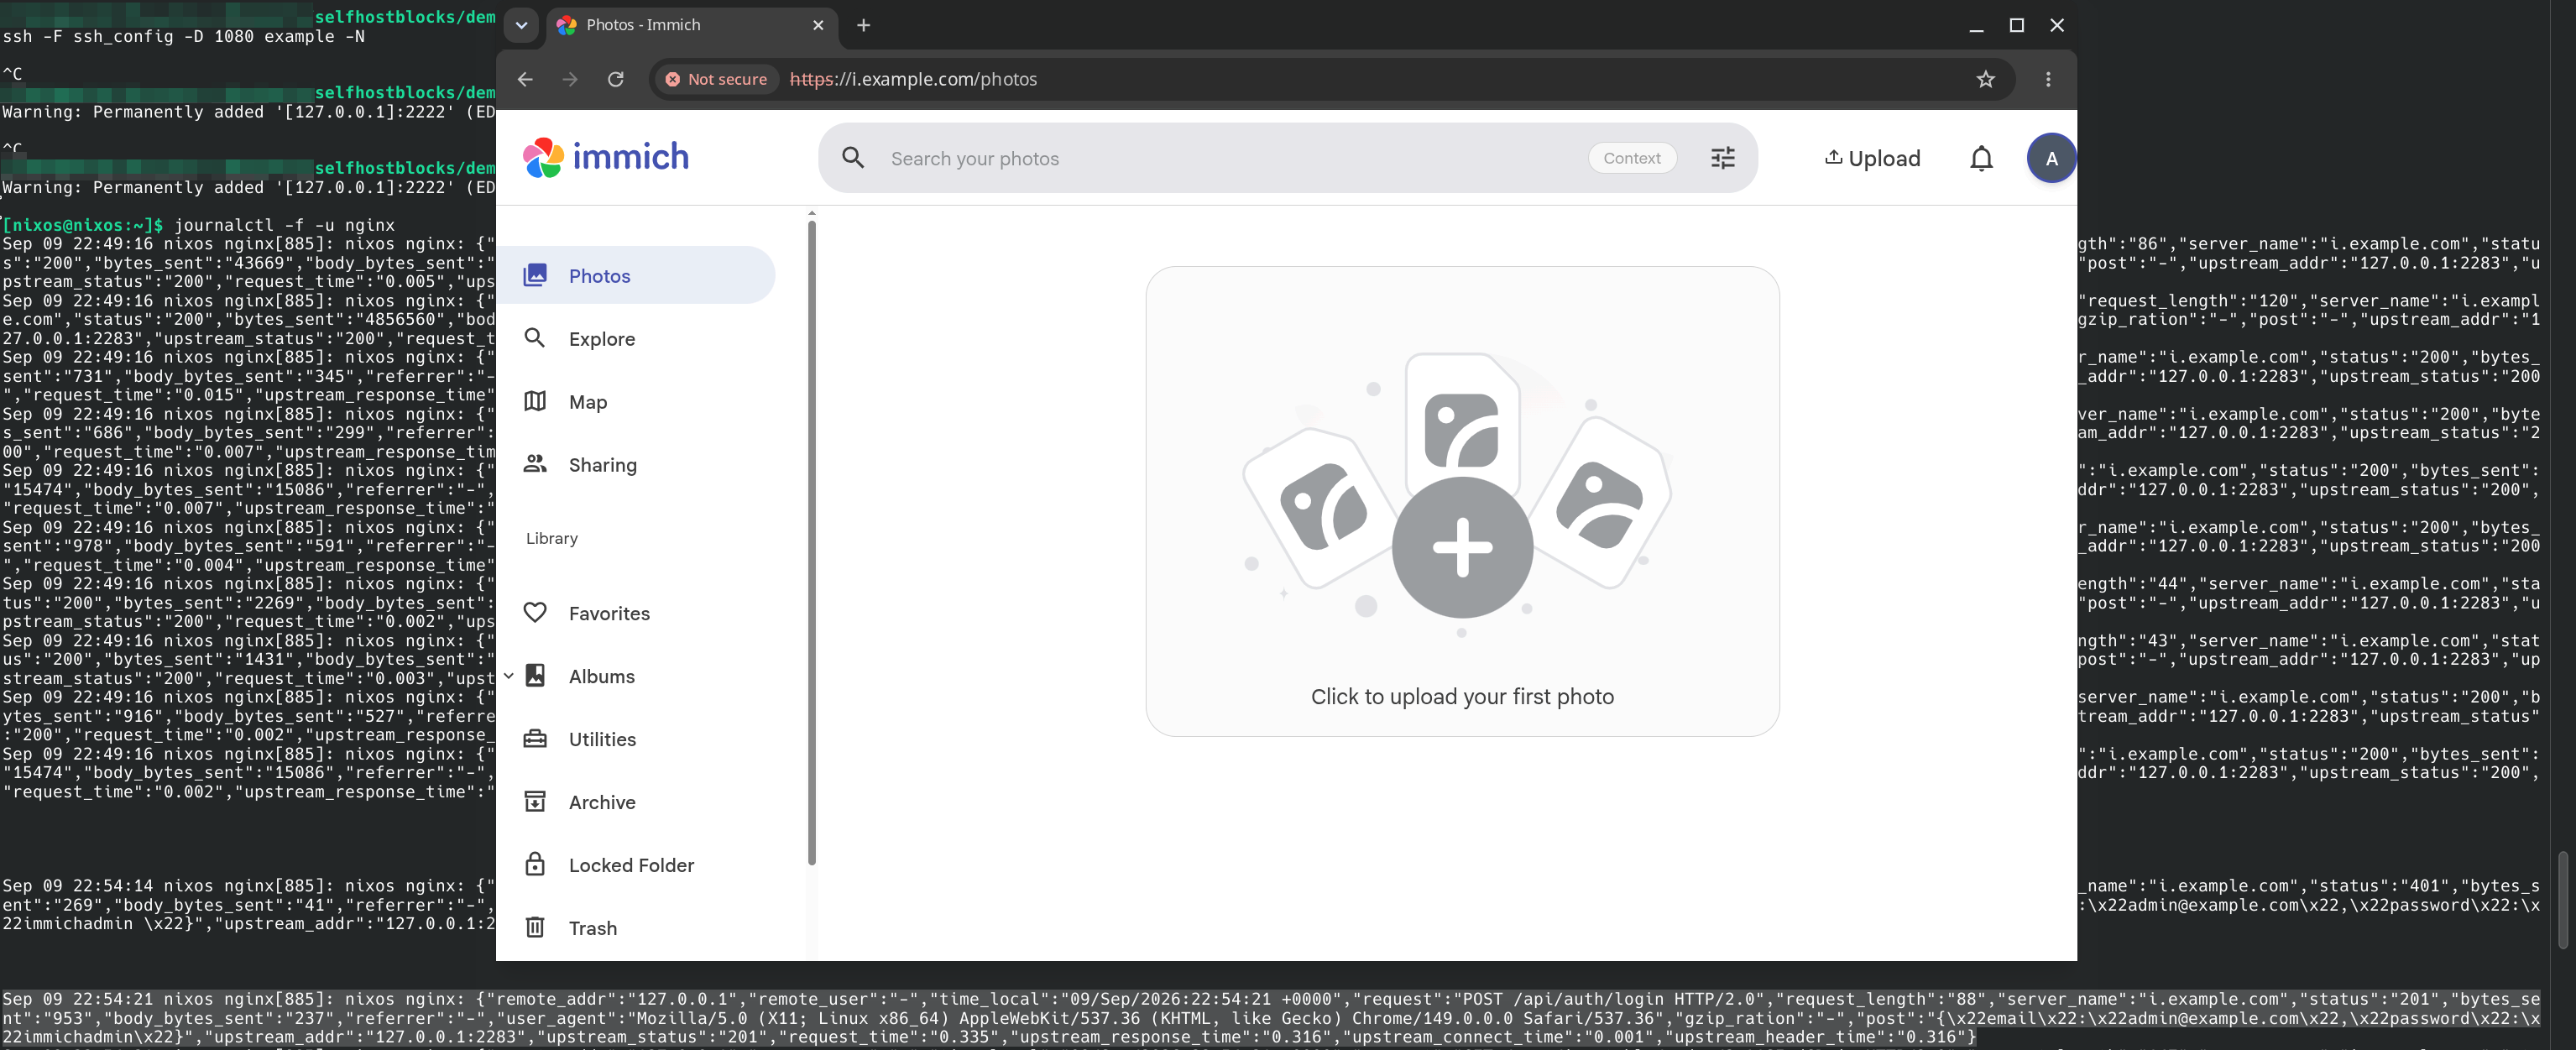
In SHB, there’s an shb.nginx.insecureAccessLogWithRequestBody
option which shows the full body of any incoming request.
This should never be enabled on your own server because it leaks all secrets,
but here for tests it’s incredibly useful.
I went even further for some modules by adding an mitmproxy in between nginx and the service so I could inspect very precisely the request and response. It helped me debug some gnarly OIDC issues.
If you want such a feature in nixpkgs, please check the PR.
Anyway, the log line is:
{
  "remote_addr": "127.0.0.1",
  "remote_user": "-",
  "time_local": "09/Sep/2026:22:54:21 +0000",
  "request": "POST /api/auth/login HTTP/2.0",
  "request_length": "88",
  "server_name": "i.example.com",
  "status": "201",
  "bytes_sent": "953",
  "body_bytes_sent": "237",
  "referrer": "-",
  "user_agent": "Mozilla/5.0 (X11; Linux x86_64) AppleWebKit/537.36 (KHTML, like Gecko) Chrome/149.0.0.0 Safari/537.36",
  "gzip_ration": "-",
  "post": "{x22emailx22:x22admin@example.comx22,x22passwordx22:x22immichadminx22}",
  "upstream_addr": "127.0.0.1:2283",
  "upstream_status": "201",
  "request_time": "0.335",
  "upstream_response_time": "0.316",
  "upstream_connect_time": "0.001",
  "upstream_header_time": "0.316"
}
Being able to click in the browser like this and see the log lines in the VM really helps to understand what’s going on.
Implementation
So with all this, it becomes quite easy to implement a feature like declarative admin creation.
The process becomes:
- Start the VM
- Wait for service to start
- Connect ssh proxy
- Start browser through Playwright
- Poke around
- Check log lines or database
- Change the code and go back to 1.
Now, there’s a caveat. Because the demo is a nested flake, it does not see changes to the parent flake. So it does not see changes I make to the SHB Immich module.
There’s a little dance required for the nested flake to take into account changes from the parent flake:
git restore flake.lock \
  && git add ../..; \
  git commit -aC HEAD; \
  nix flake update selfhostblocks \
      --override-input selfhostblocks ../..
This is a one-liner so I can easily access it through shell history. The command:
- removes any changes to the nested
flake.lockfile, - stages any changes to the repo,
- amends the previous commit by re-using its commit message,
- updates the nested
flake.lockto make theselfhostblocksinput point to the local repo in order to get the latest changes.
Removing changes to the flake.lock and committing changes is needed
otherwise nix refuses to override the flake input since the repo is dirty.
It’s nested flakes but the same repo! Confused yet?
Playwright locators
Assuming the implementation is complete, we must now write the test.
I’ll admit, I mostly copy paste an existing test and use it as a skeleton. The test framework is standardized making quite easy to do (see previous blog post for more details).
The one thing missing is I must update the Playwright locators from one test to another. Indeed, although all services have a login and password field in their login UI, the name of the field can change.
To figure out how to locate a given field, the easiest
is to leverage Playwright again.
This time, we will use the codegen command:
nix run ..#playwright -- \
    codegen \
    --browser chromium \
    --proxy-server socks5://127.0.0.1:1080 \
    --ignore-https-errors \
    https://i.example.com
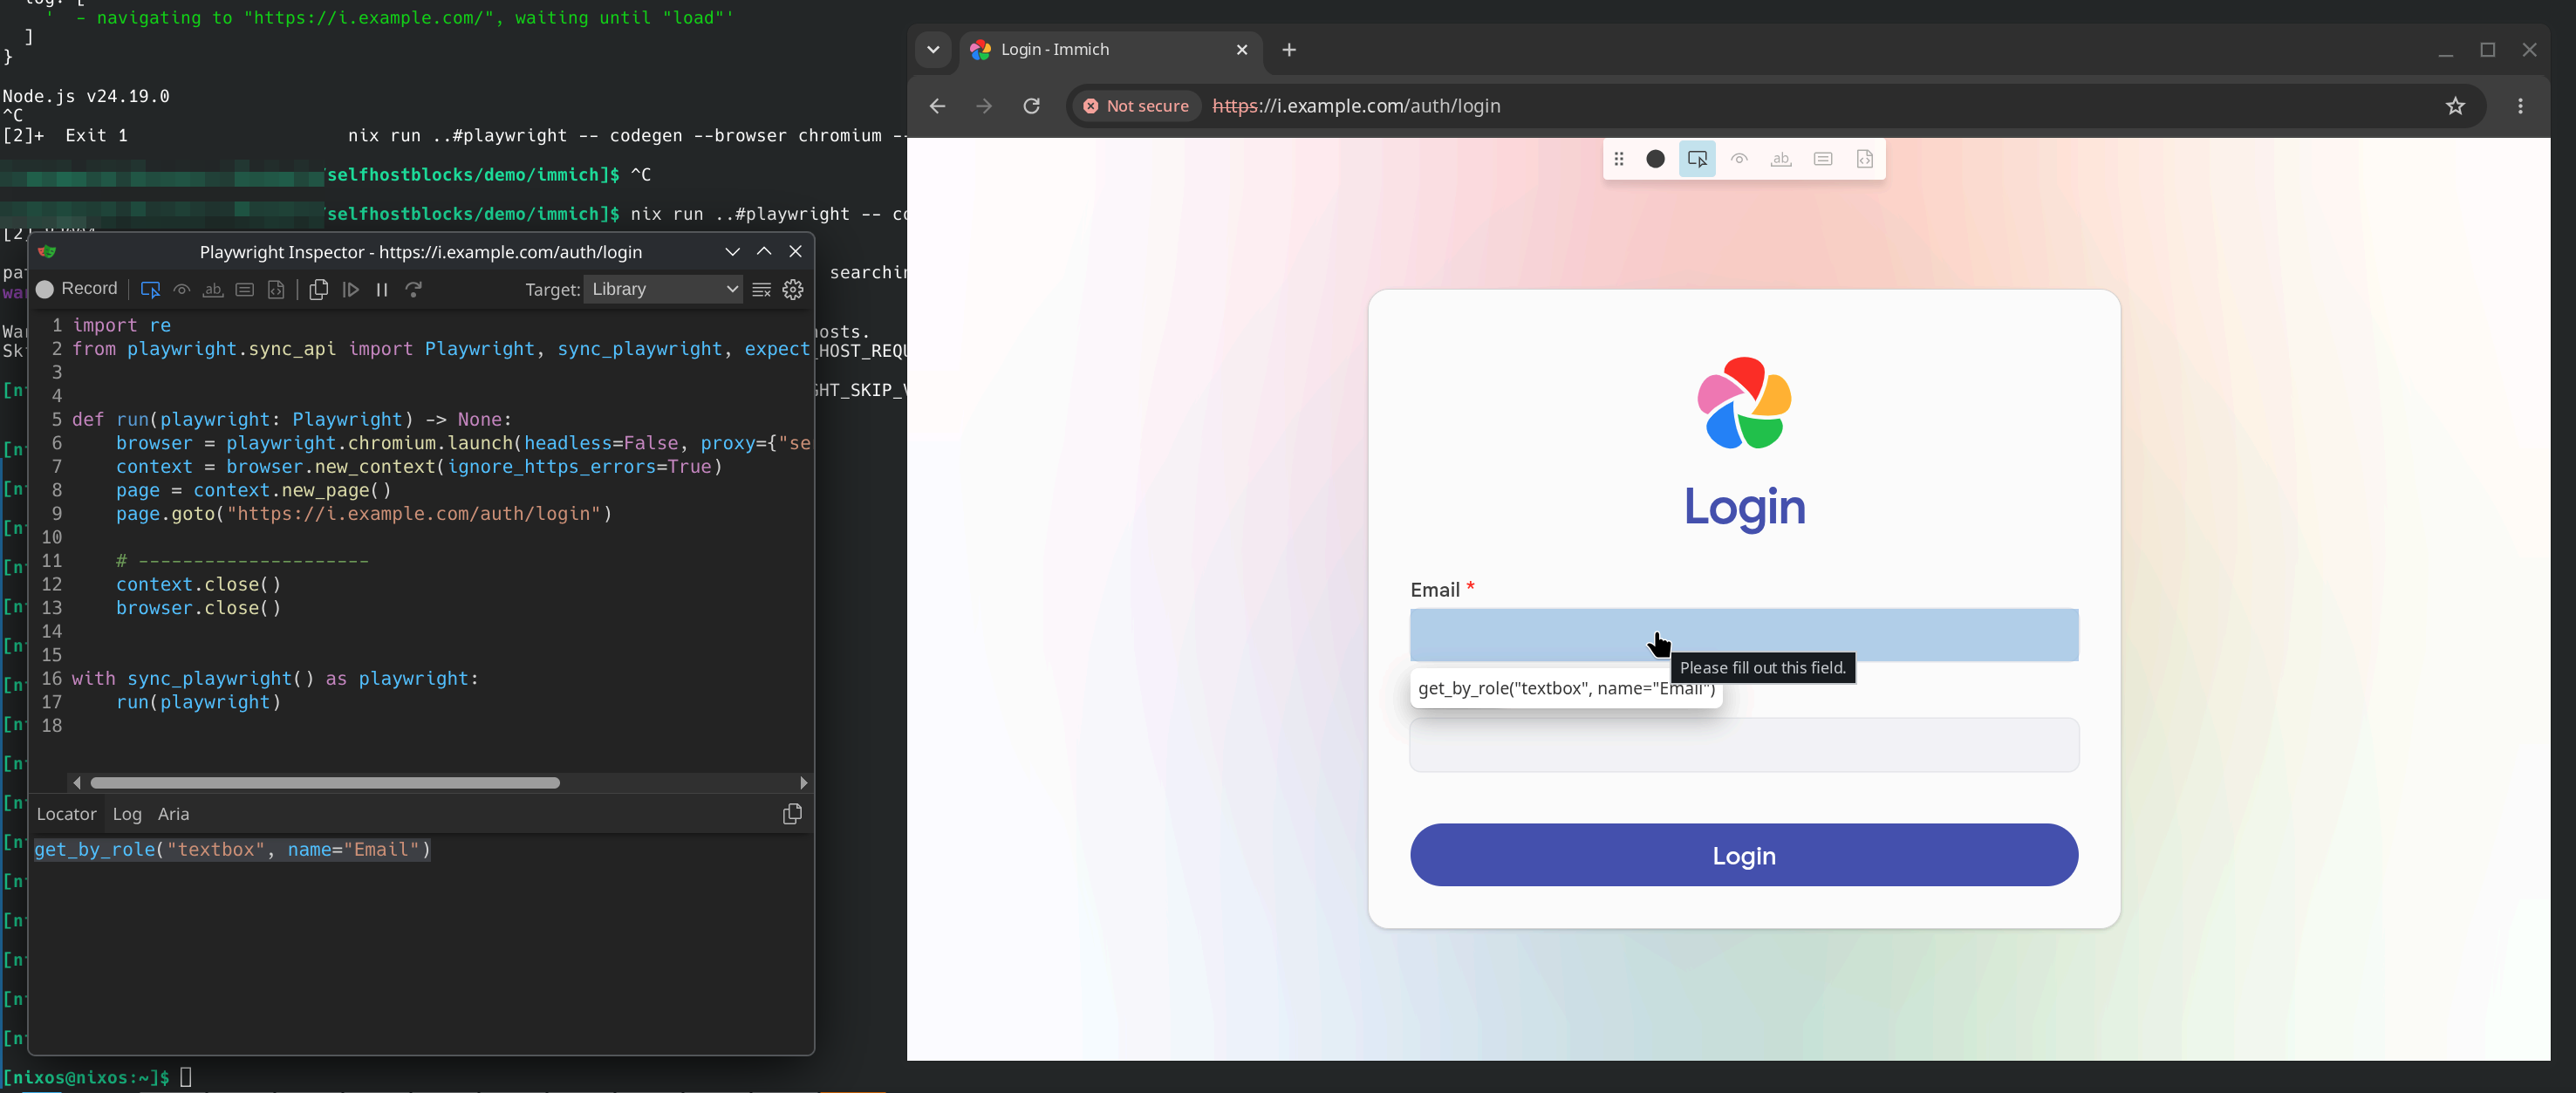
This gives us an additional window which gives us the best locator for whatever is on the page:
Conclusion
We are now well equipped to write features and tests that require browser interaction. We have:
- A VM to test code changes
- Interactive poking around with a local browser
- SSH access to the VM for checking the state
- Playwright inspector to figure out Playwright locators
This new workflow is at least 10 times more powerful than my previous one. I’m not kidding. My latest PR adding initial declarative admin setup to Immich was so easy, it prompted me to write this blog post!
Want to comment on this blog post? Head to the discourse post.